
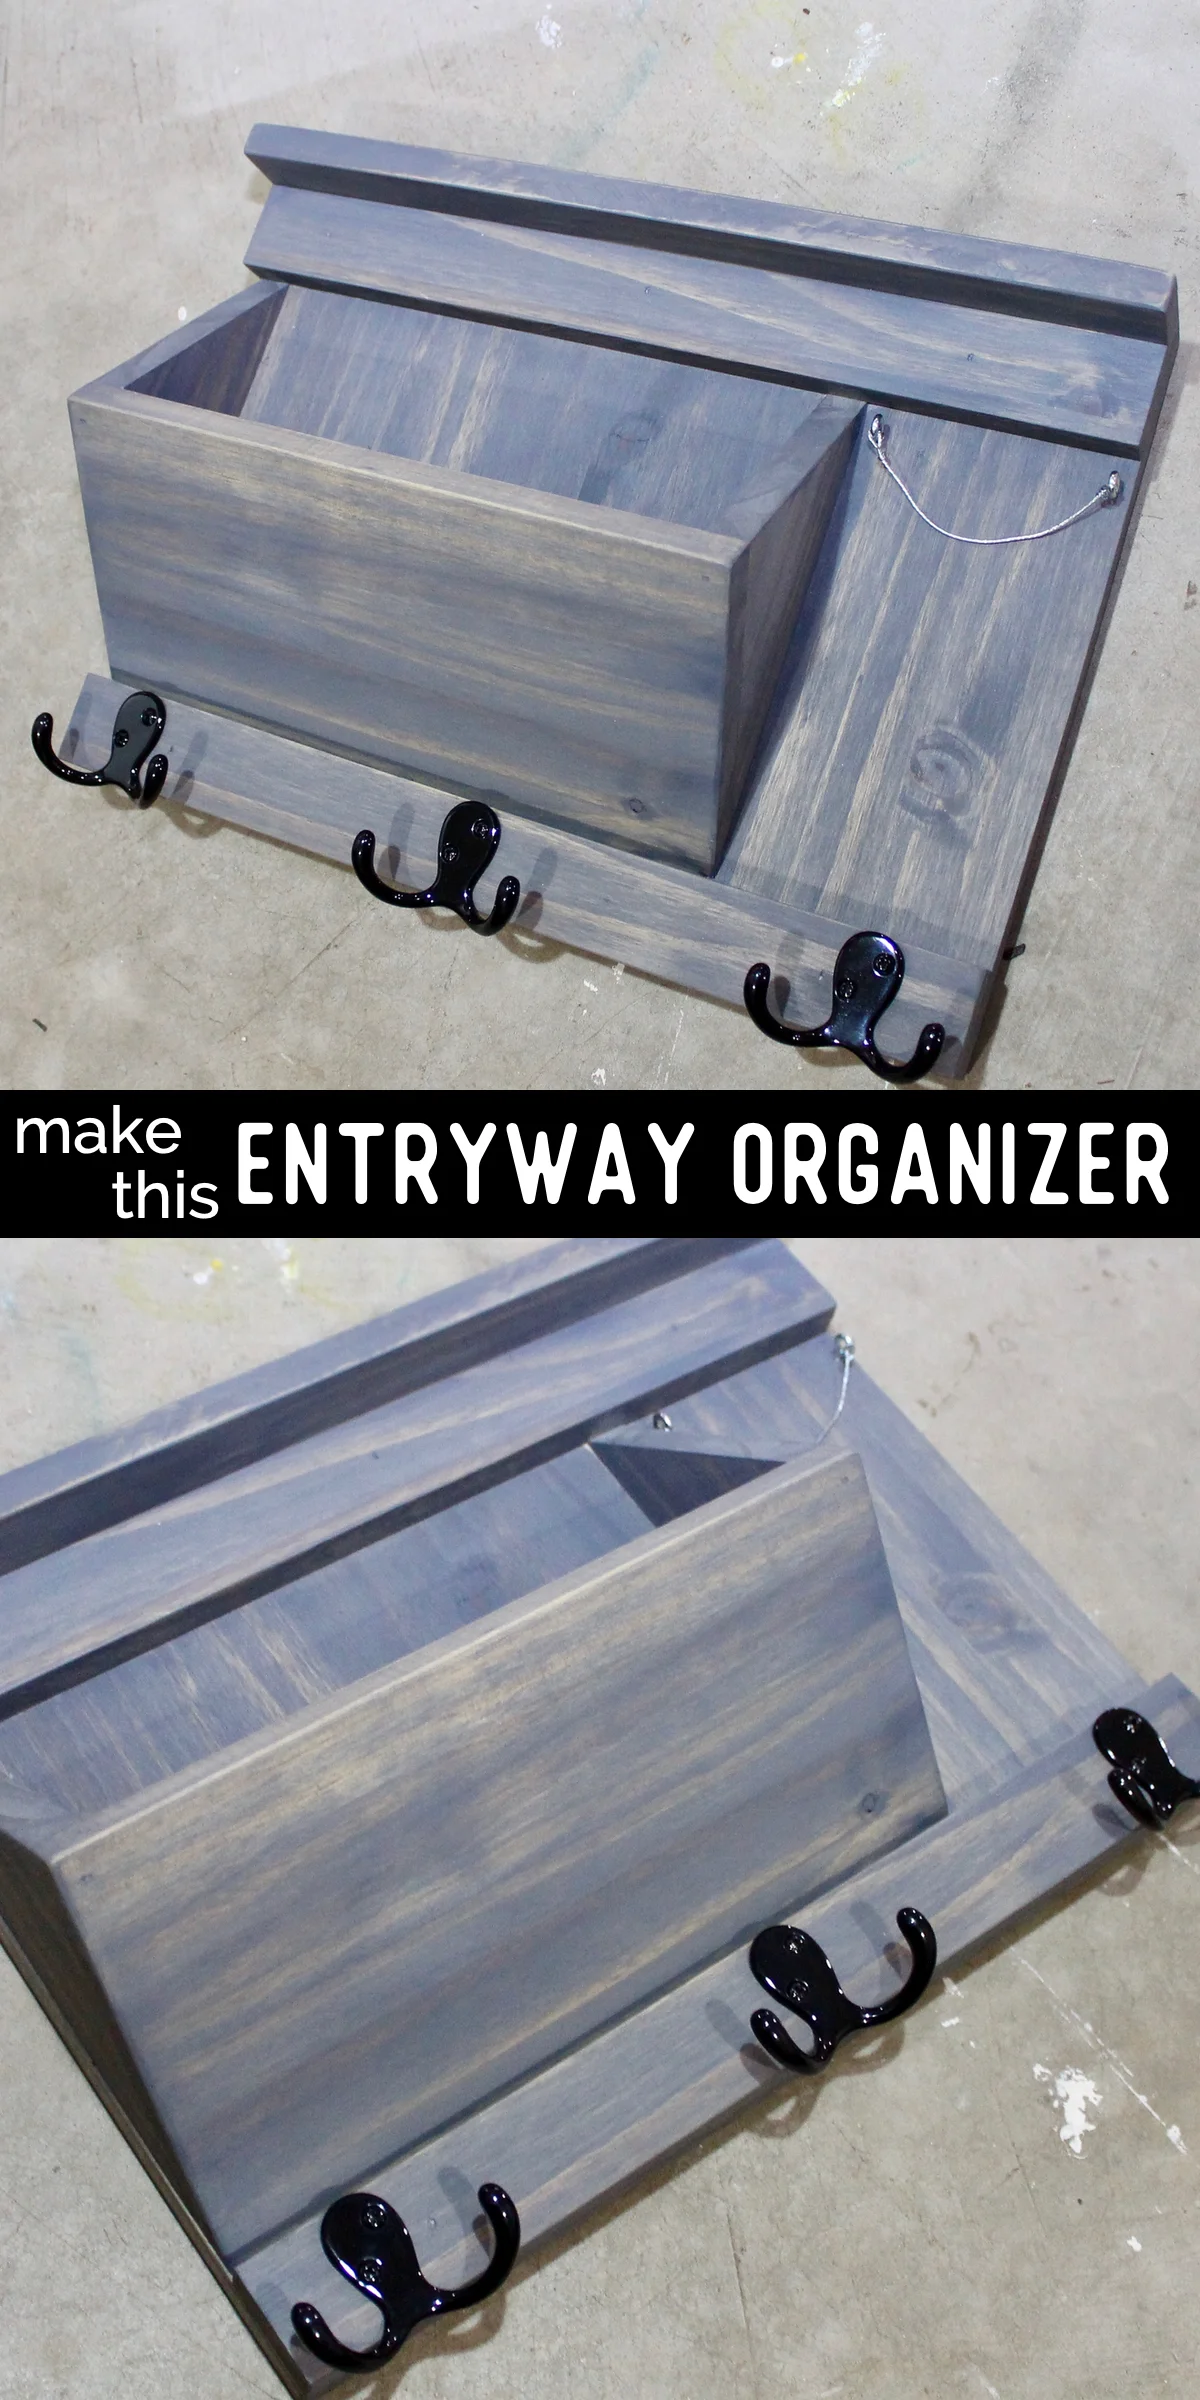
Entryway Organizer - Mail, Sunglasses, and Key Holder. Step by step instructions on how to build one of your own.
Over the last few years I have made many of these entryway organizers. I was originally making them out of pallet wood but eventually grew tired of cutting the pallets into usable pieces and removing all of the nails. Now I use edge glued pine and the build process is much quicker.
Additional supplies:
Wood glue
Wood stain
Mounting hardware
Utility hooks
Wire
Eye rings
Using a big panel like this saves me a lot of time. I pick this up at my local lumber yard for under $10.
I start by cutting a piece 10.5” tall by 15.5” wide. You can substitute using a big panel by gluing together narrower pieces side by side to reach the same dimensions.
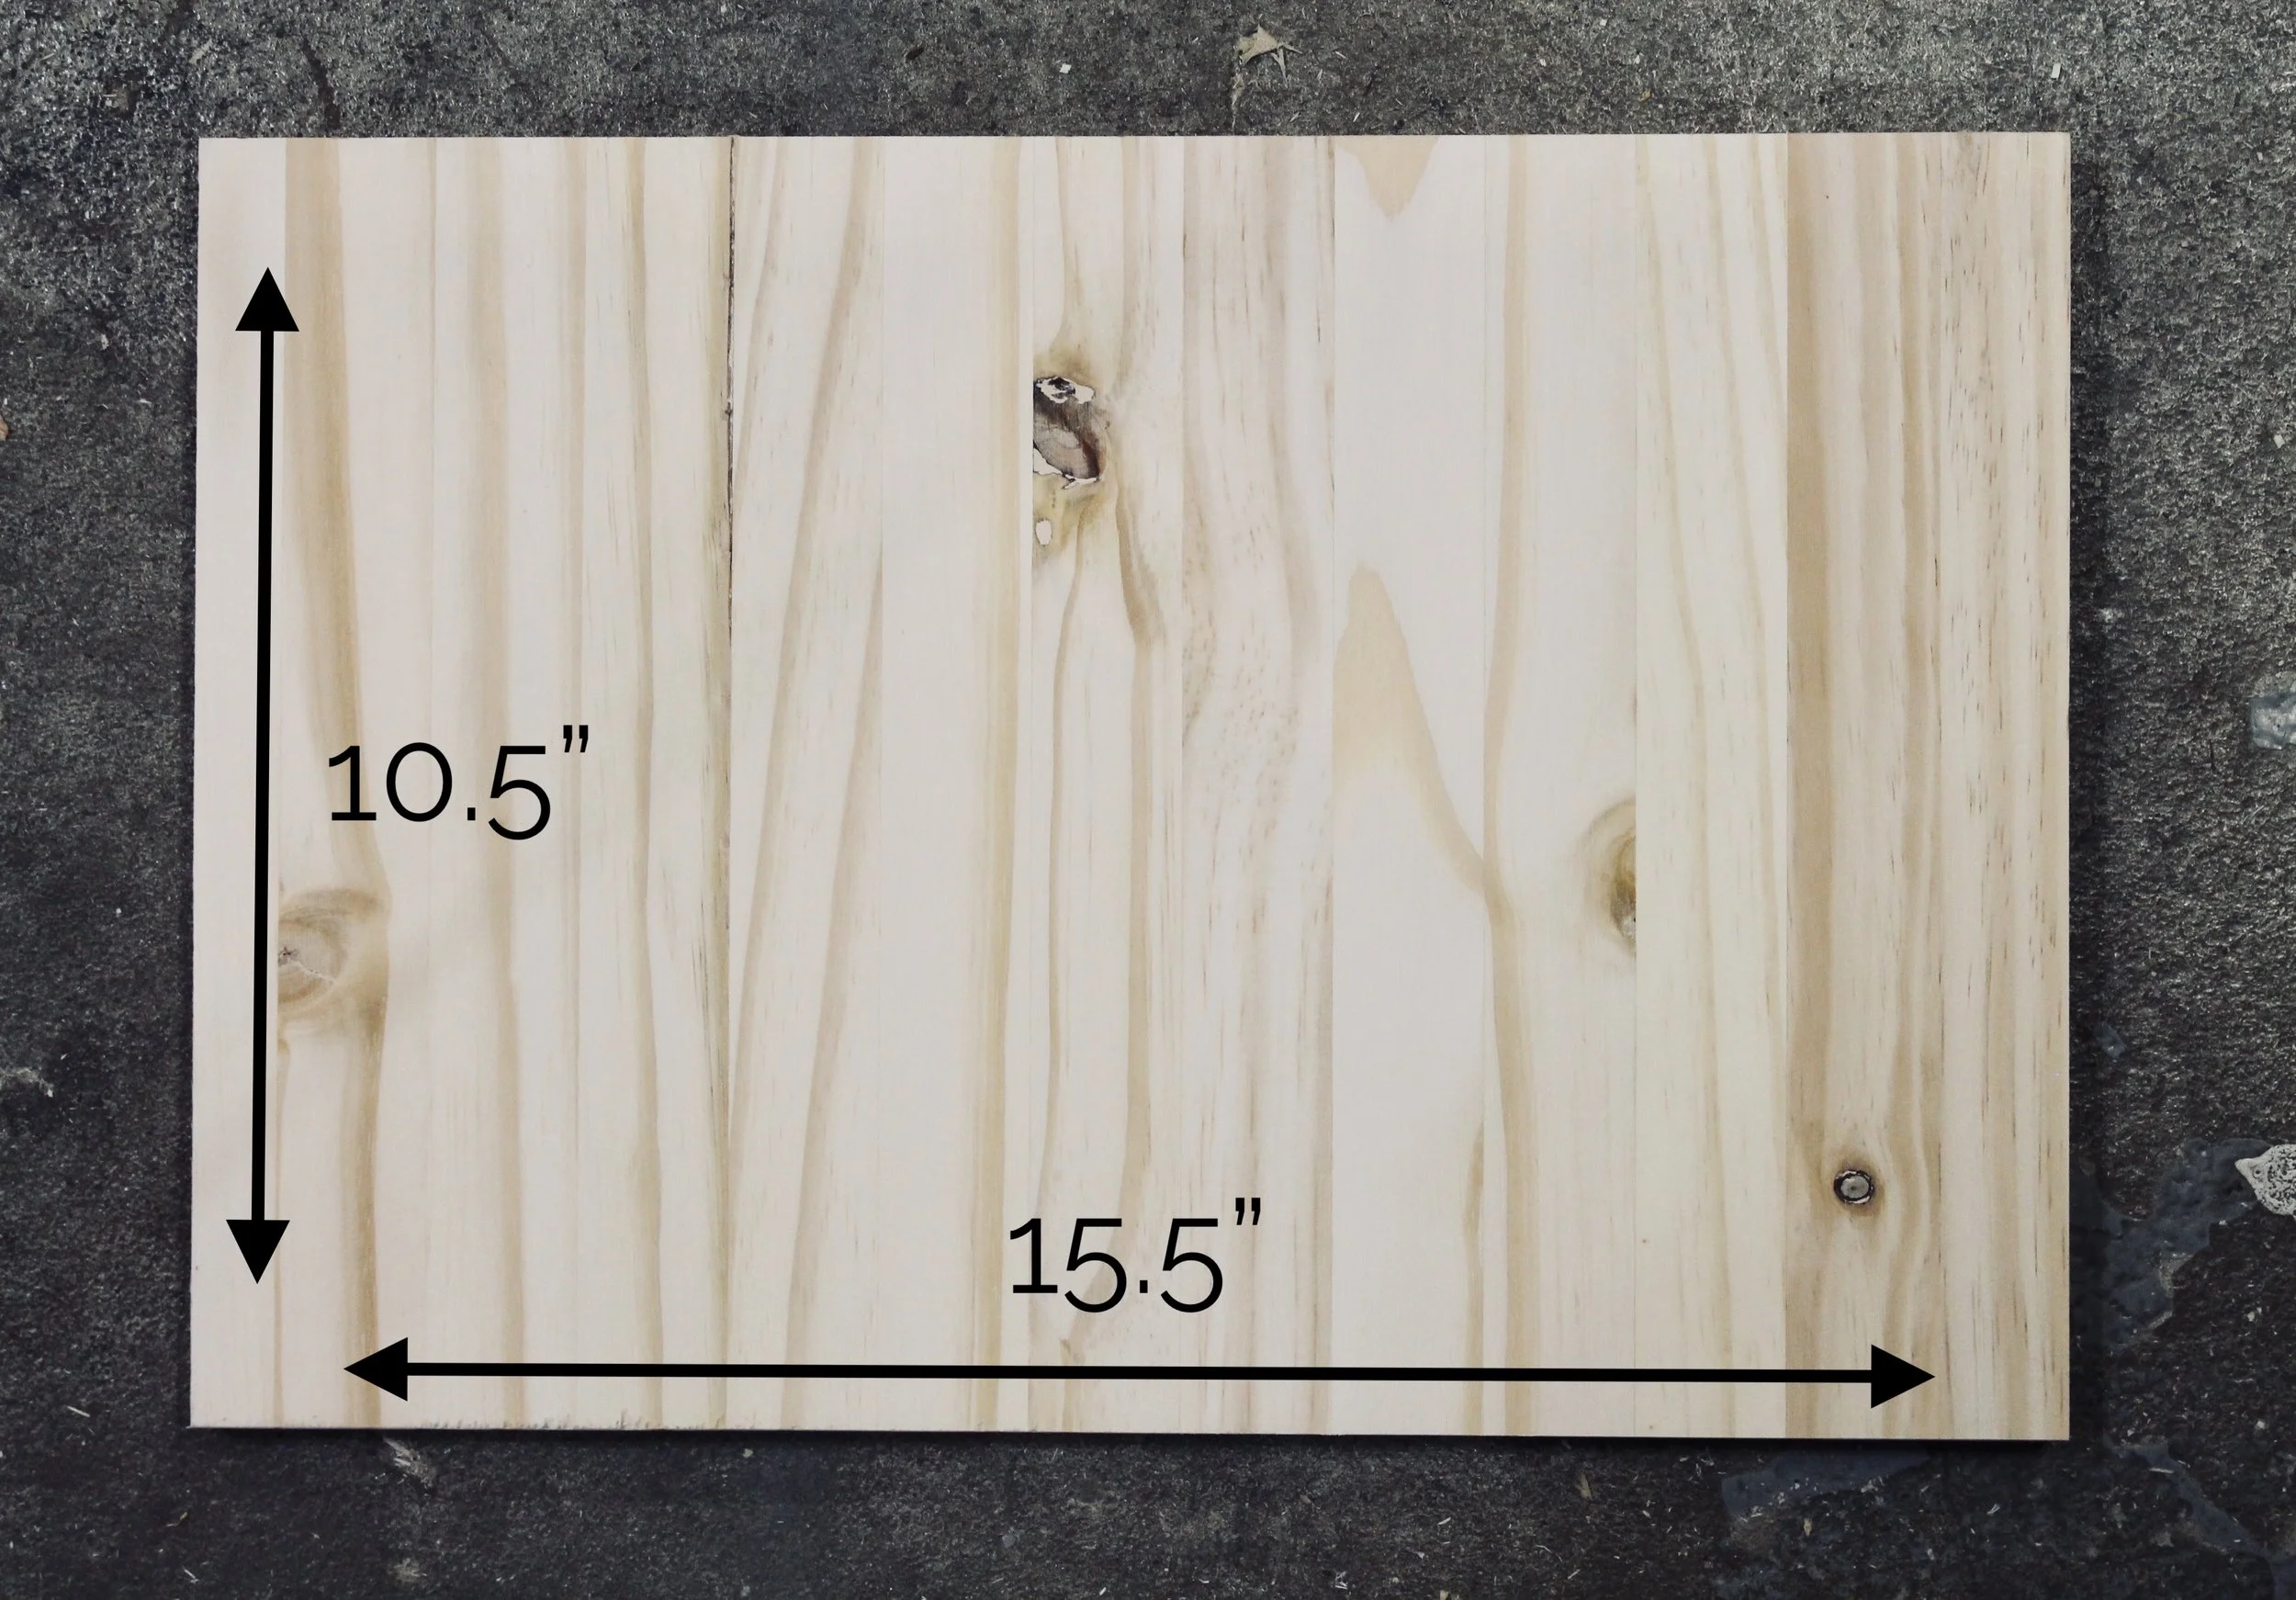
I always prefer this piece to have vertical wood grain.
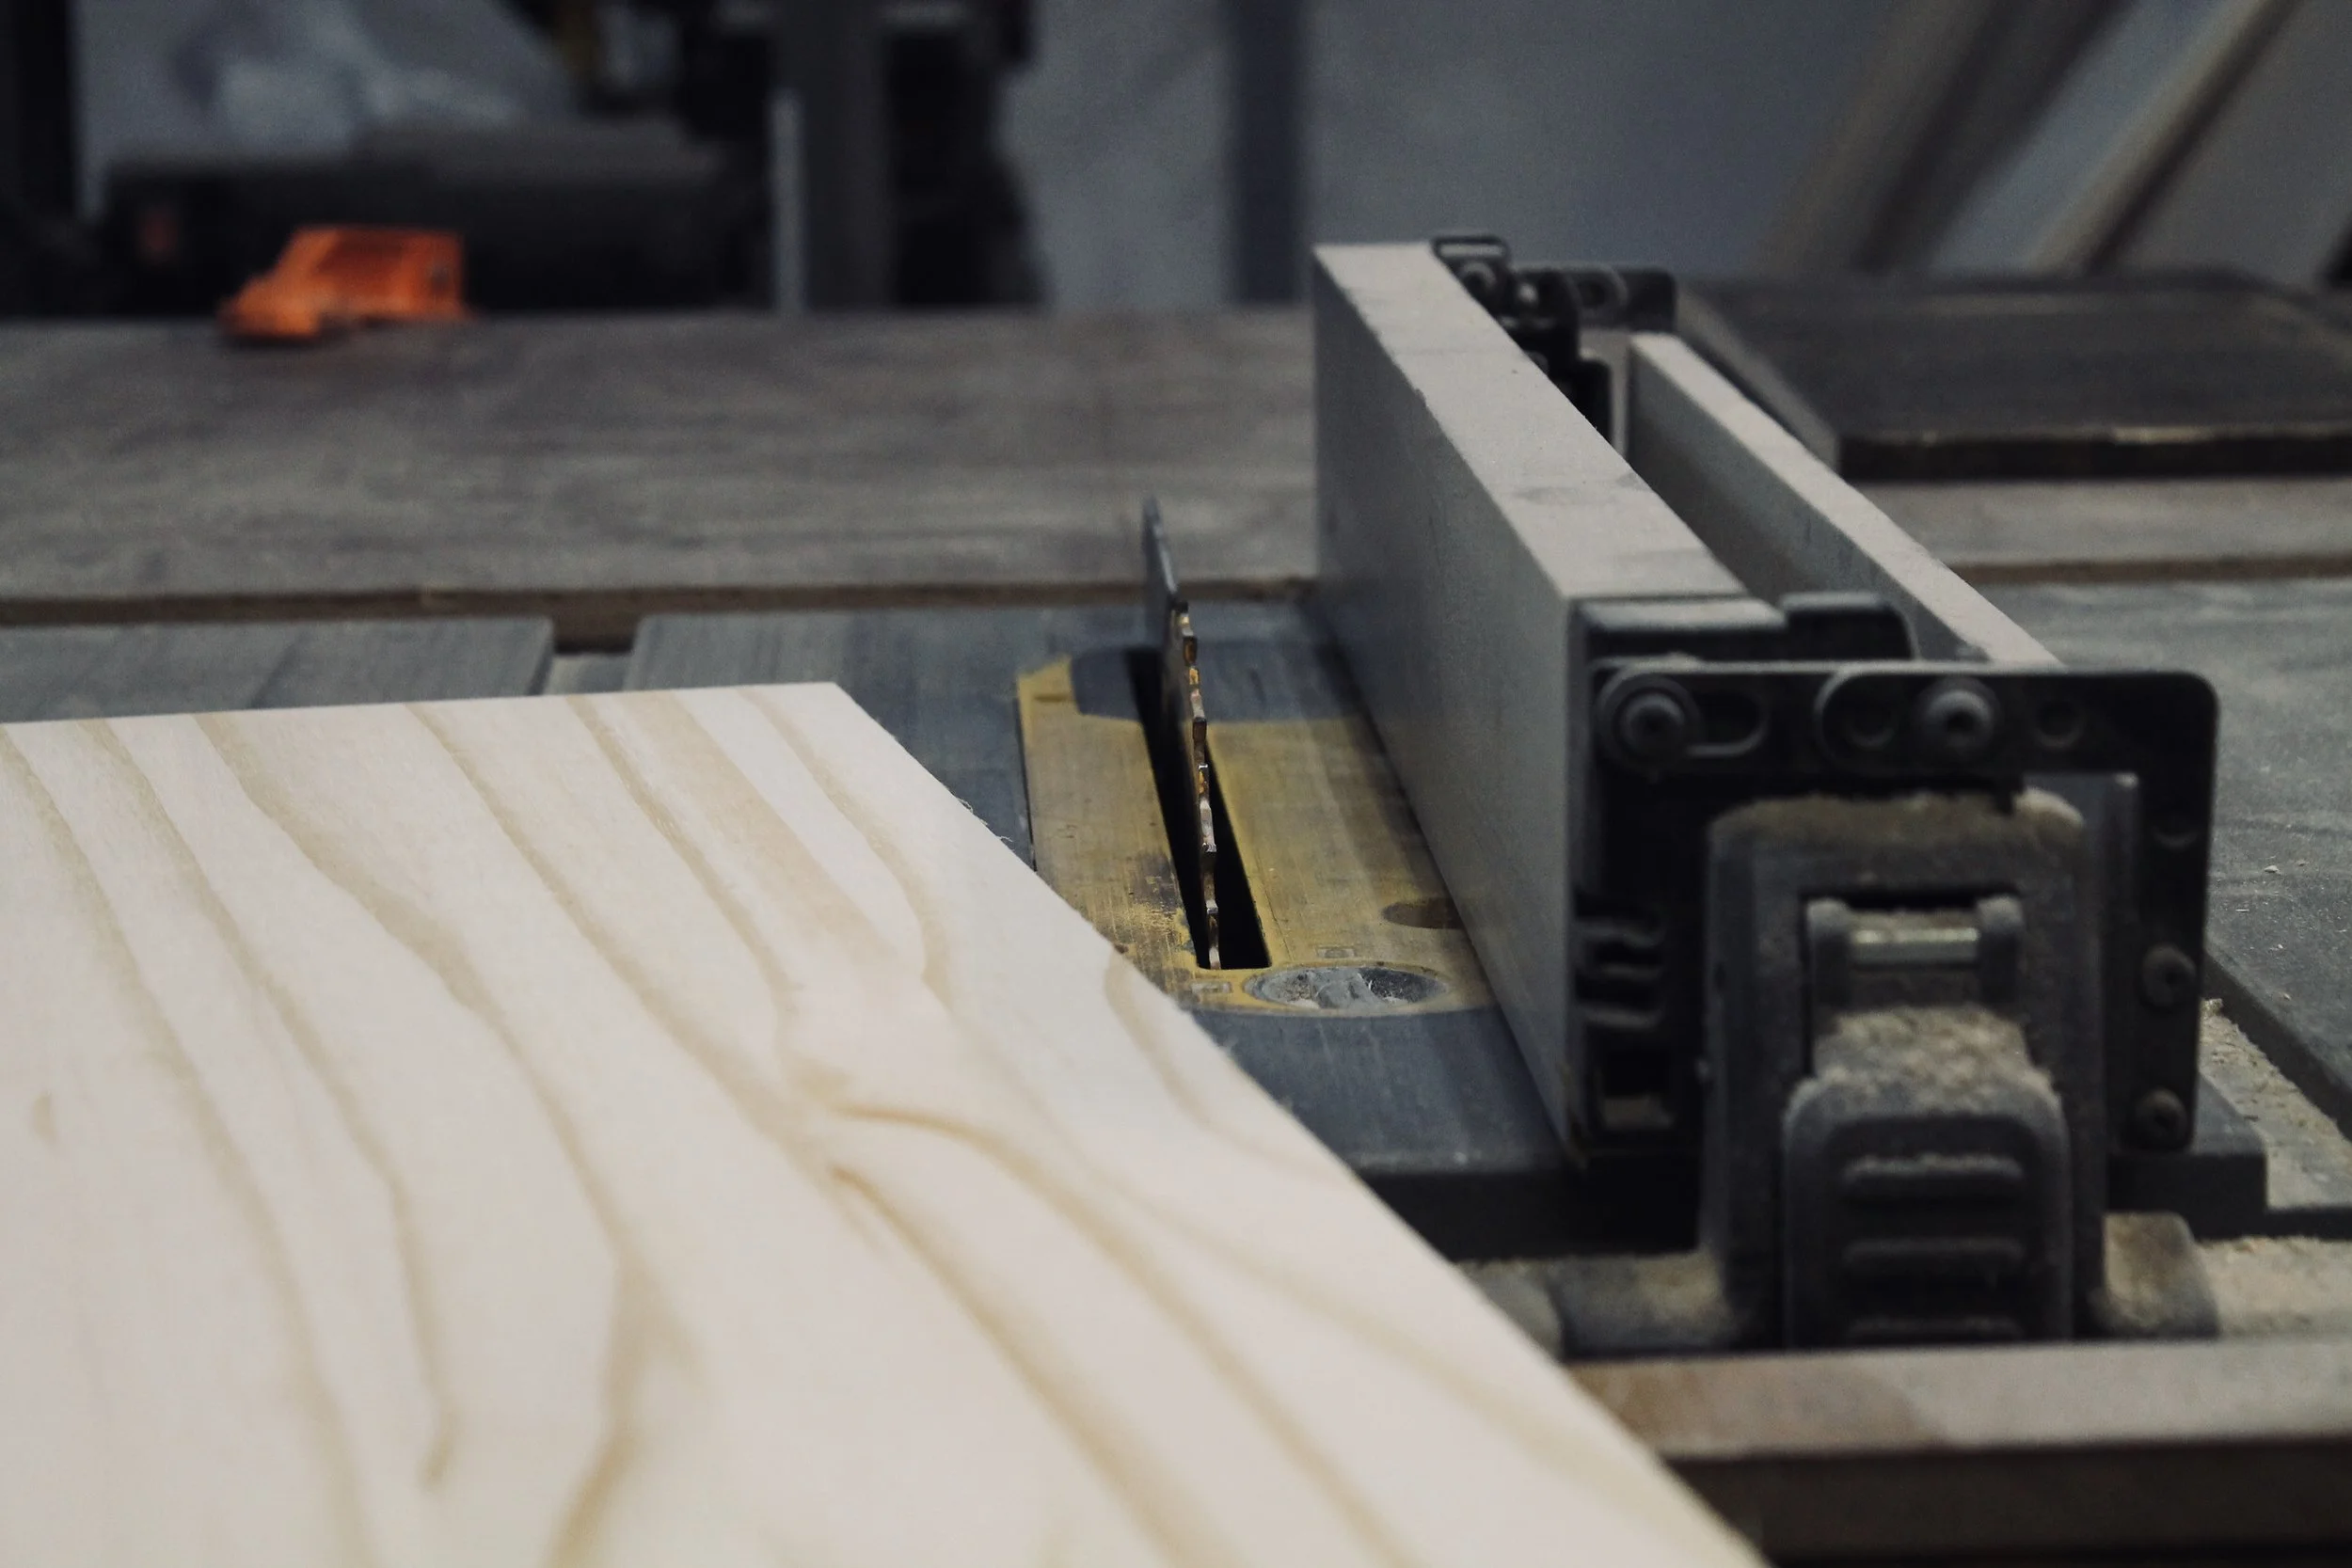
Next, I cut the rest of the pieces. I use a table saw to cut the 1.5” strips and 2.5” strips.
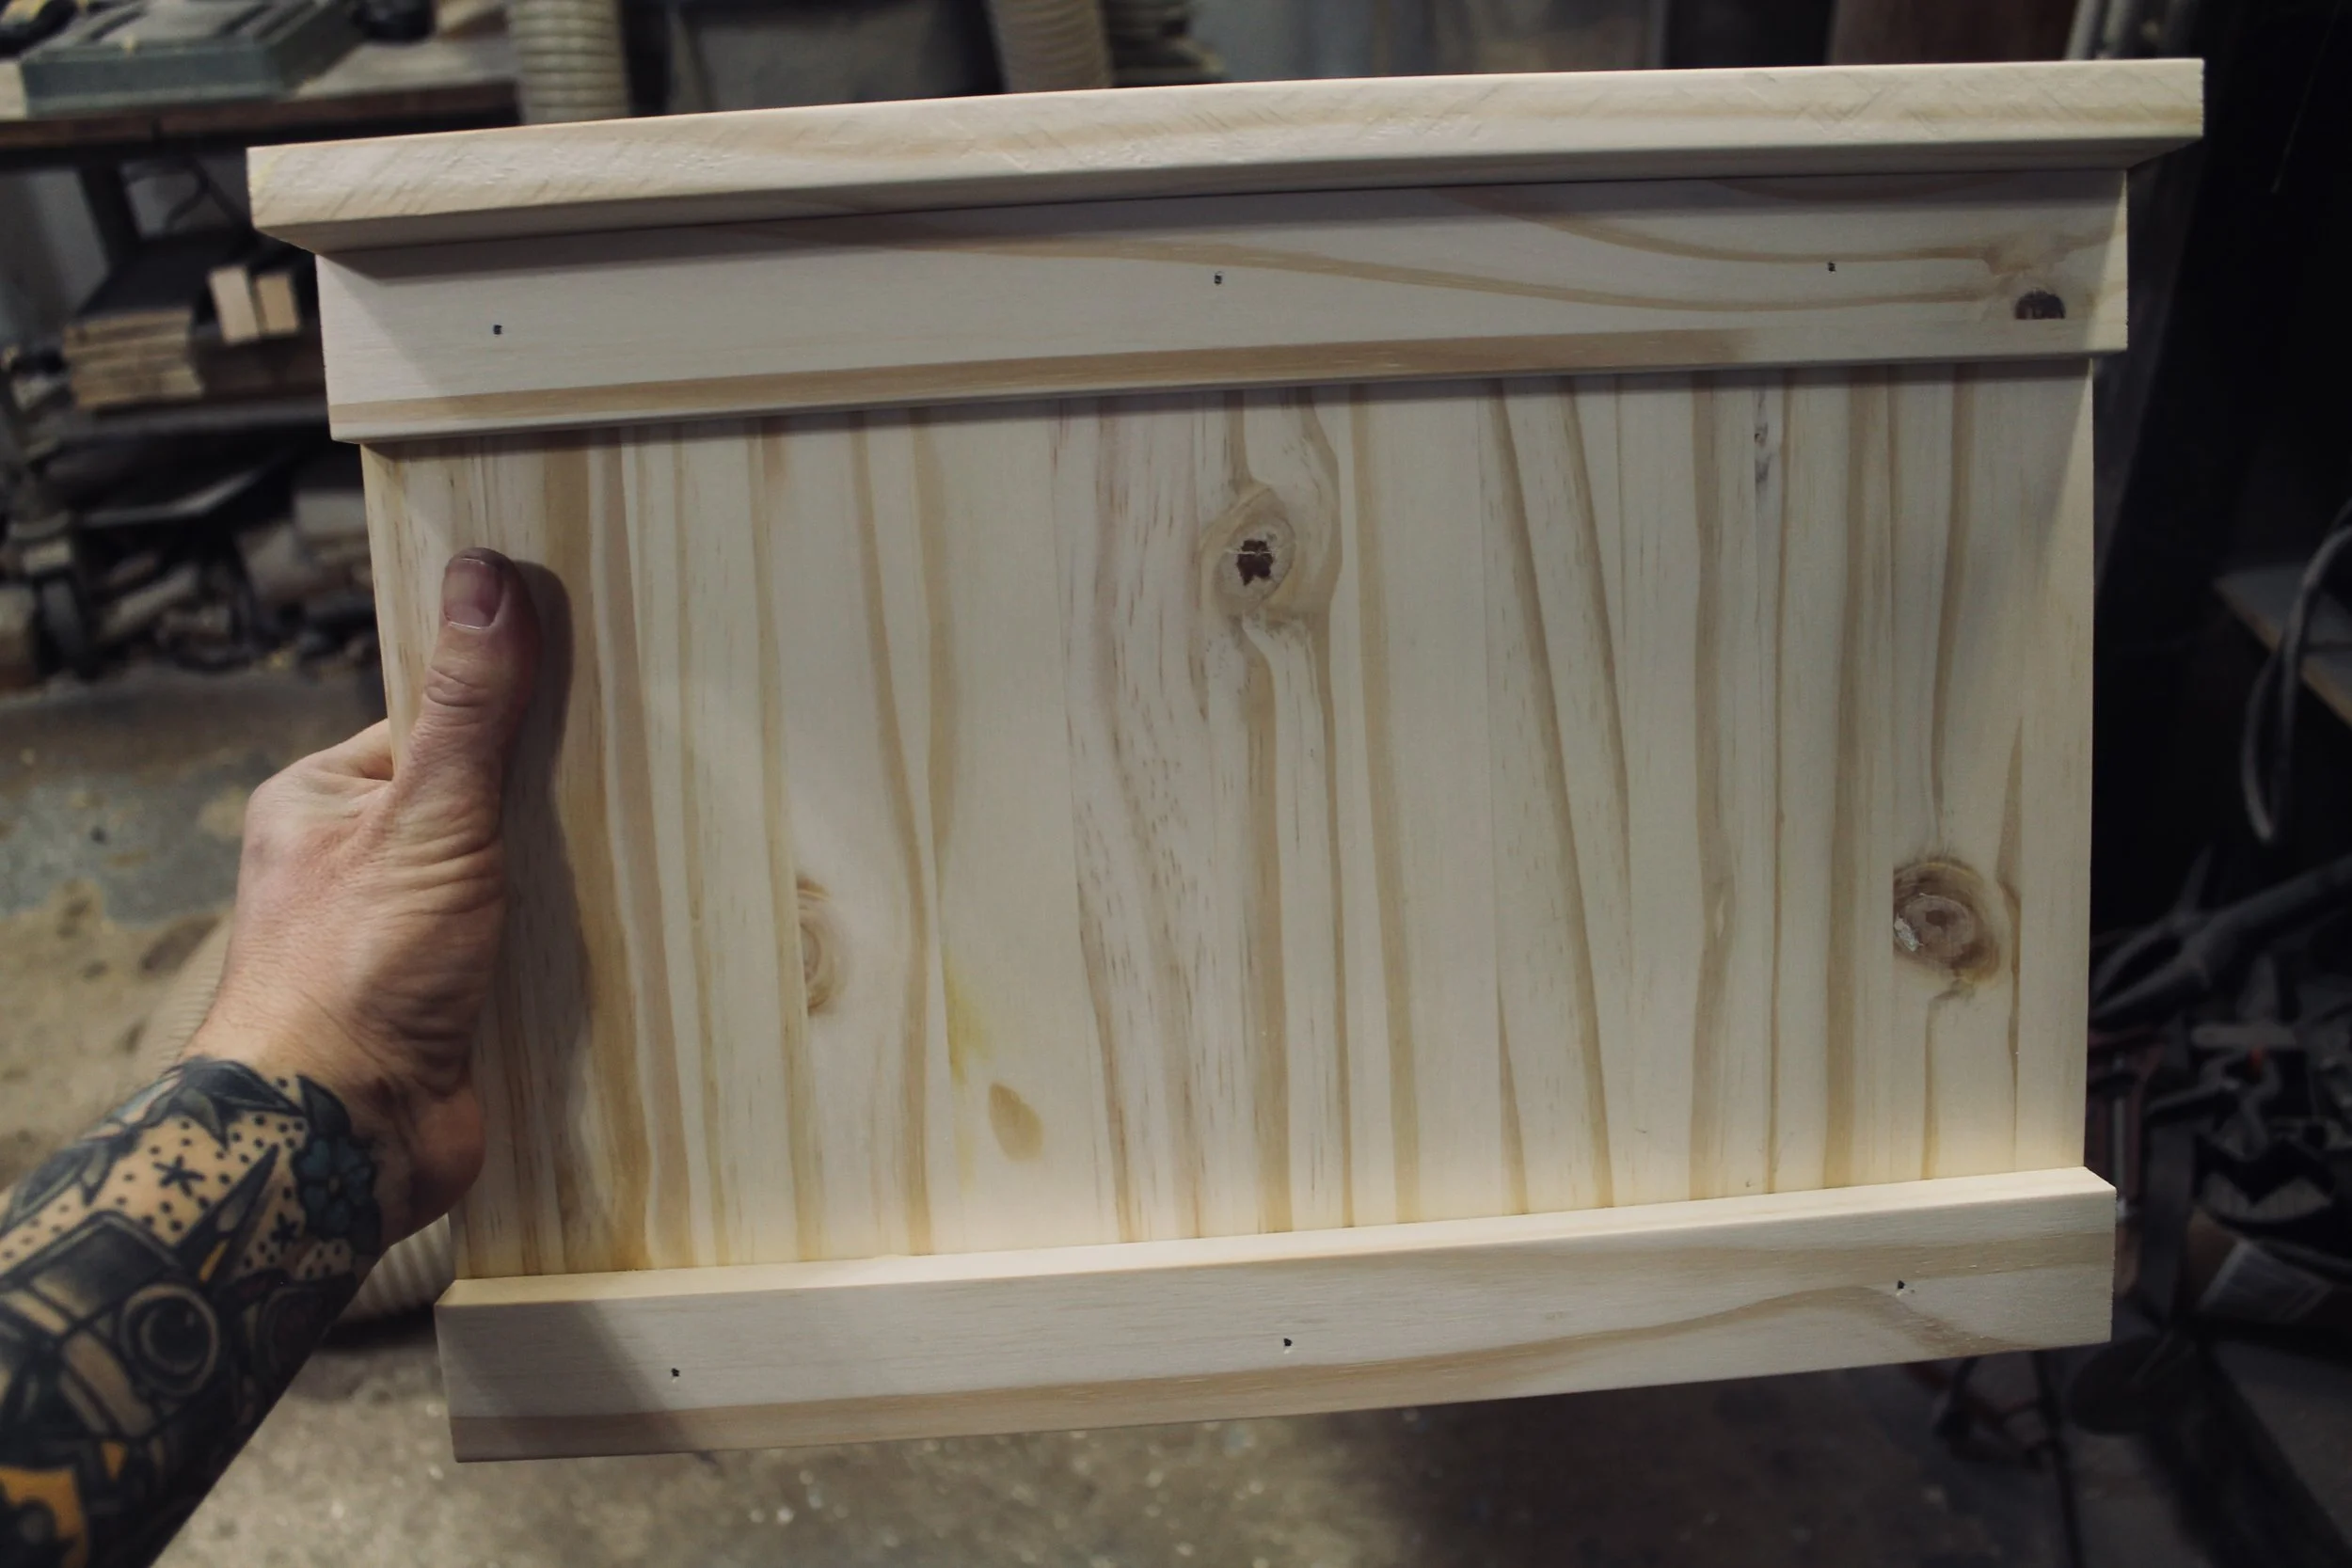
Here are all of the pieces:
10.5” x 15.5” panel
Two 1.25” x 15.5” strips
2.5” x 15.5” strip
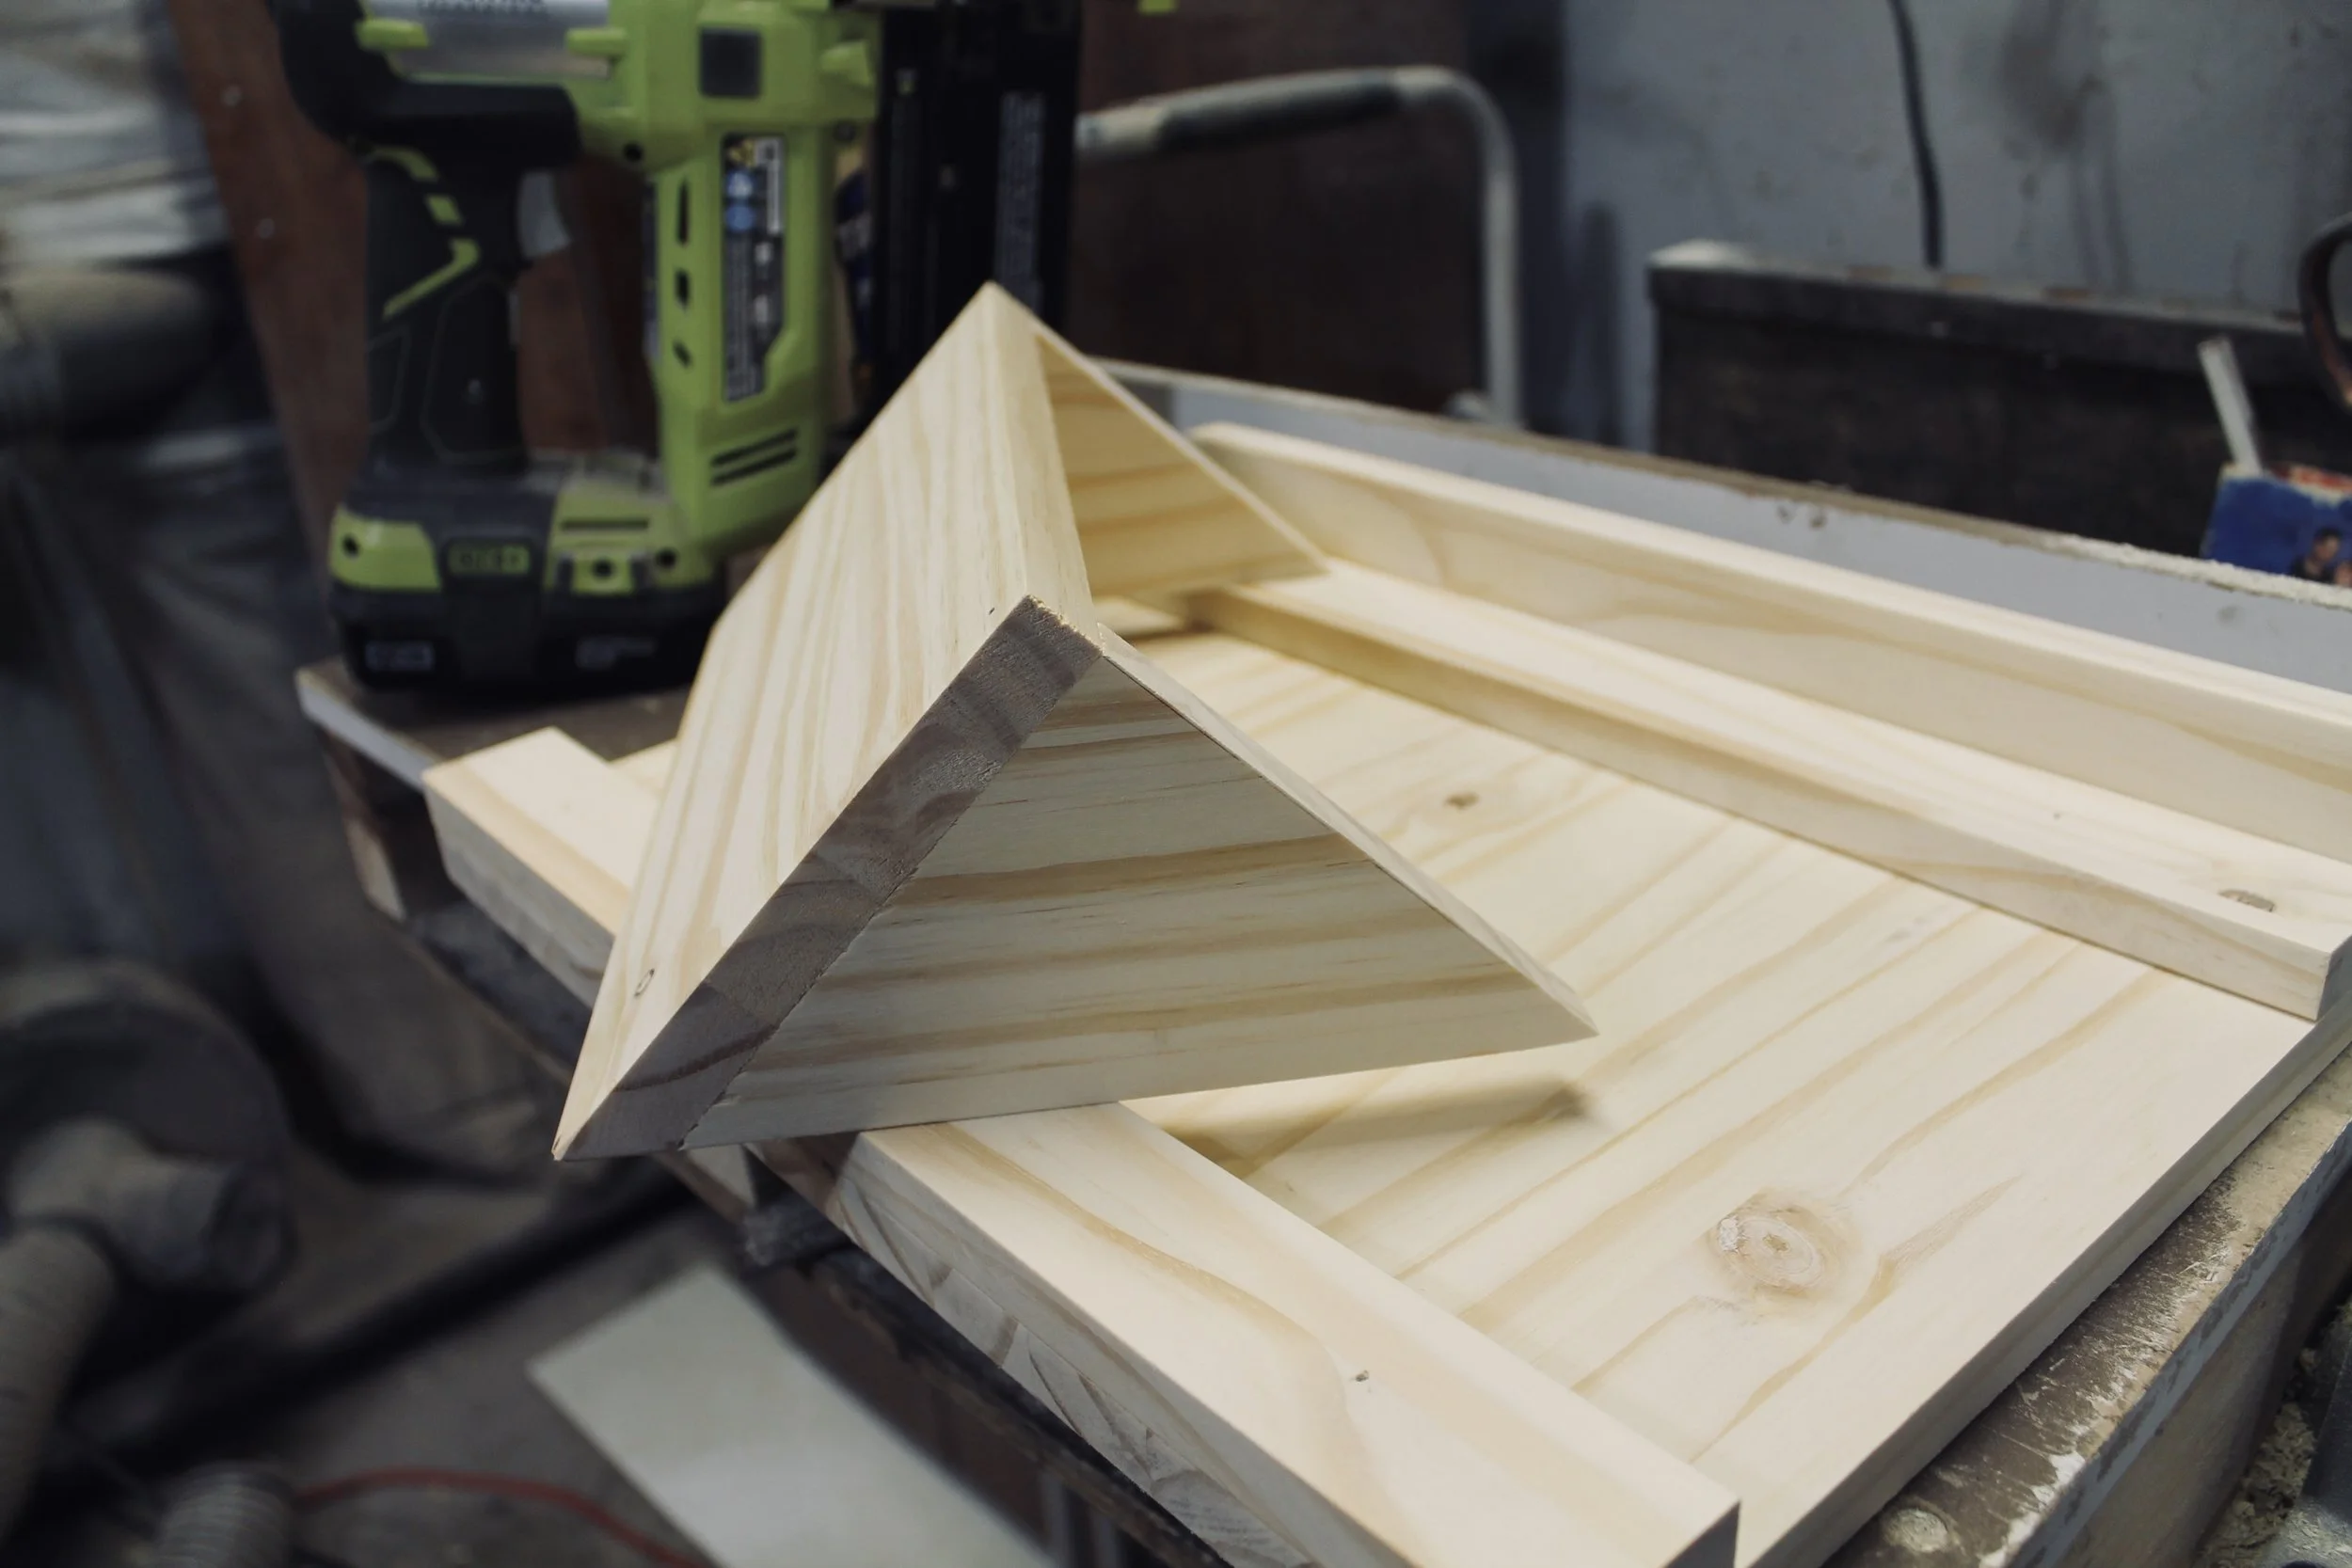
5.5” x 11.25” piece for mail holder, bottom cut at a 45º angle
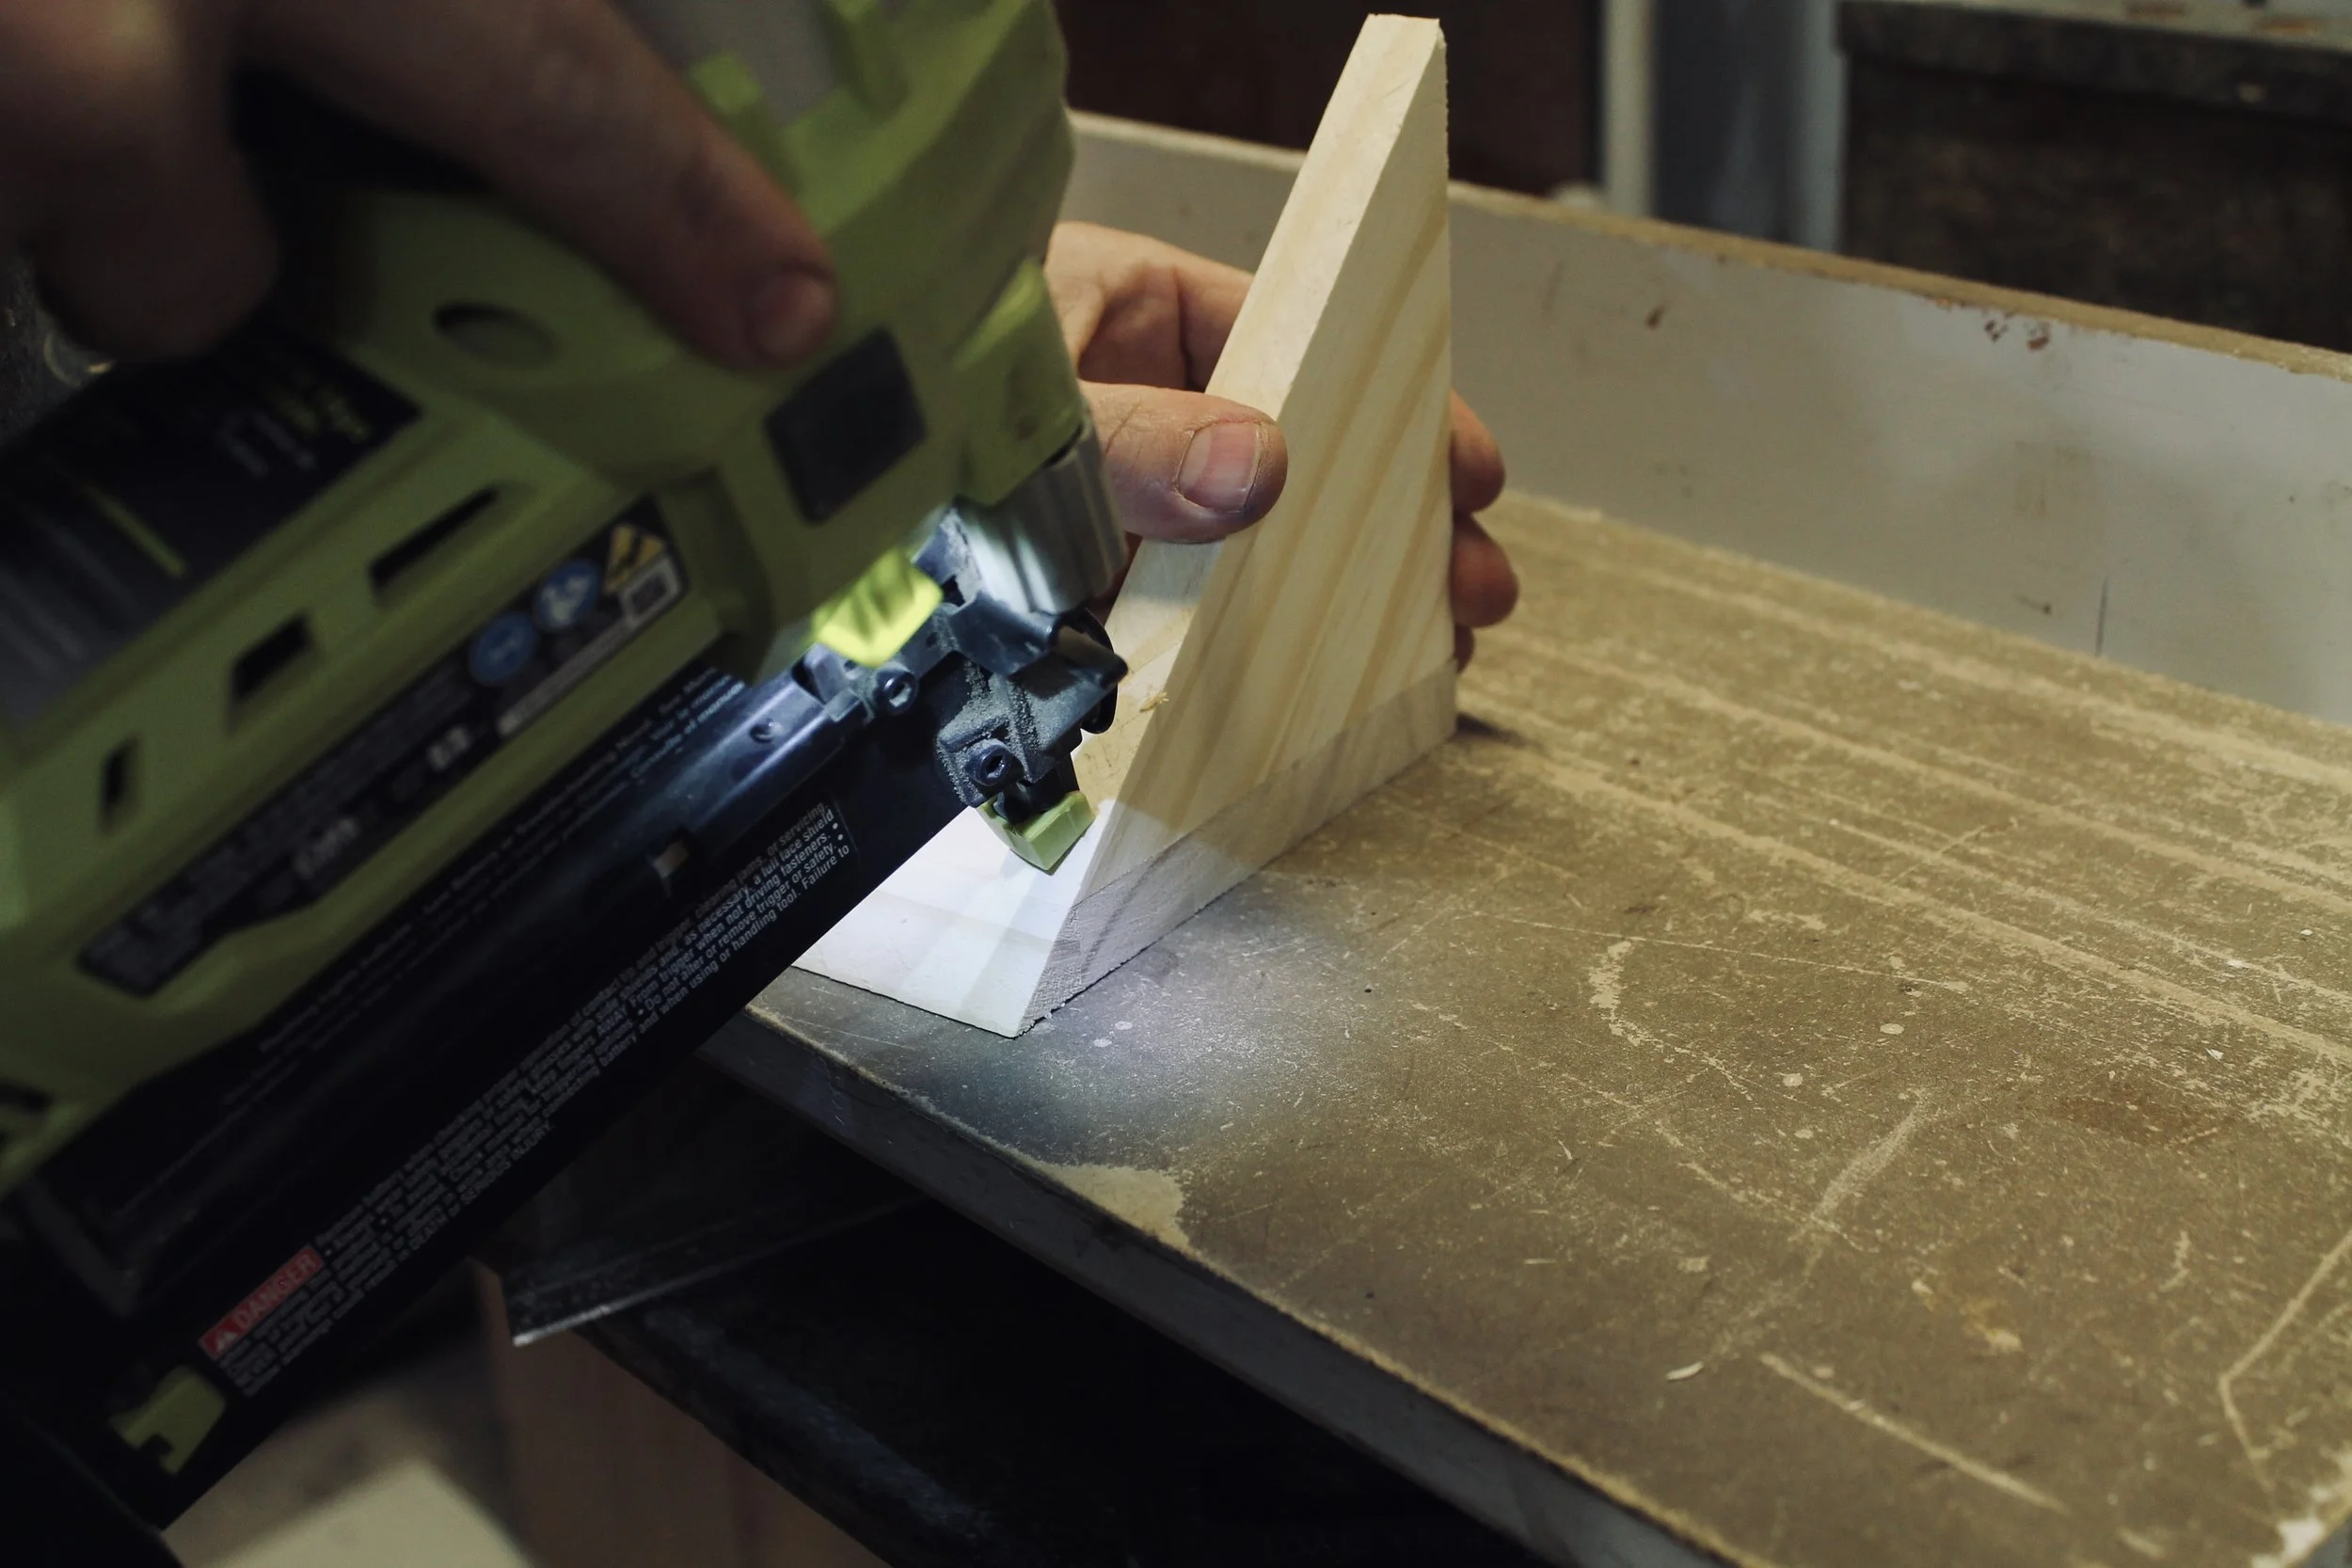
Two triangles with longest side measuring 6 5/8”, with one 45º angle and two 22.5º angles (it sounds a lot harder to accomplish than it actually is)

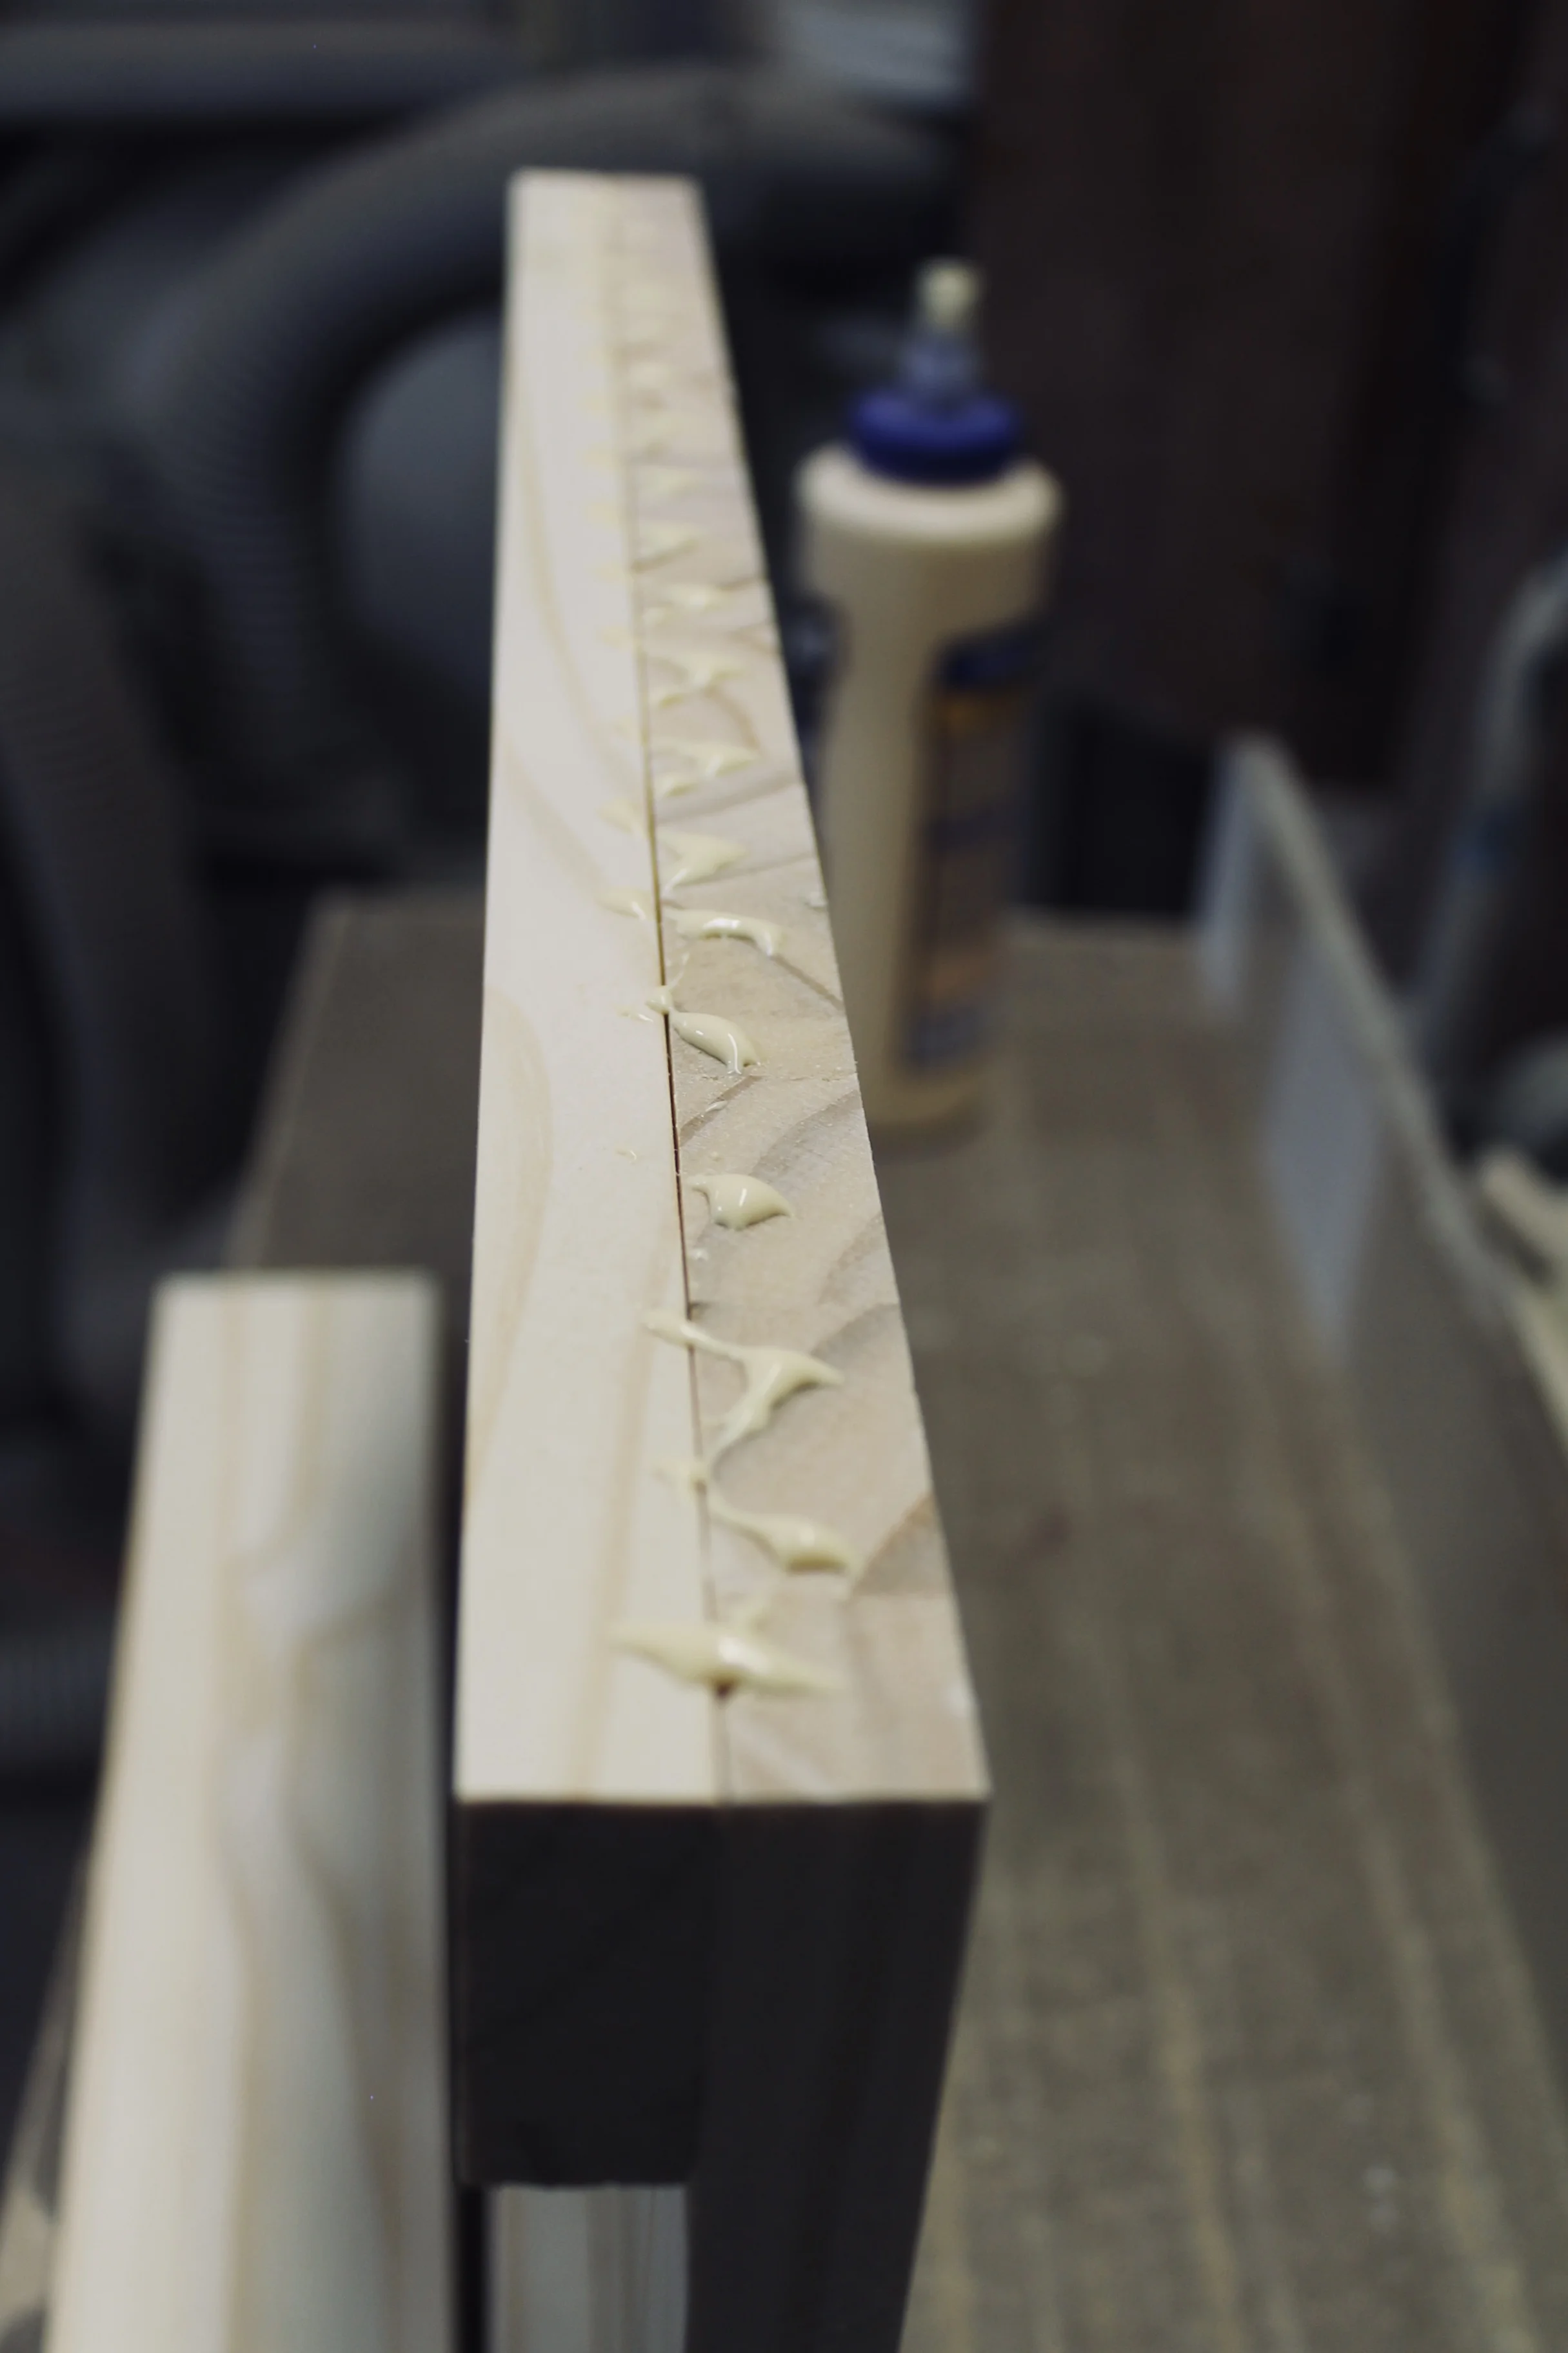
I apply wood glue to each piece before nailing.
I attach the triangle pieces to the mail slot with one nail on the underside and one nail on the top side.
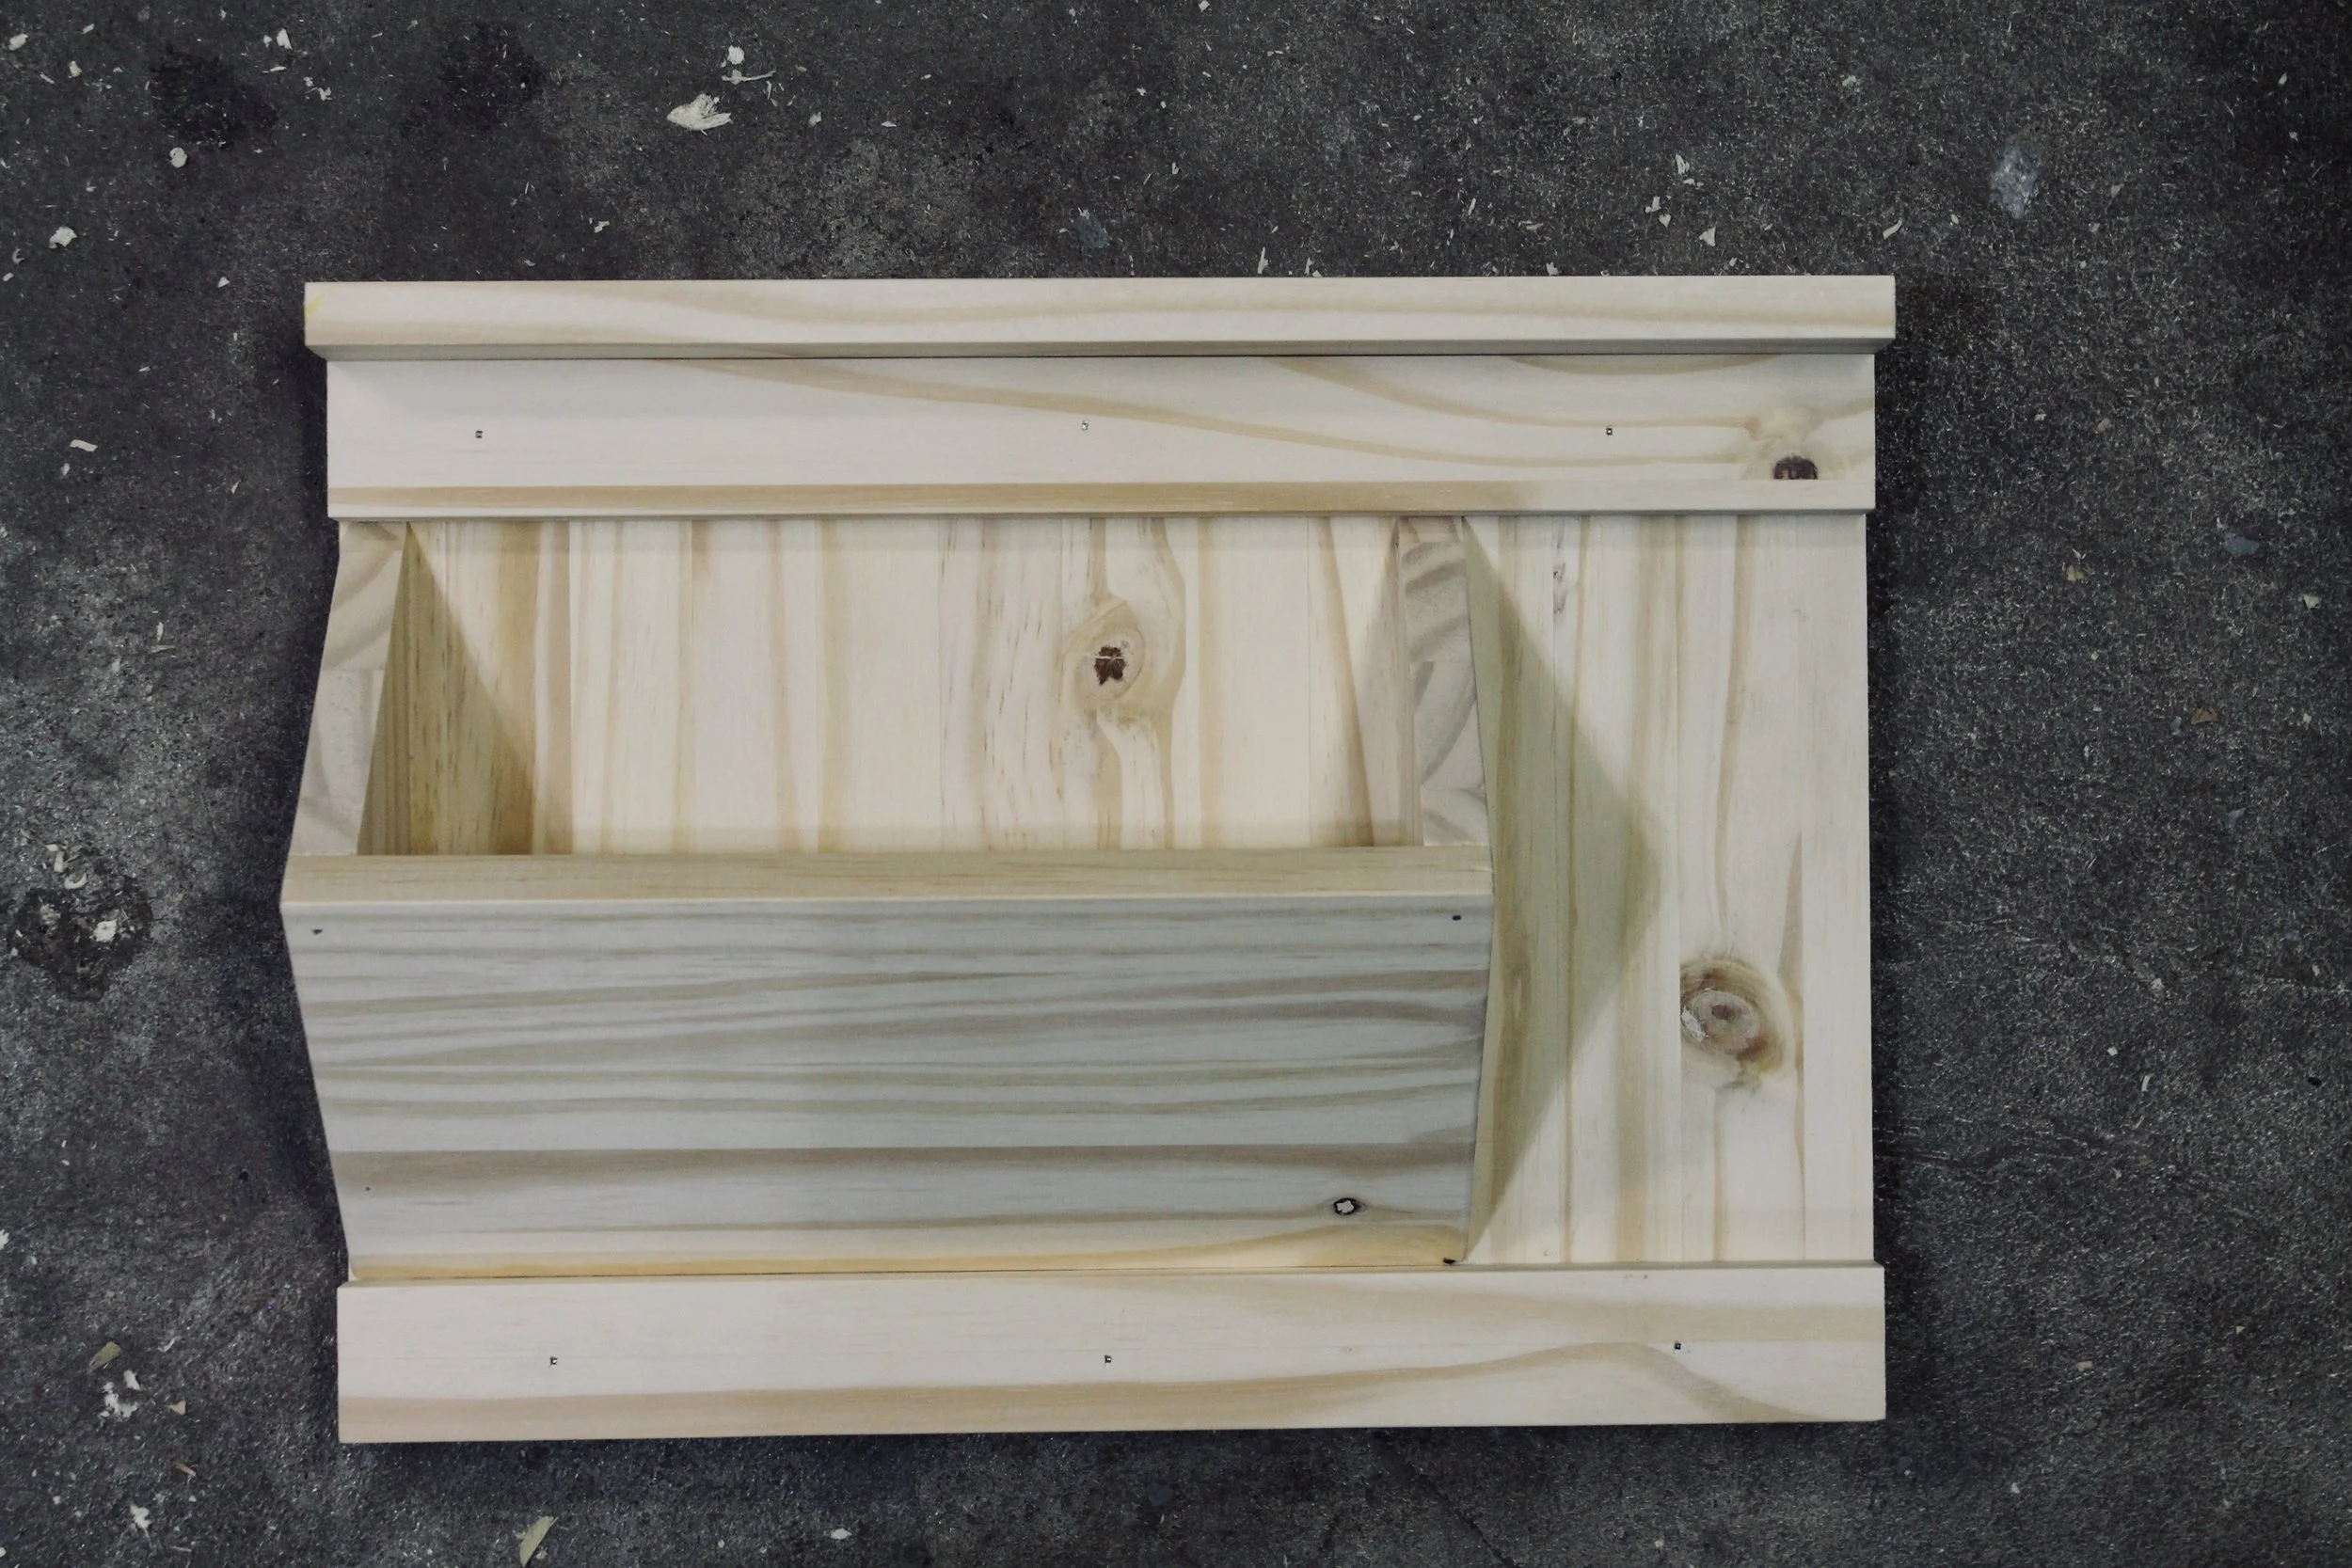
After all of the pieces are assembled and nailed into place. I allow some time for the glue to dry before applying the stain. I also go through and give all of the edges a light sanding.
On this one I am using classic gray wood stain, but this design looks great in any variety of colors.

I really love the look of this Minwax Classic Gray on pine wood.
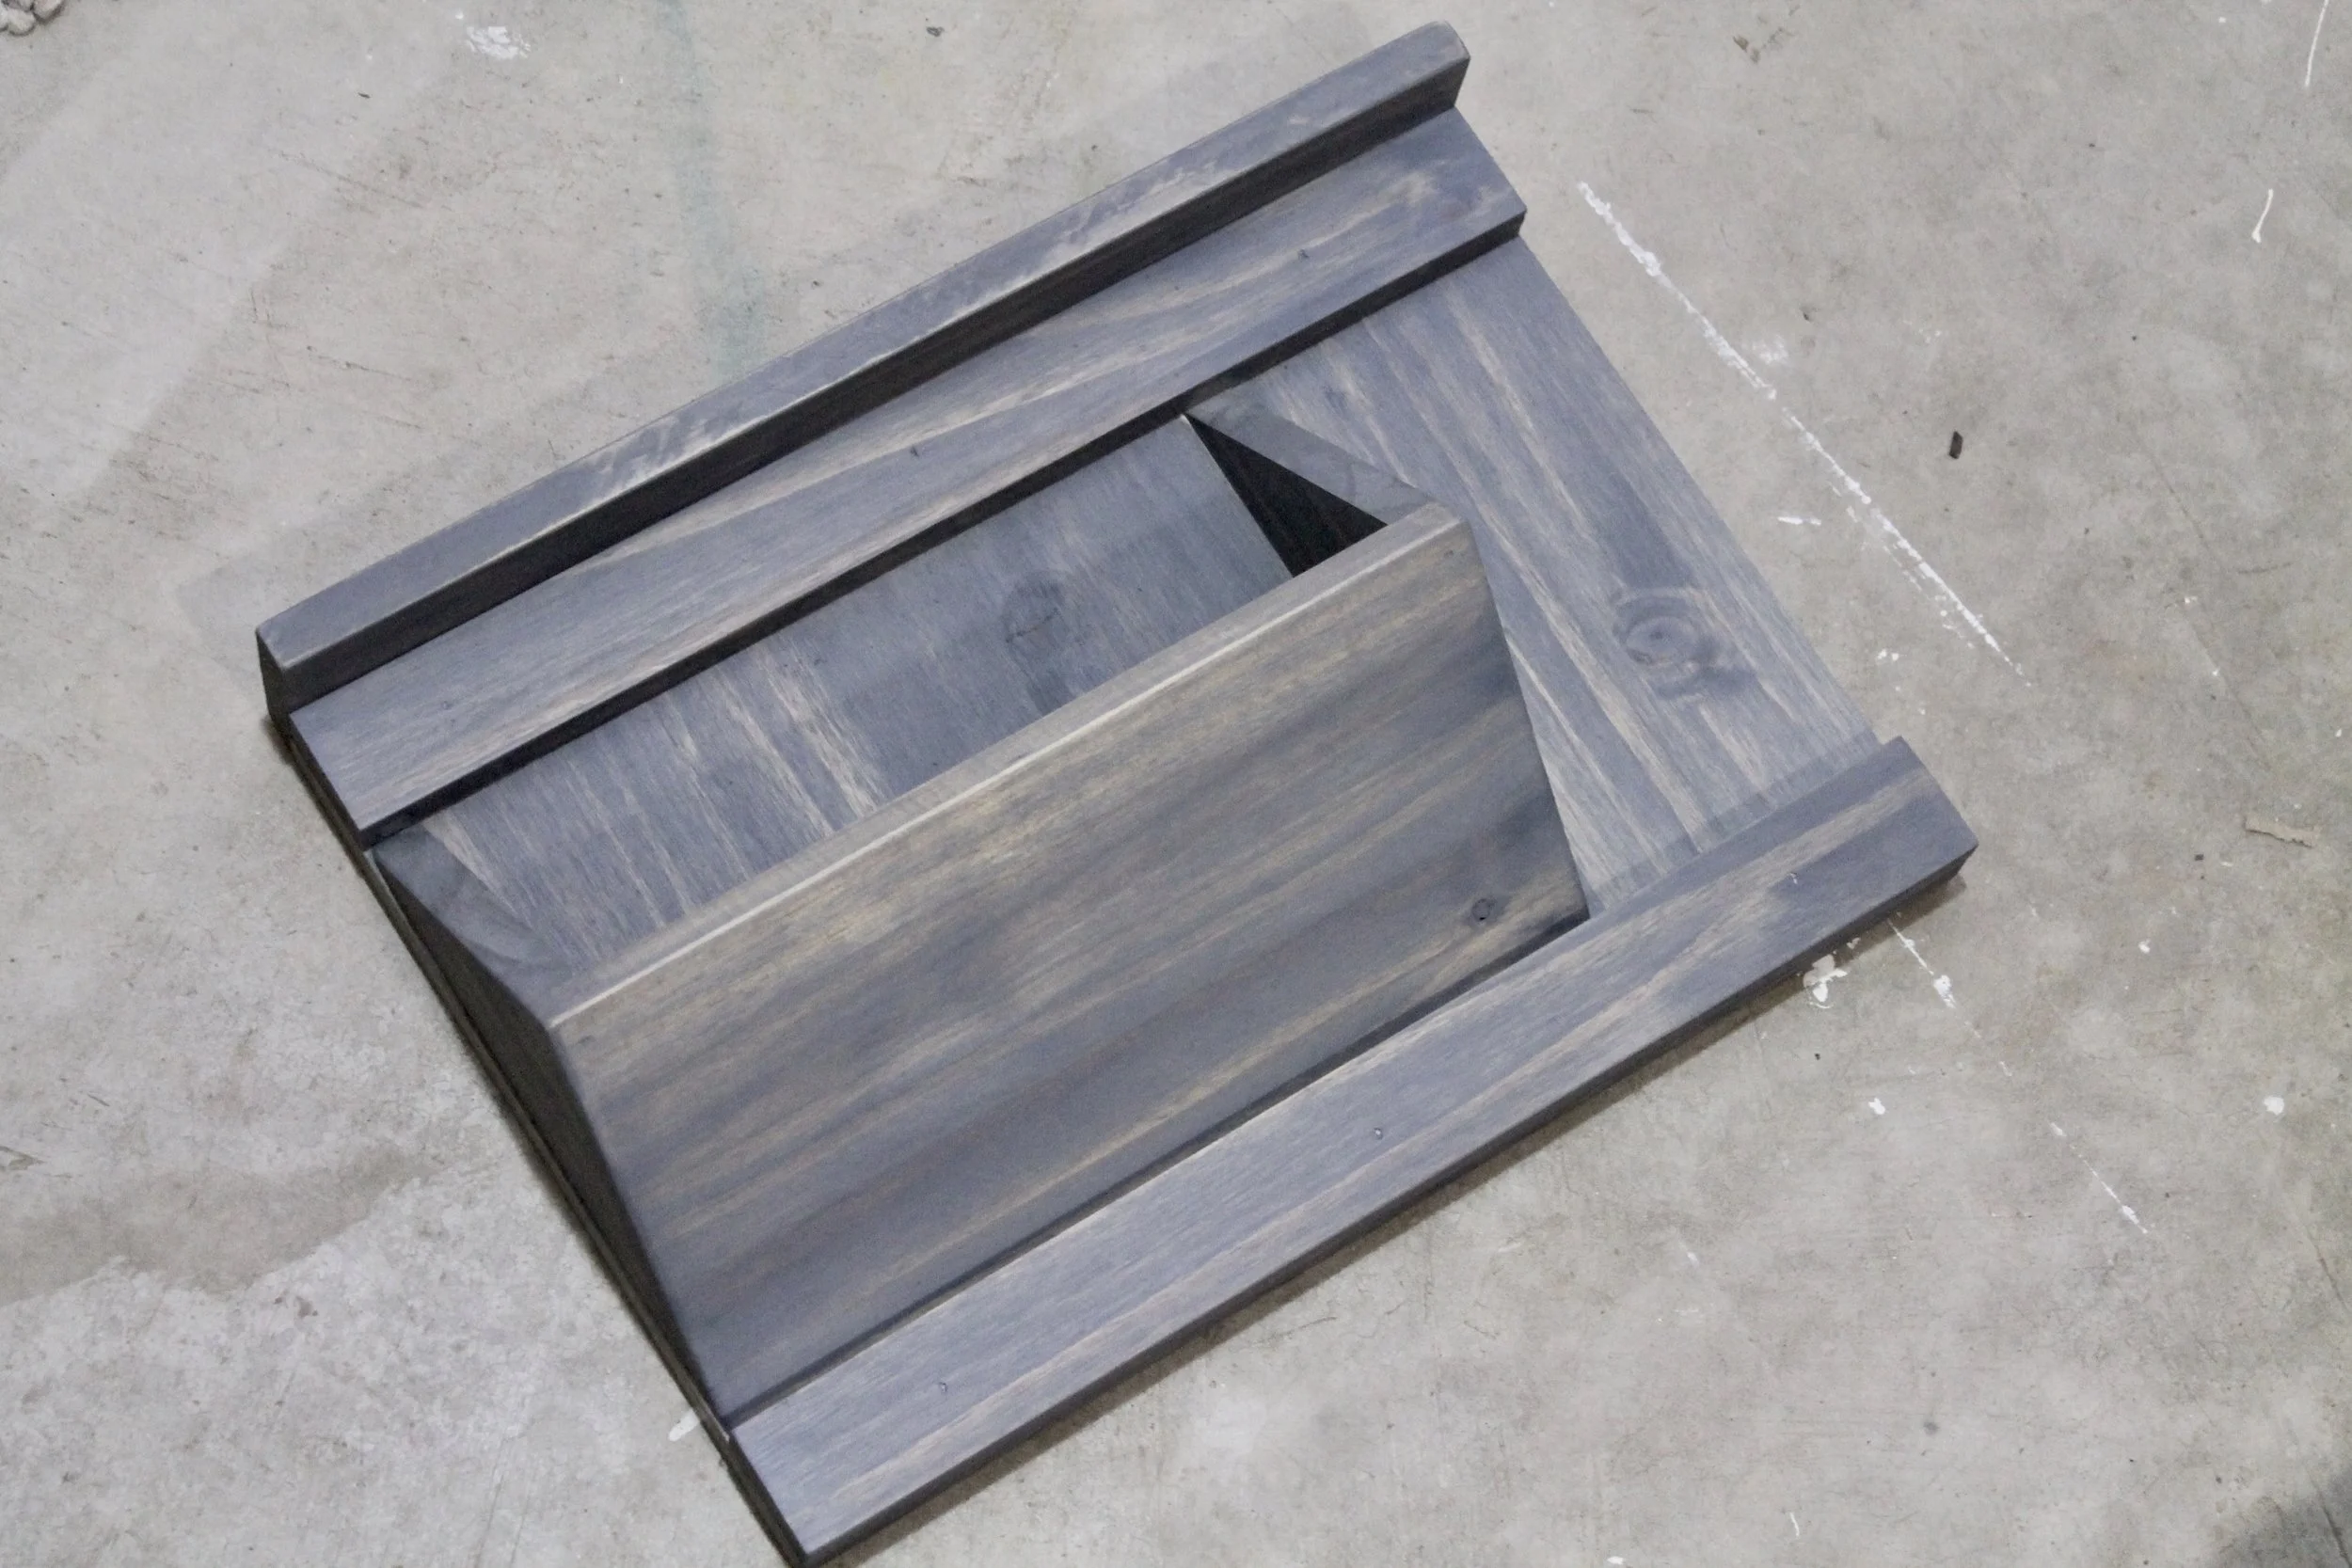
After applying the stain, I’ll let it dry overnight before finishing up with the hardware.
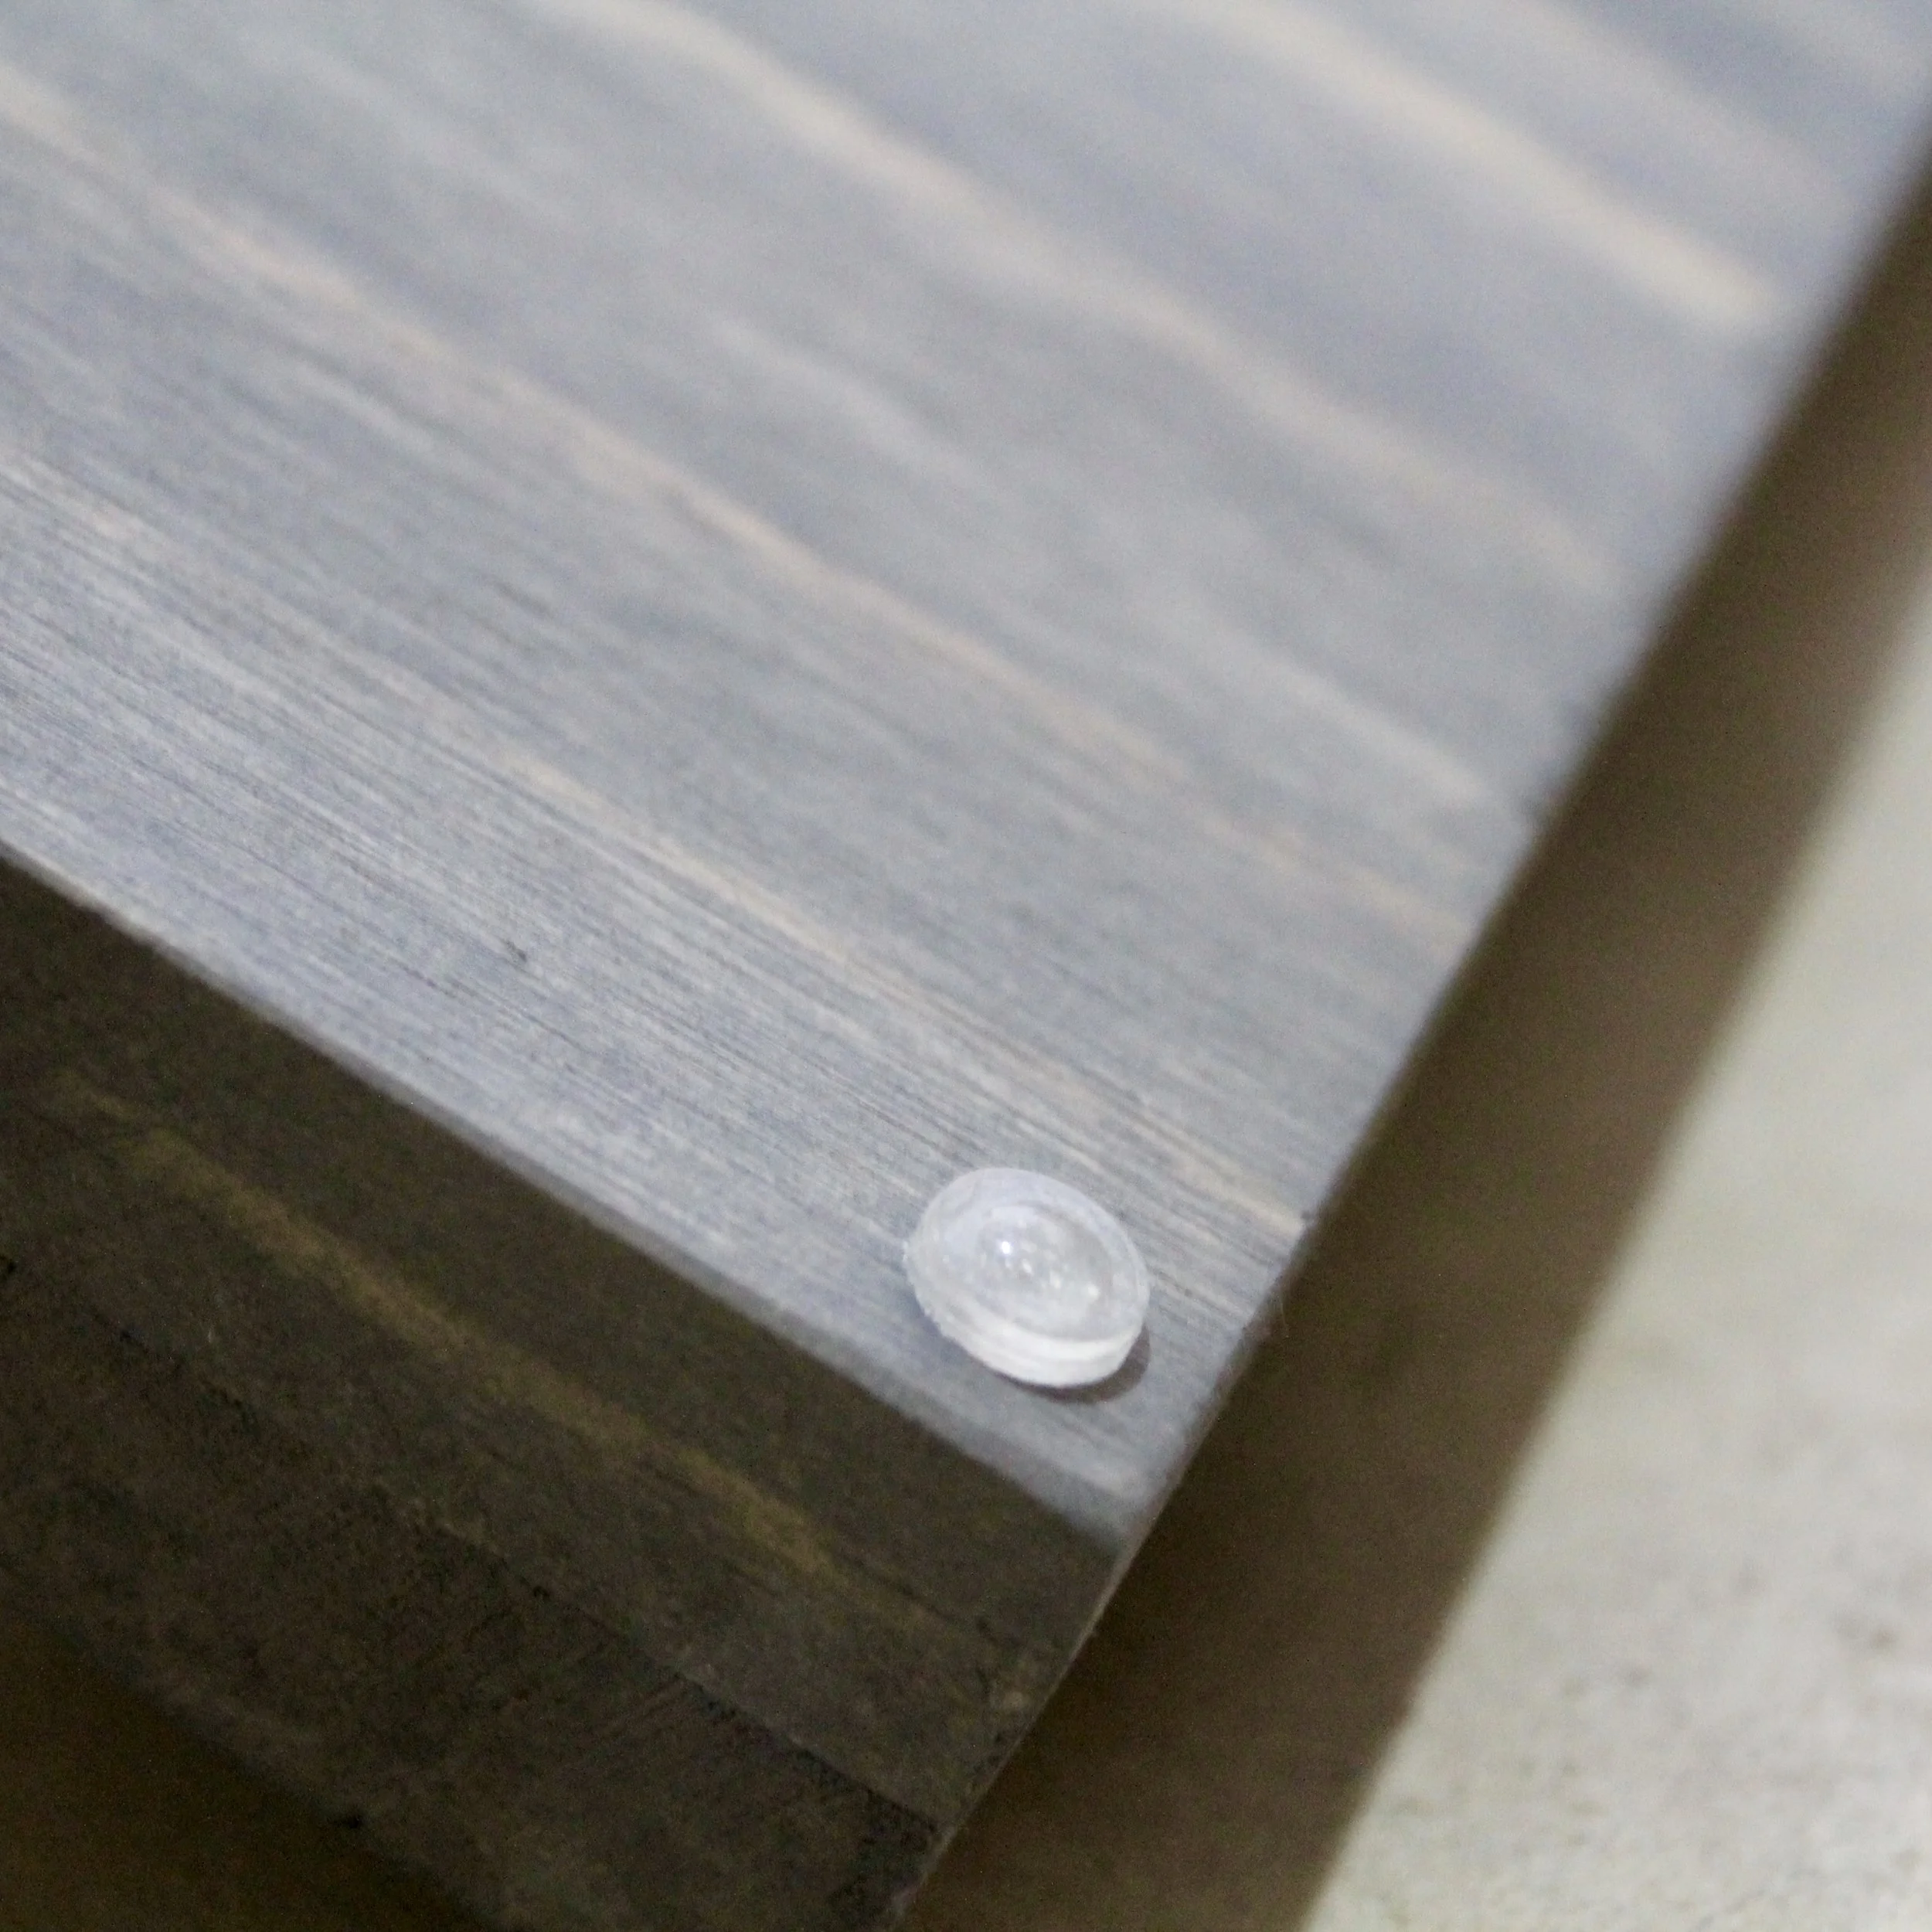
I add two D-ring picture hangers to the top corners and two clear rubber feet to the bottom corners for wall hanging.
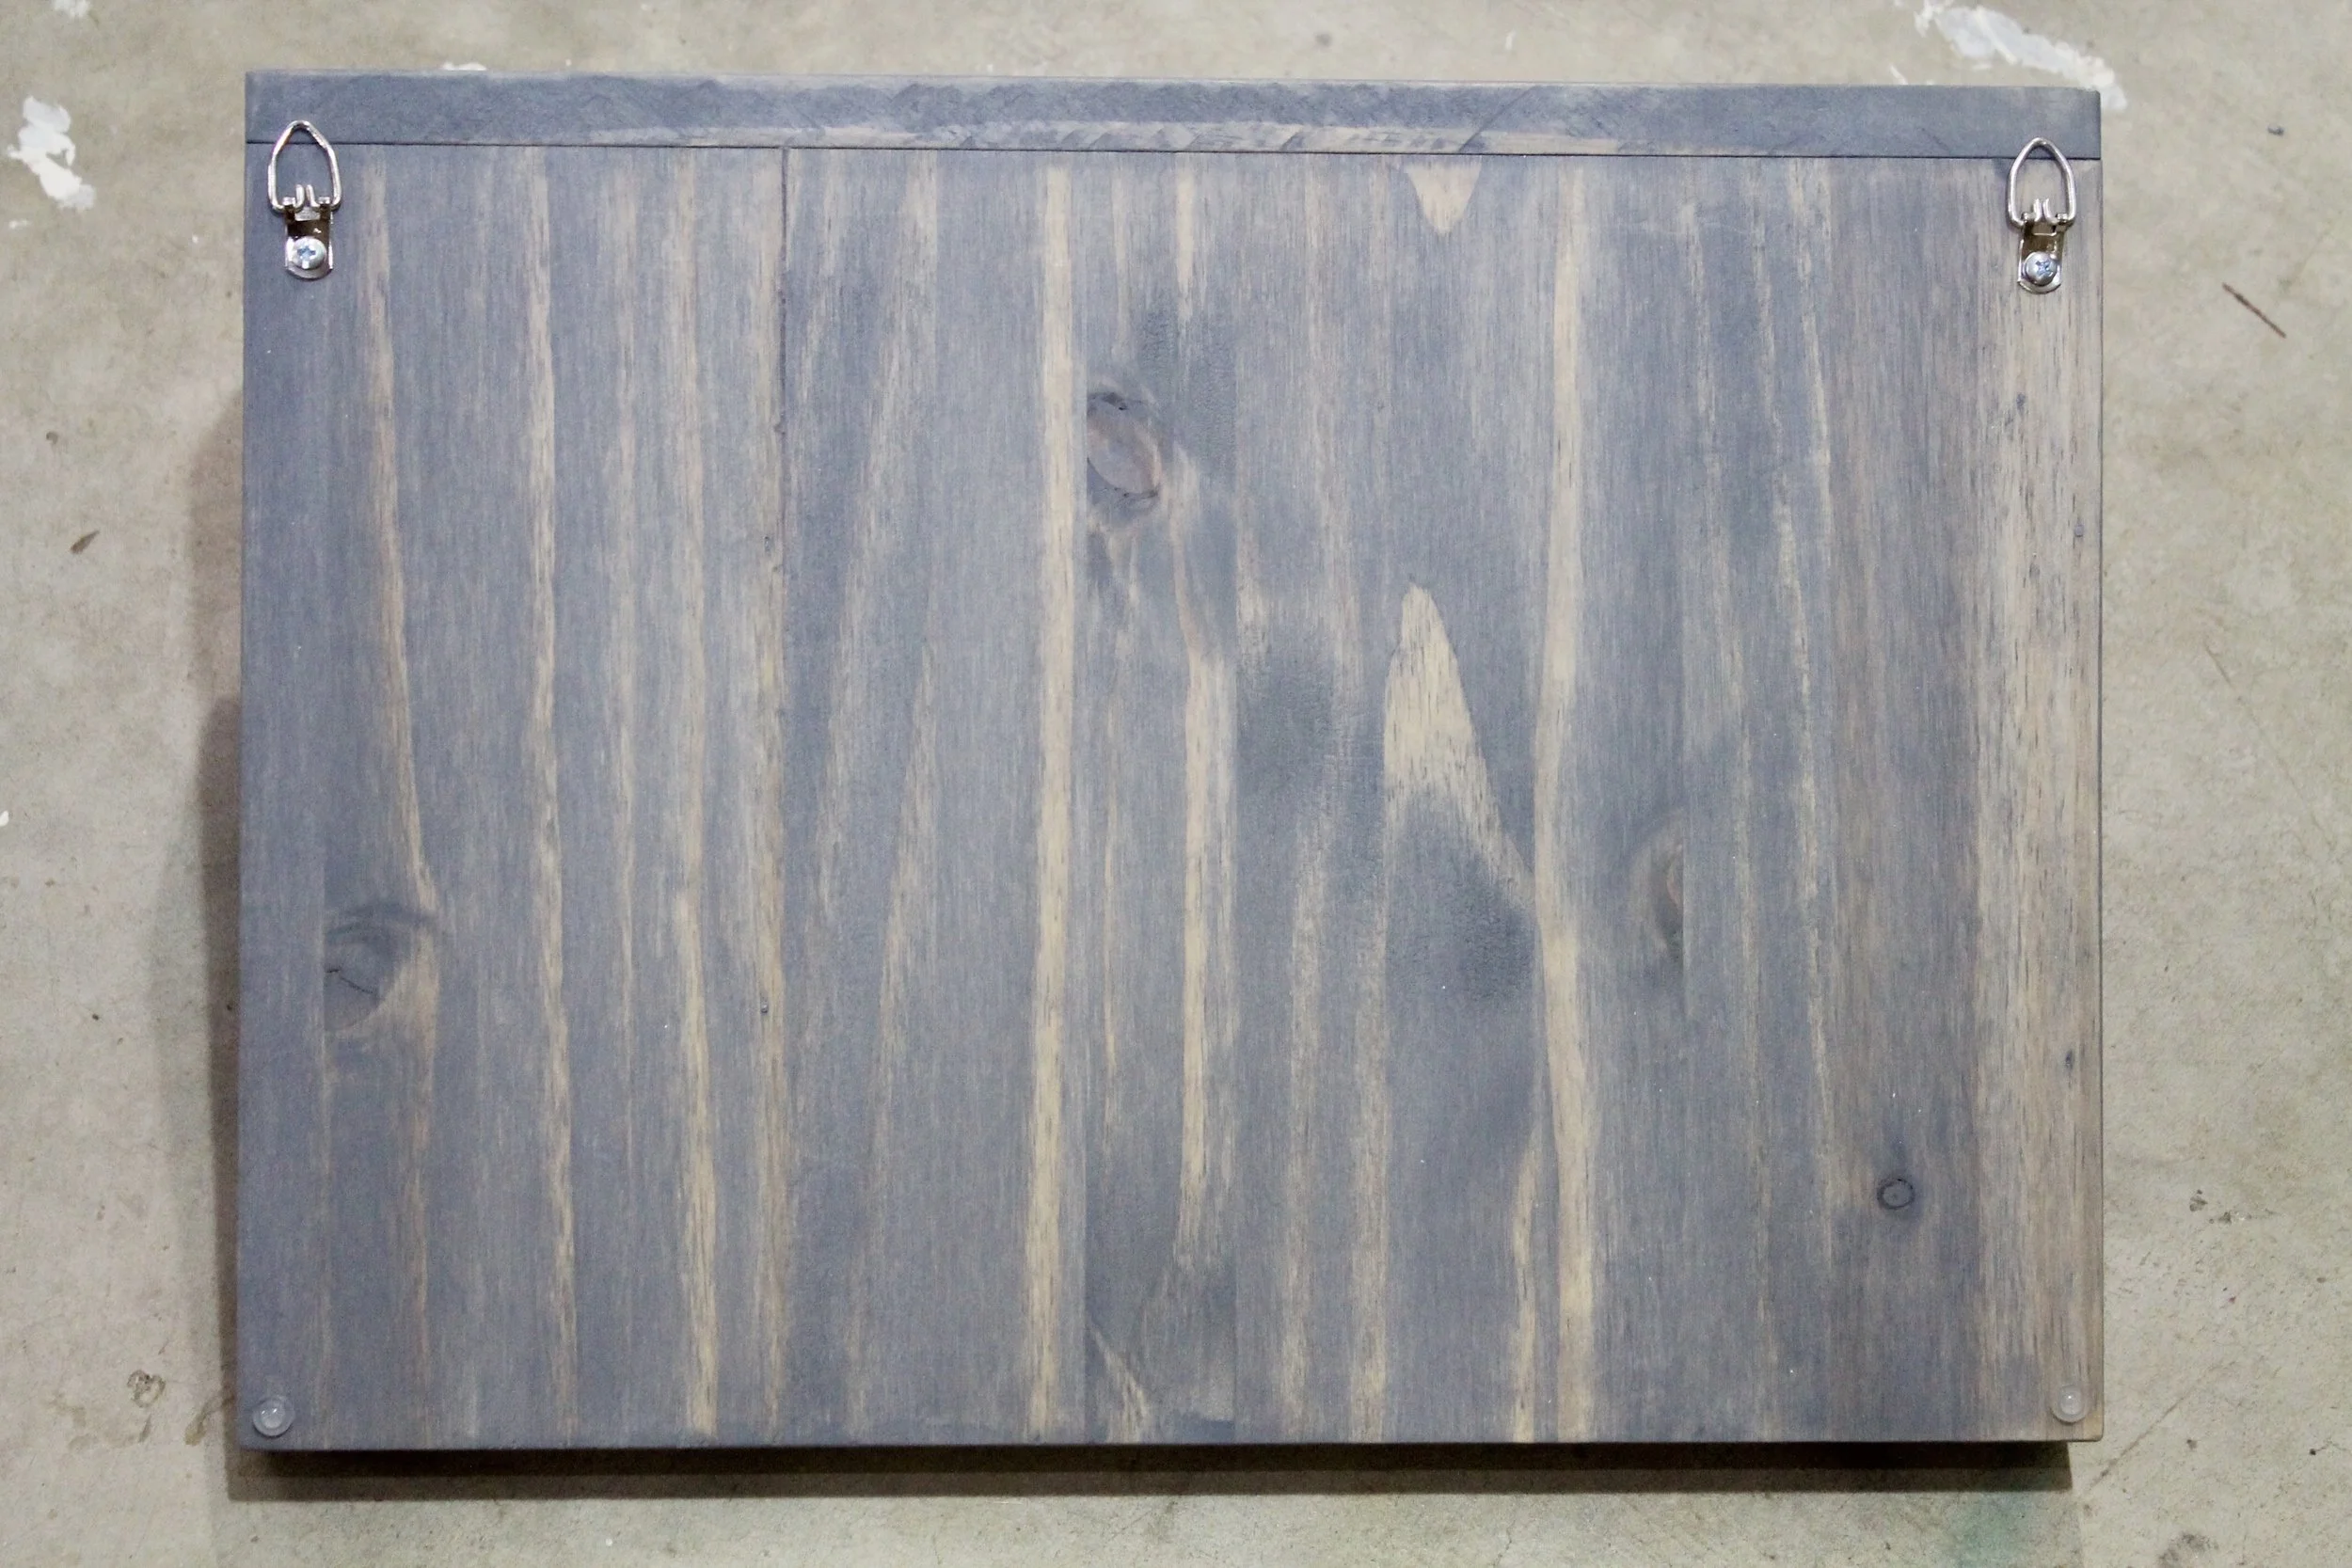
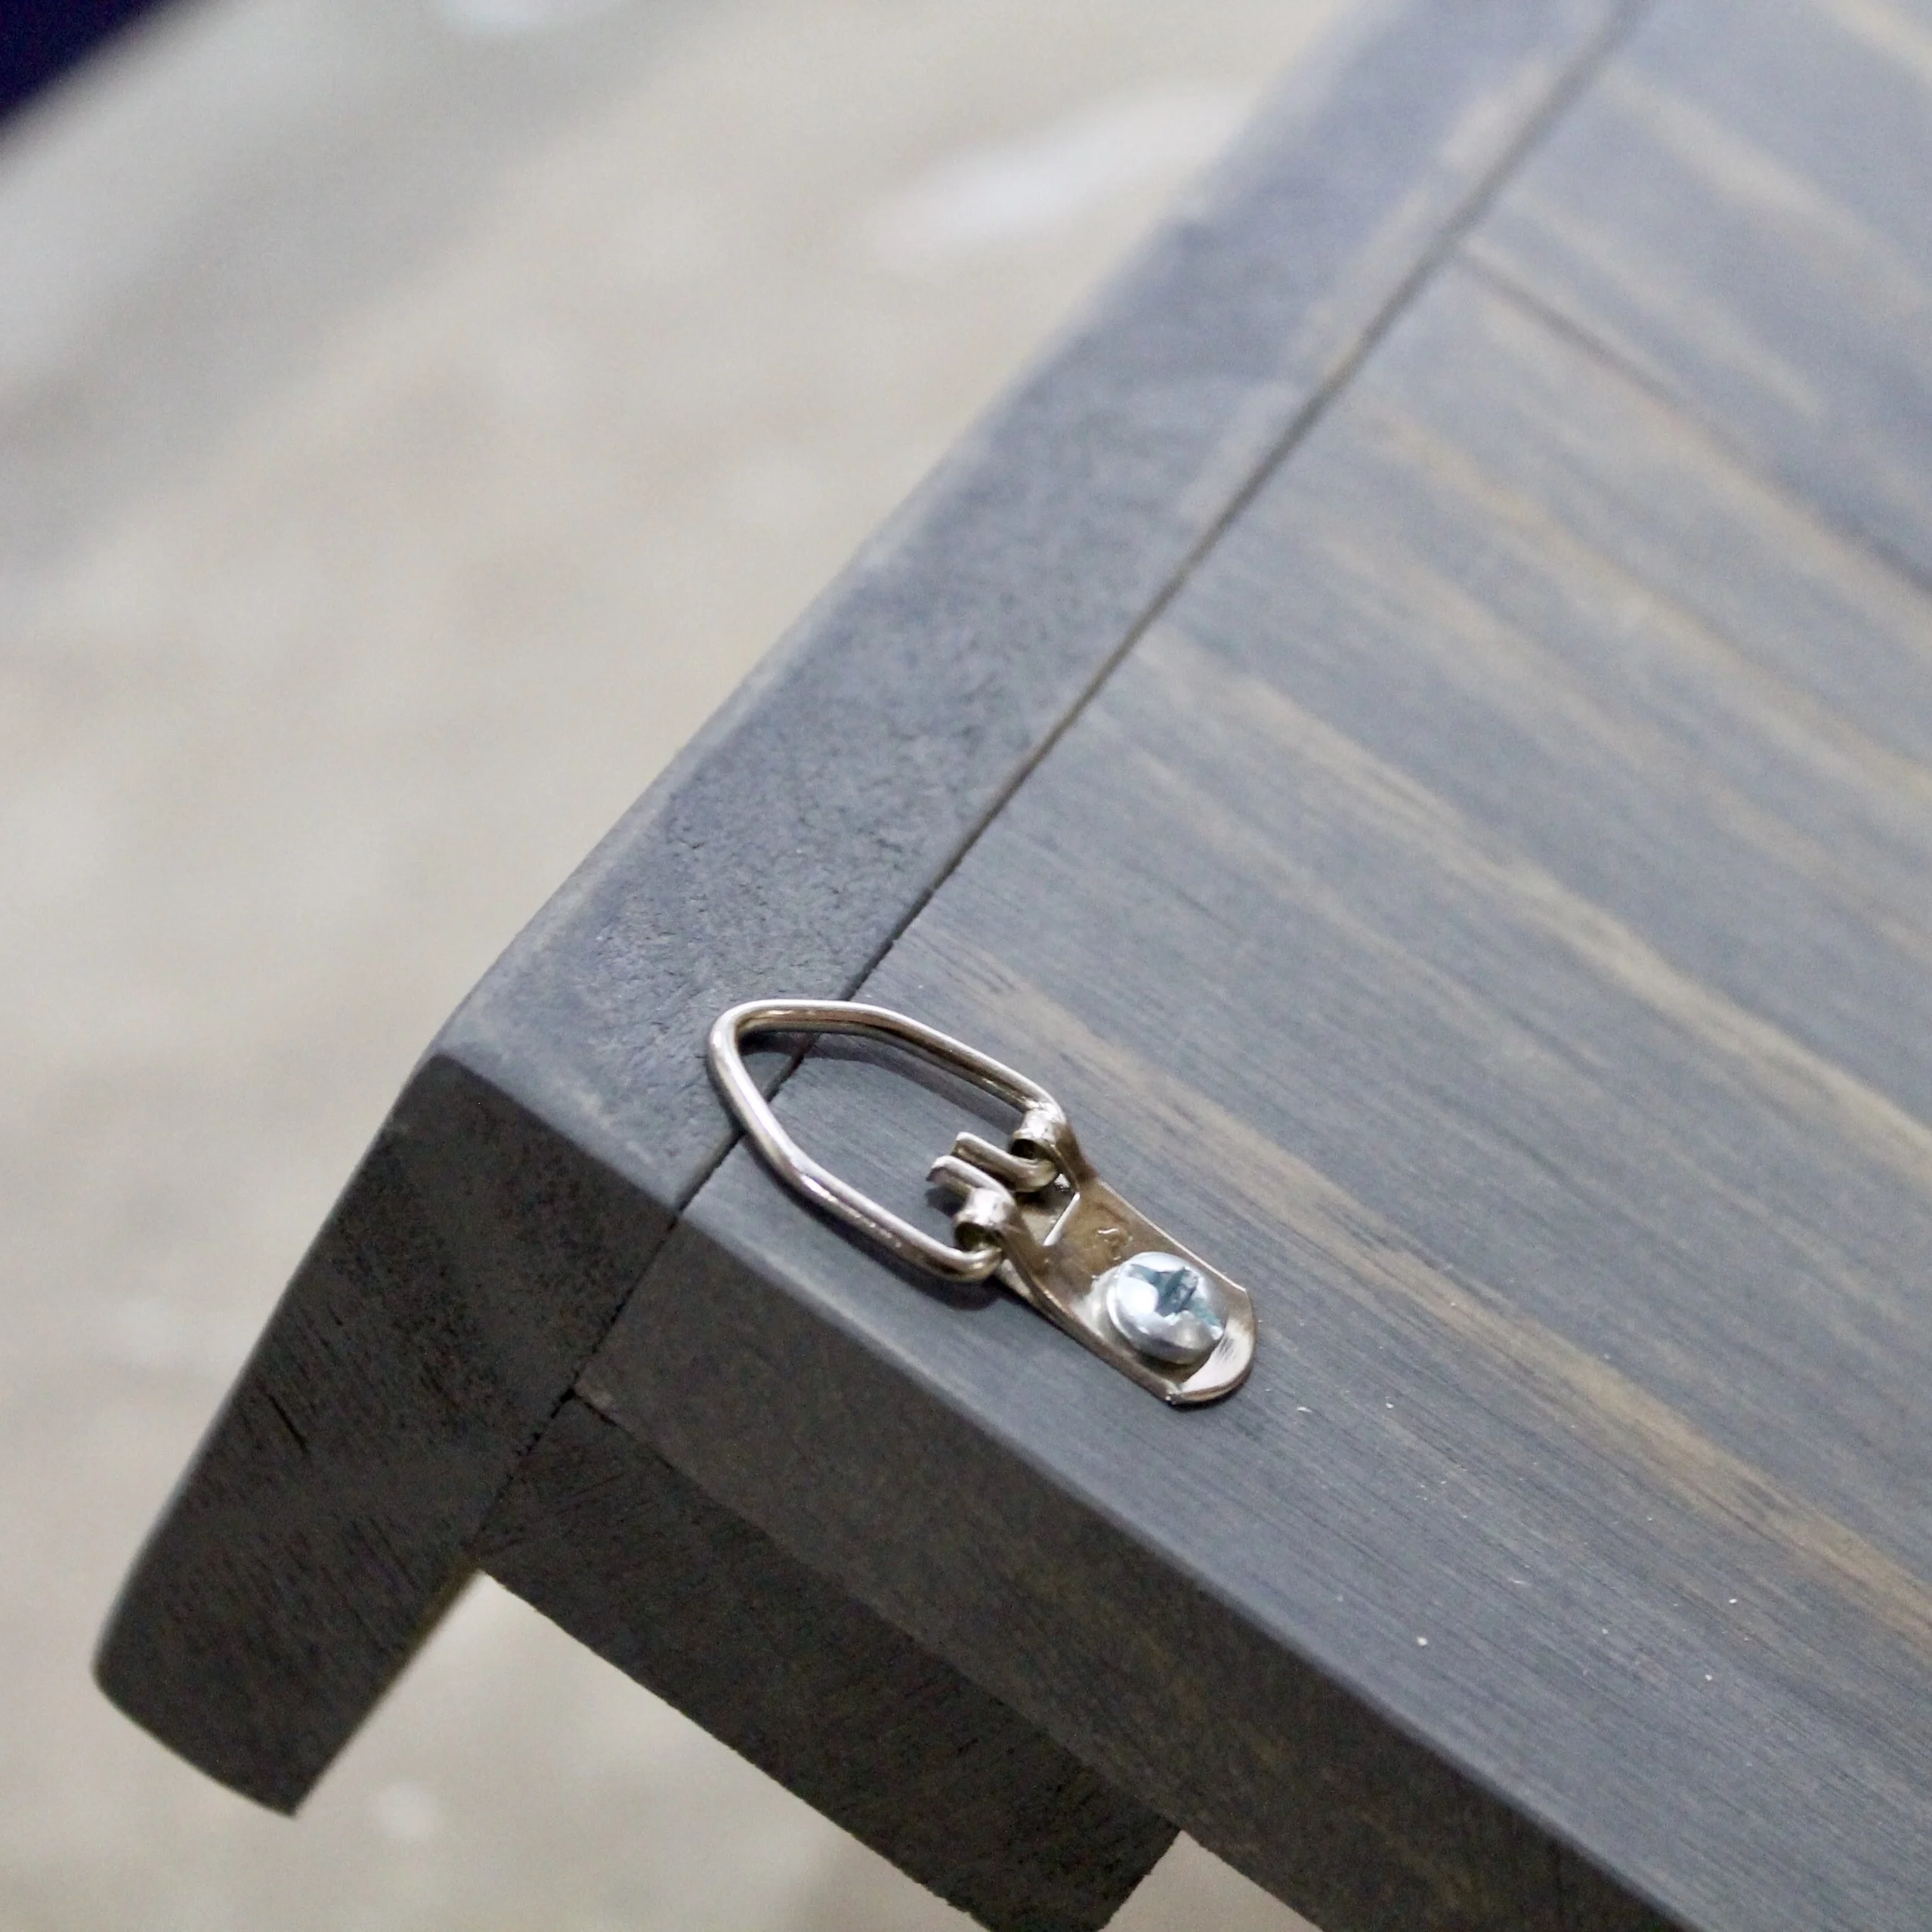
I always make sure to pre-drill the holes before putting the screws in, it makes the process a whole lot easier.
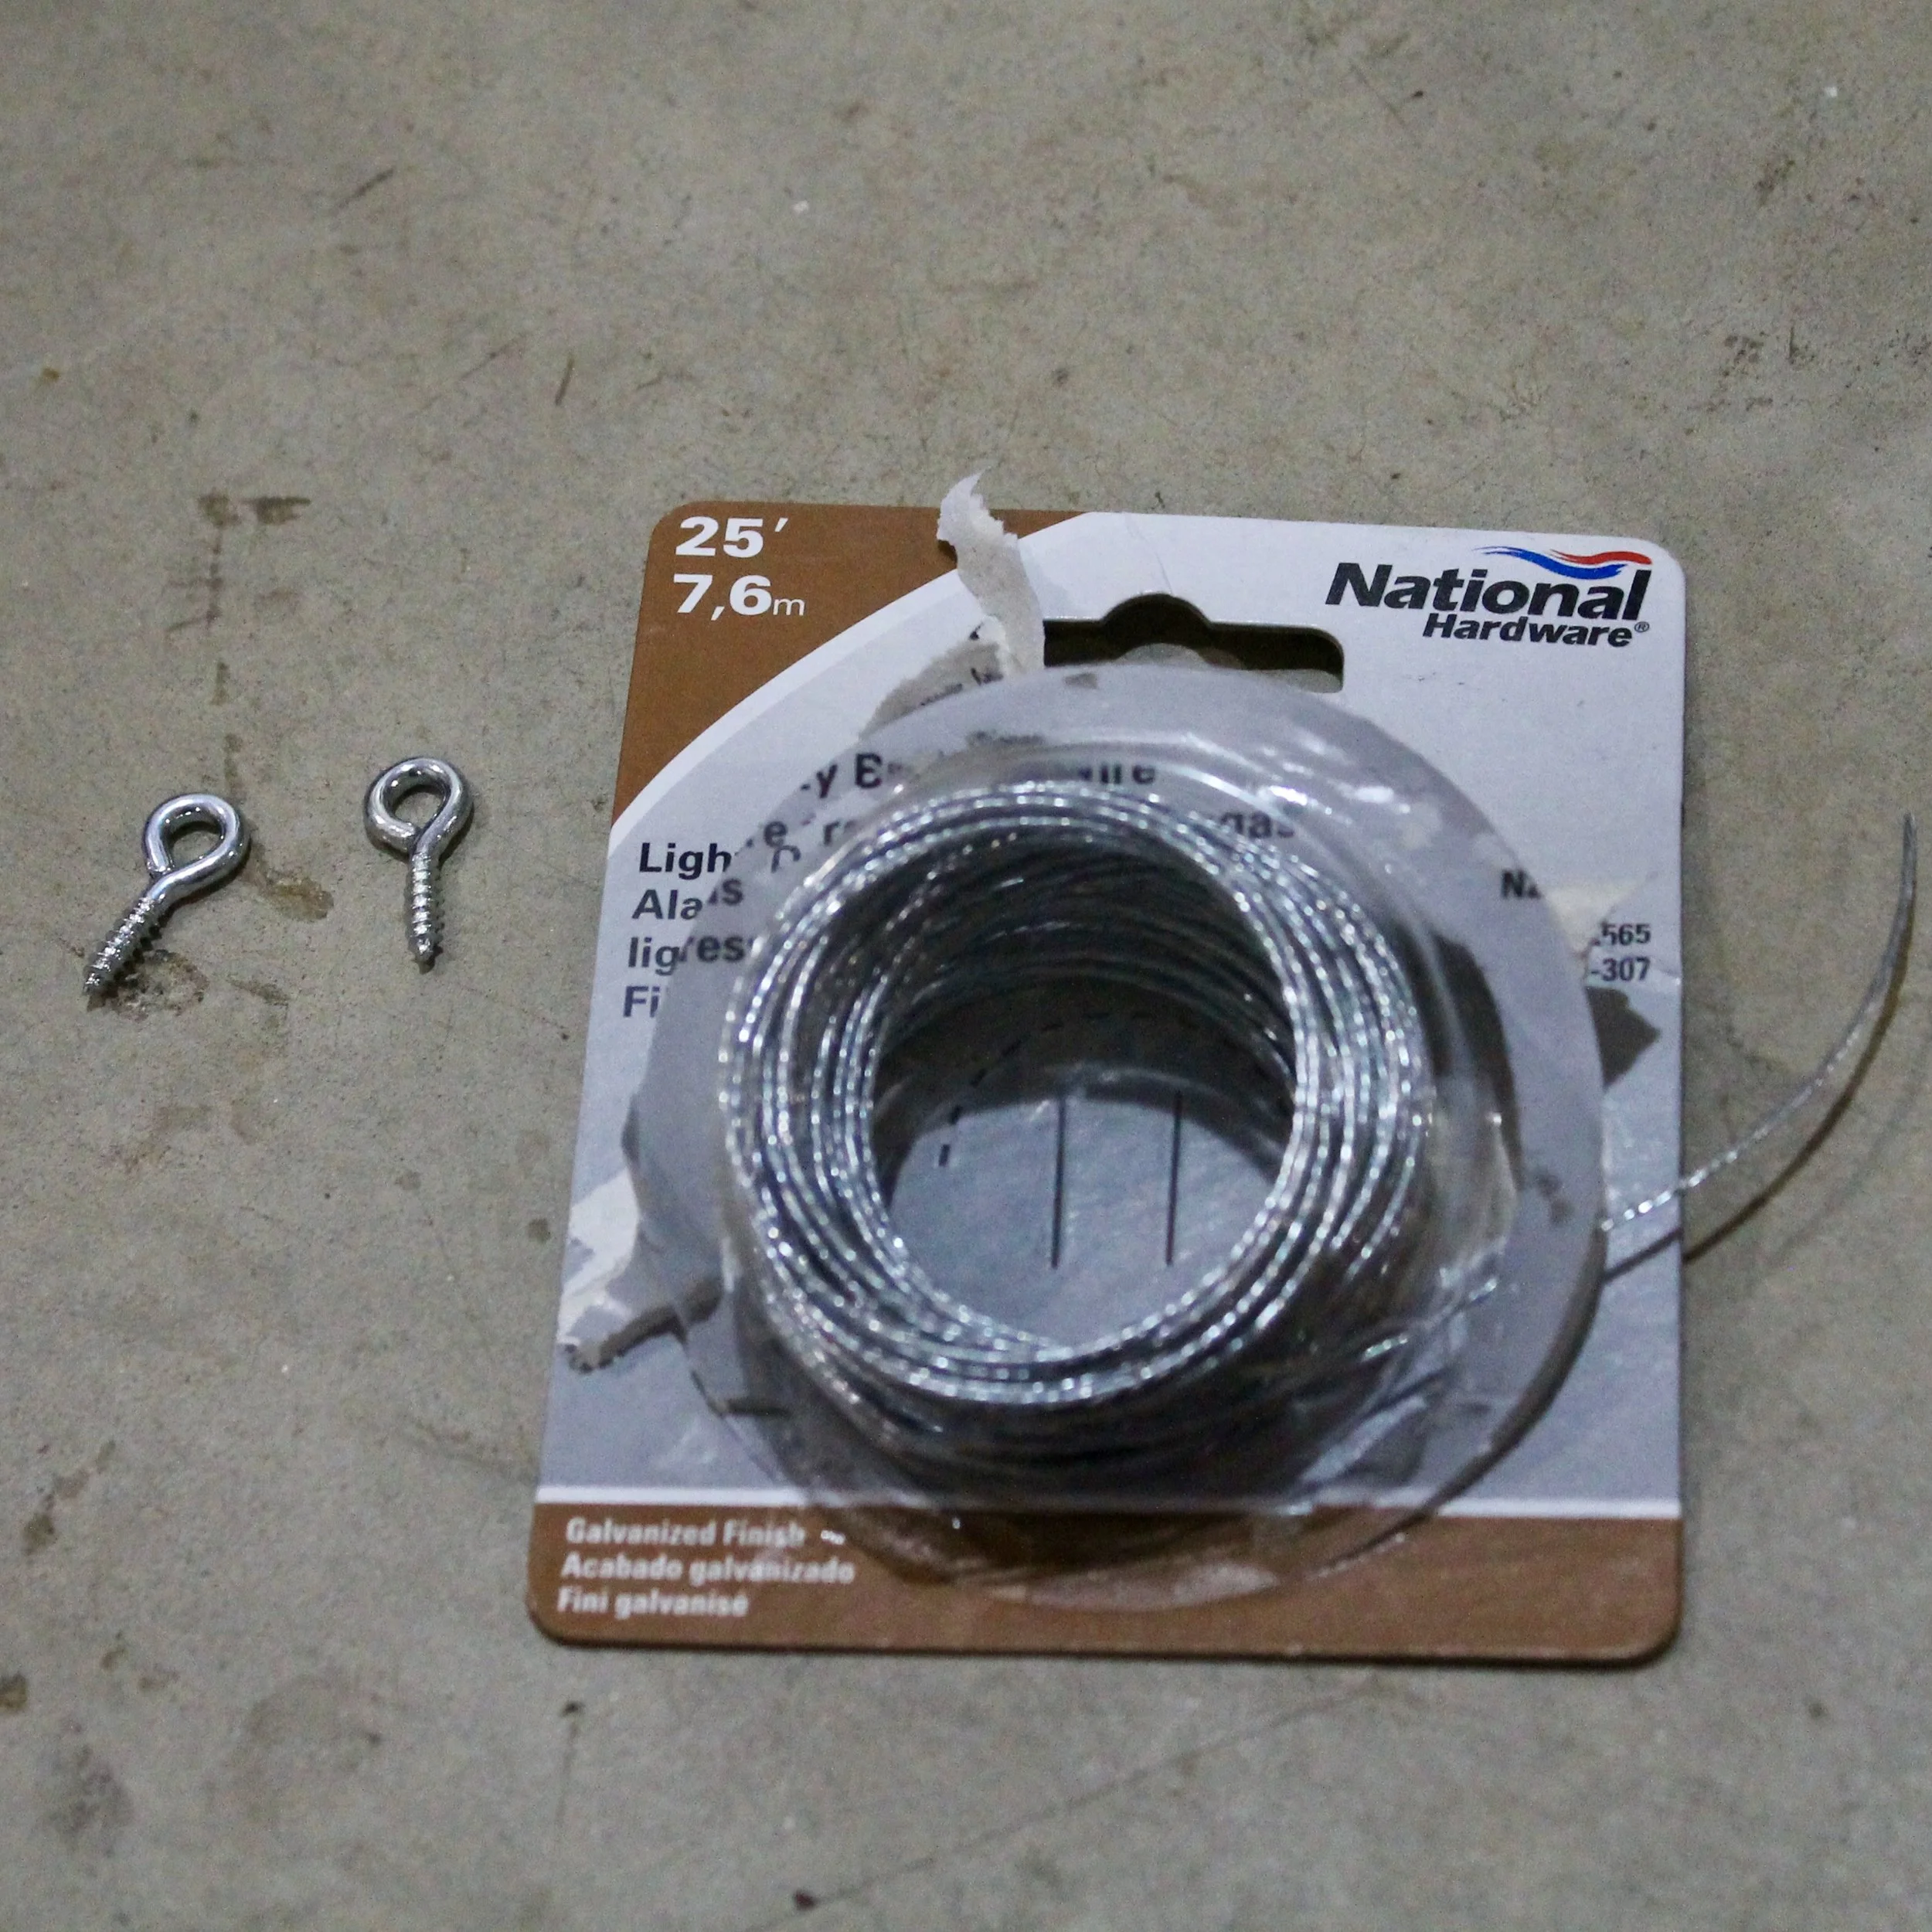
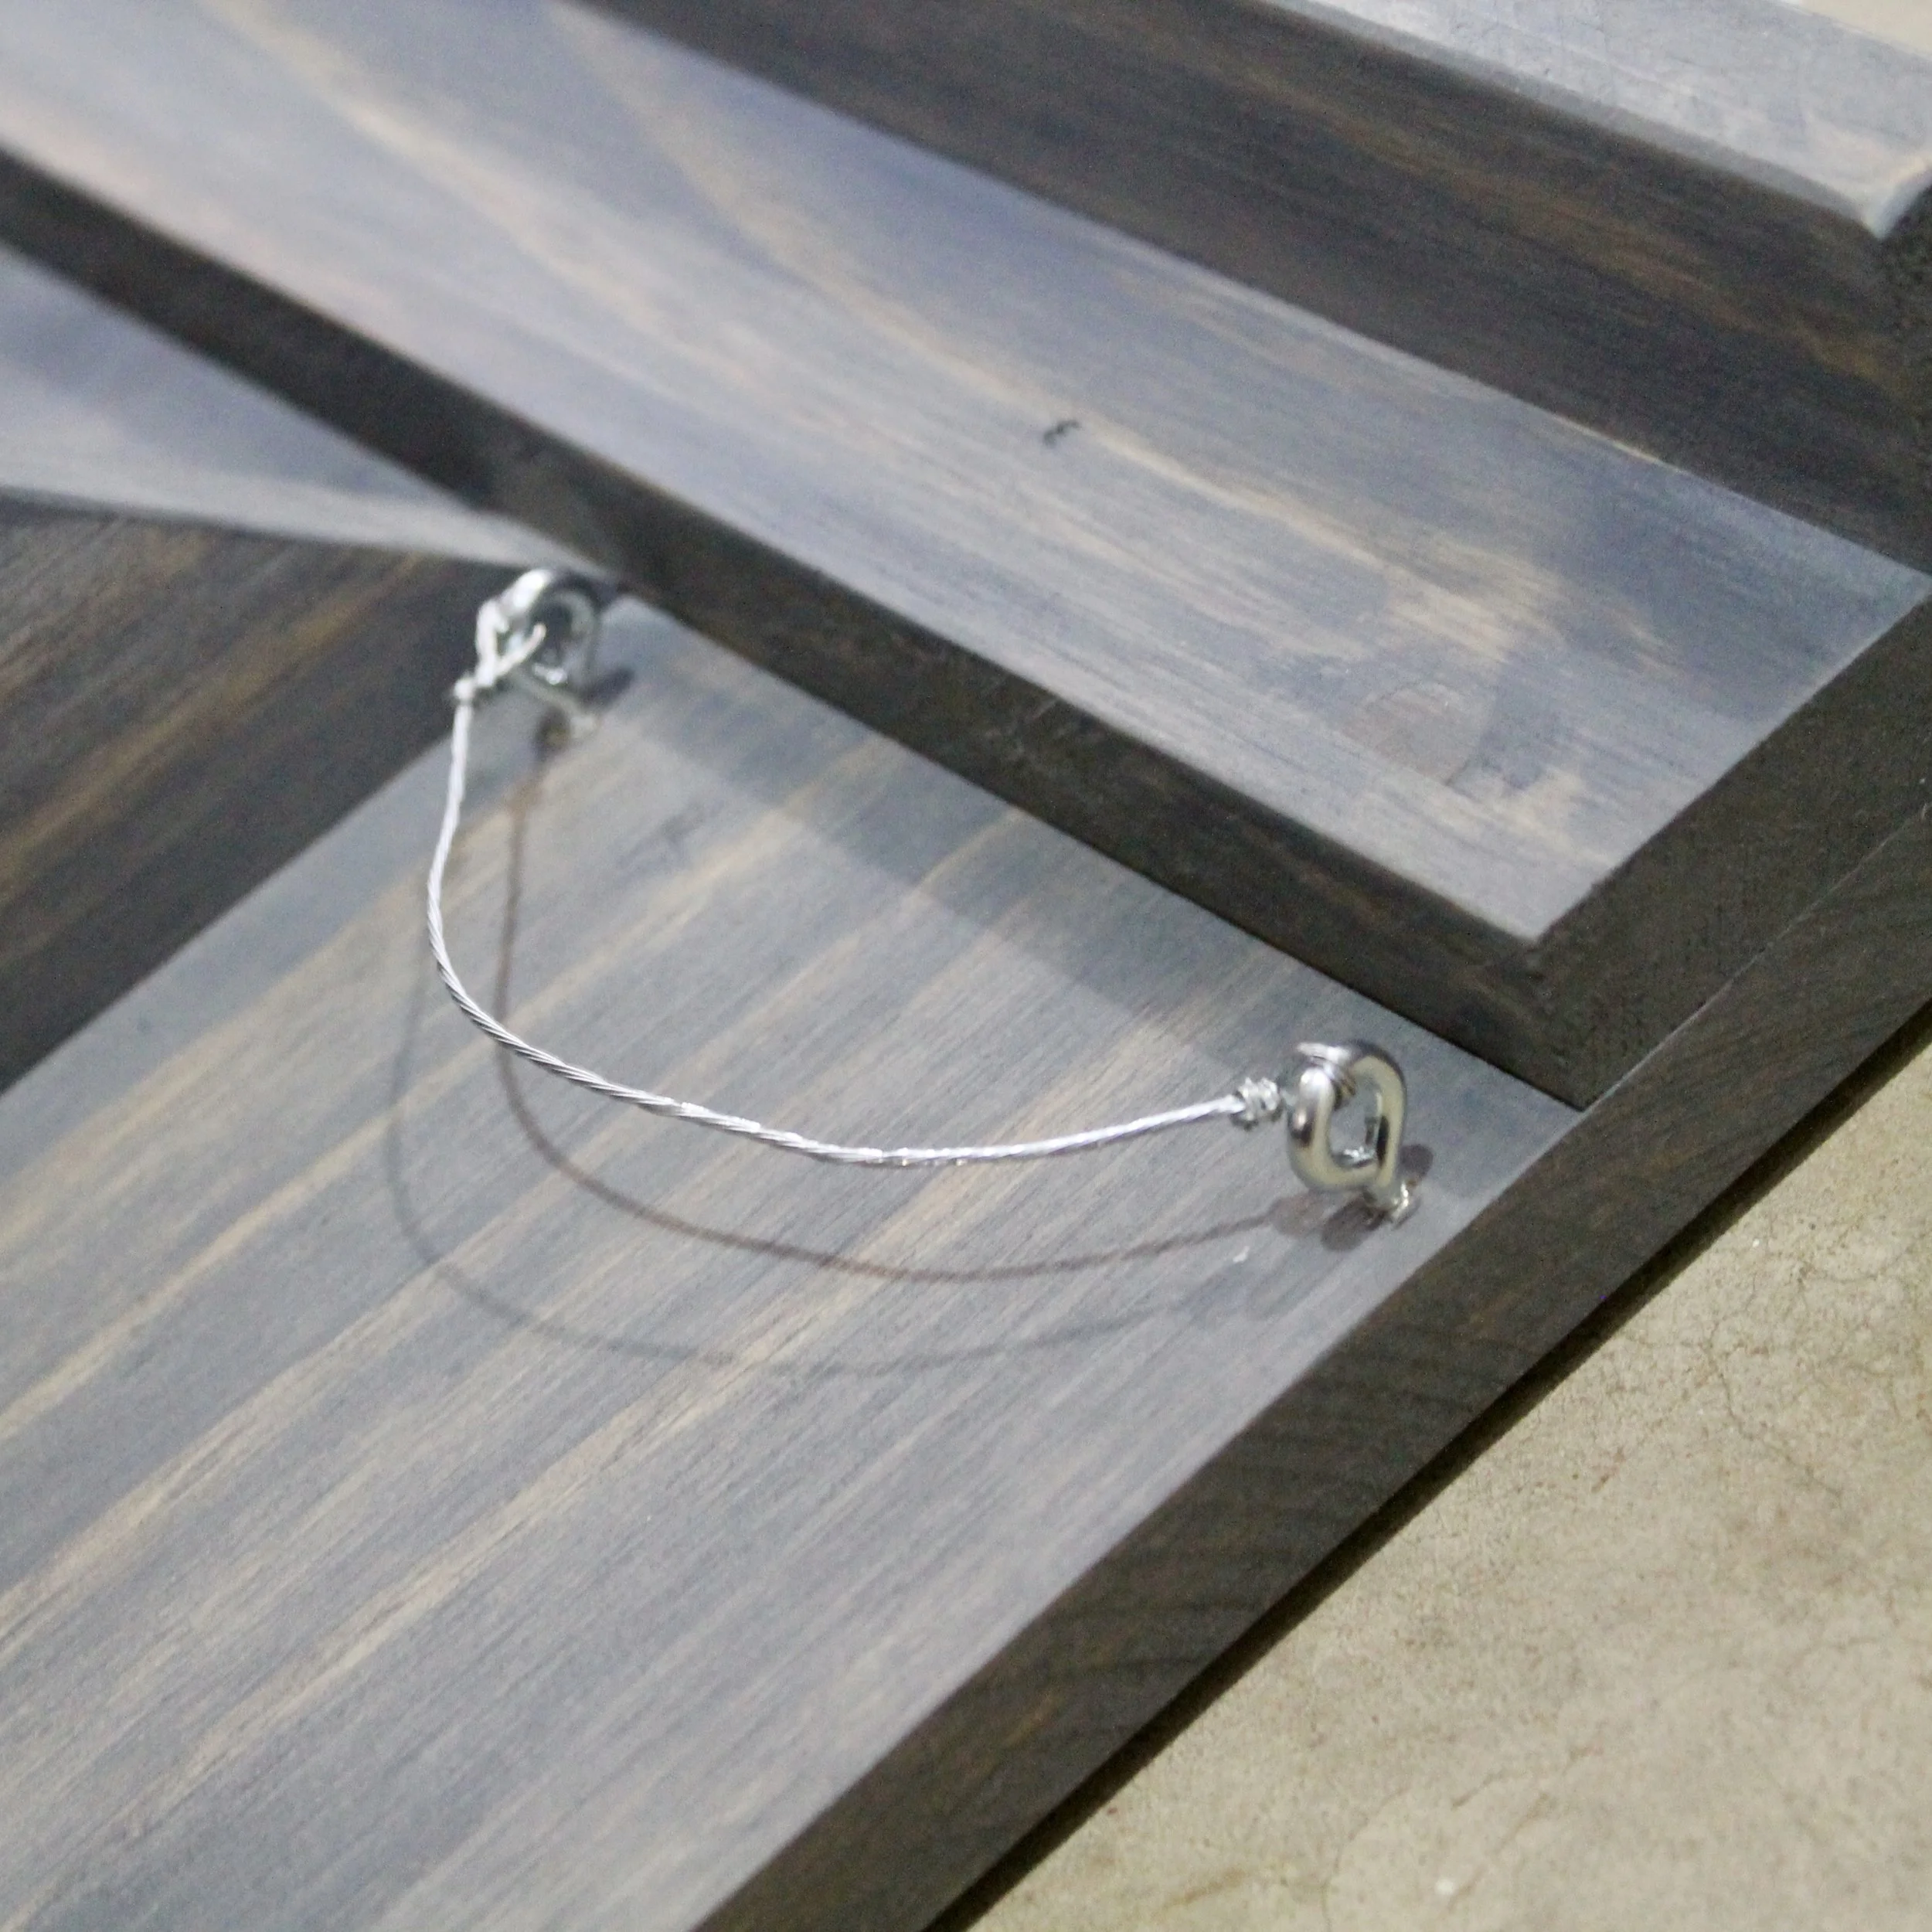
I use screw eye rings and braided steel wire for the sunglasses hanger.
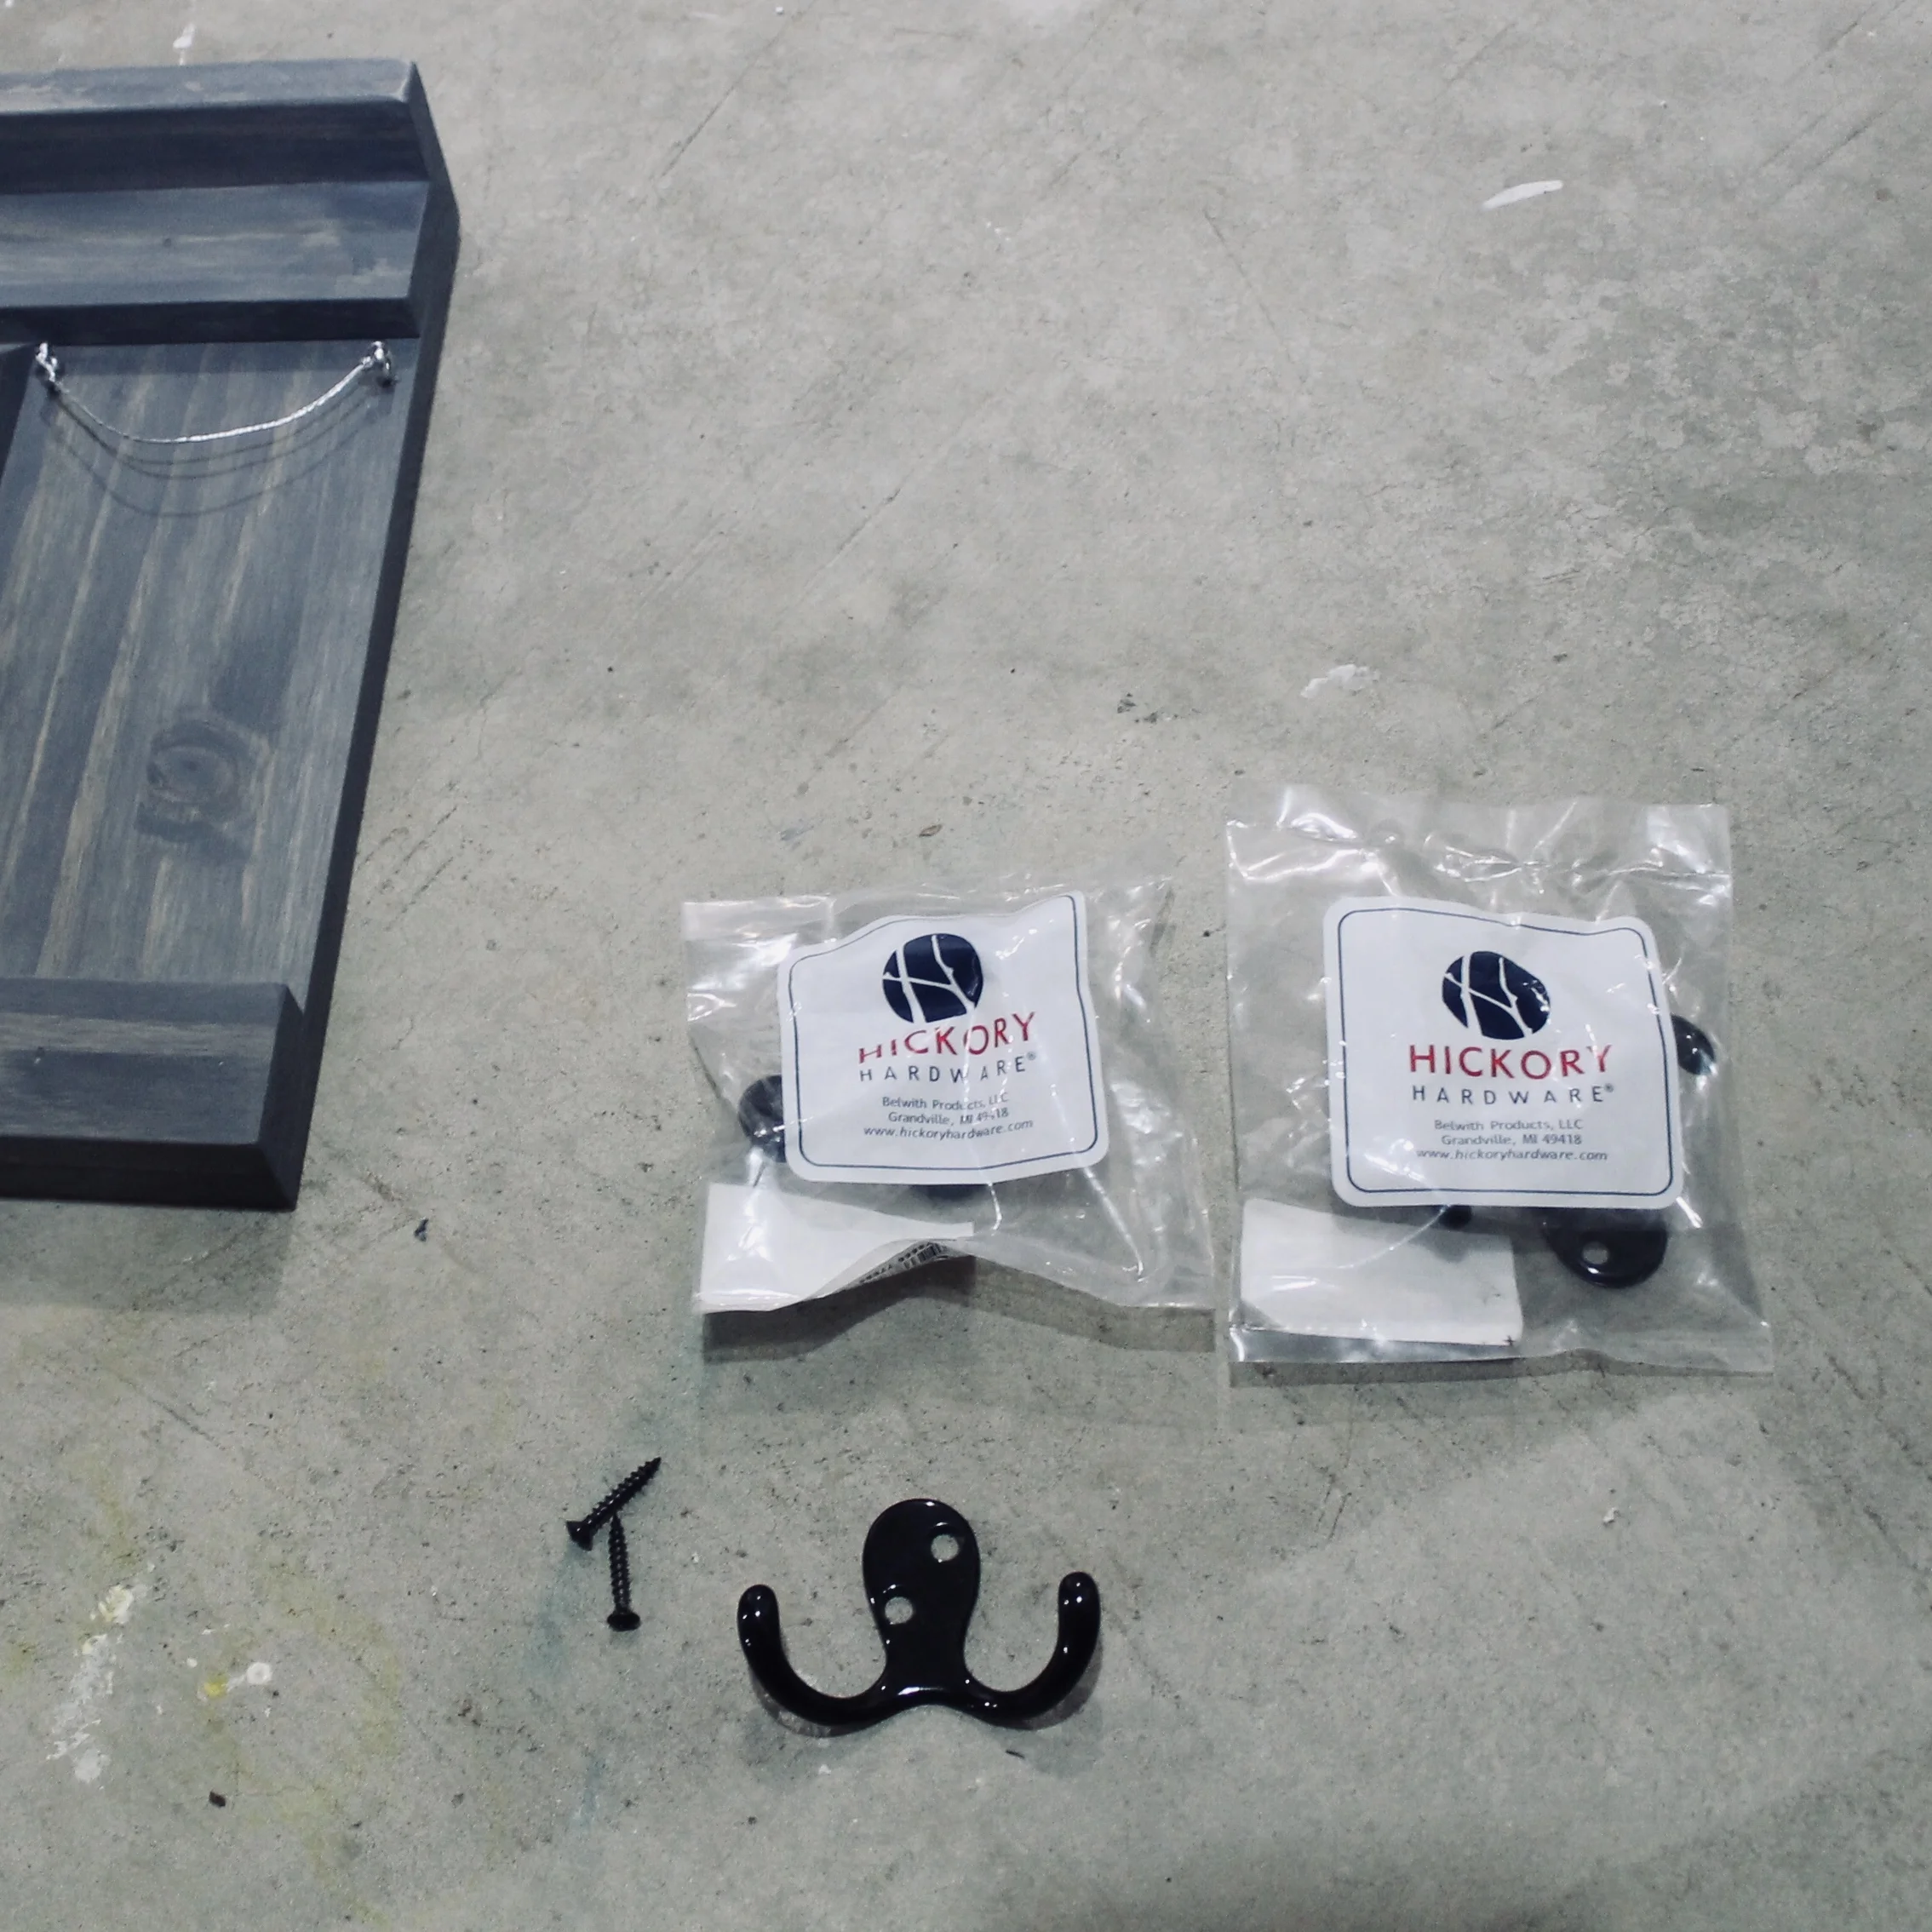
These are called dual prong utility hooks. You can also use cup hooks if you prefer the look of those.

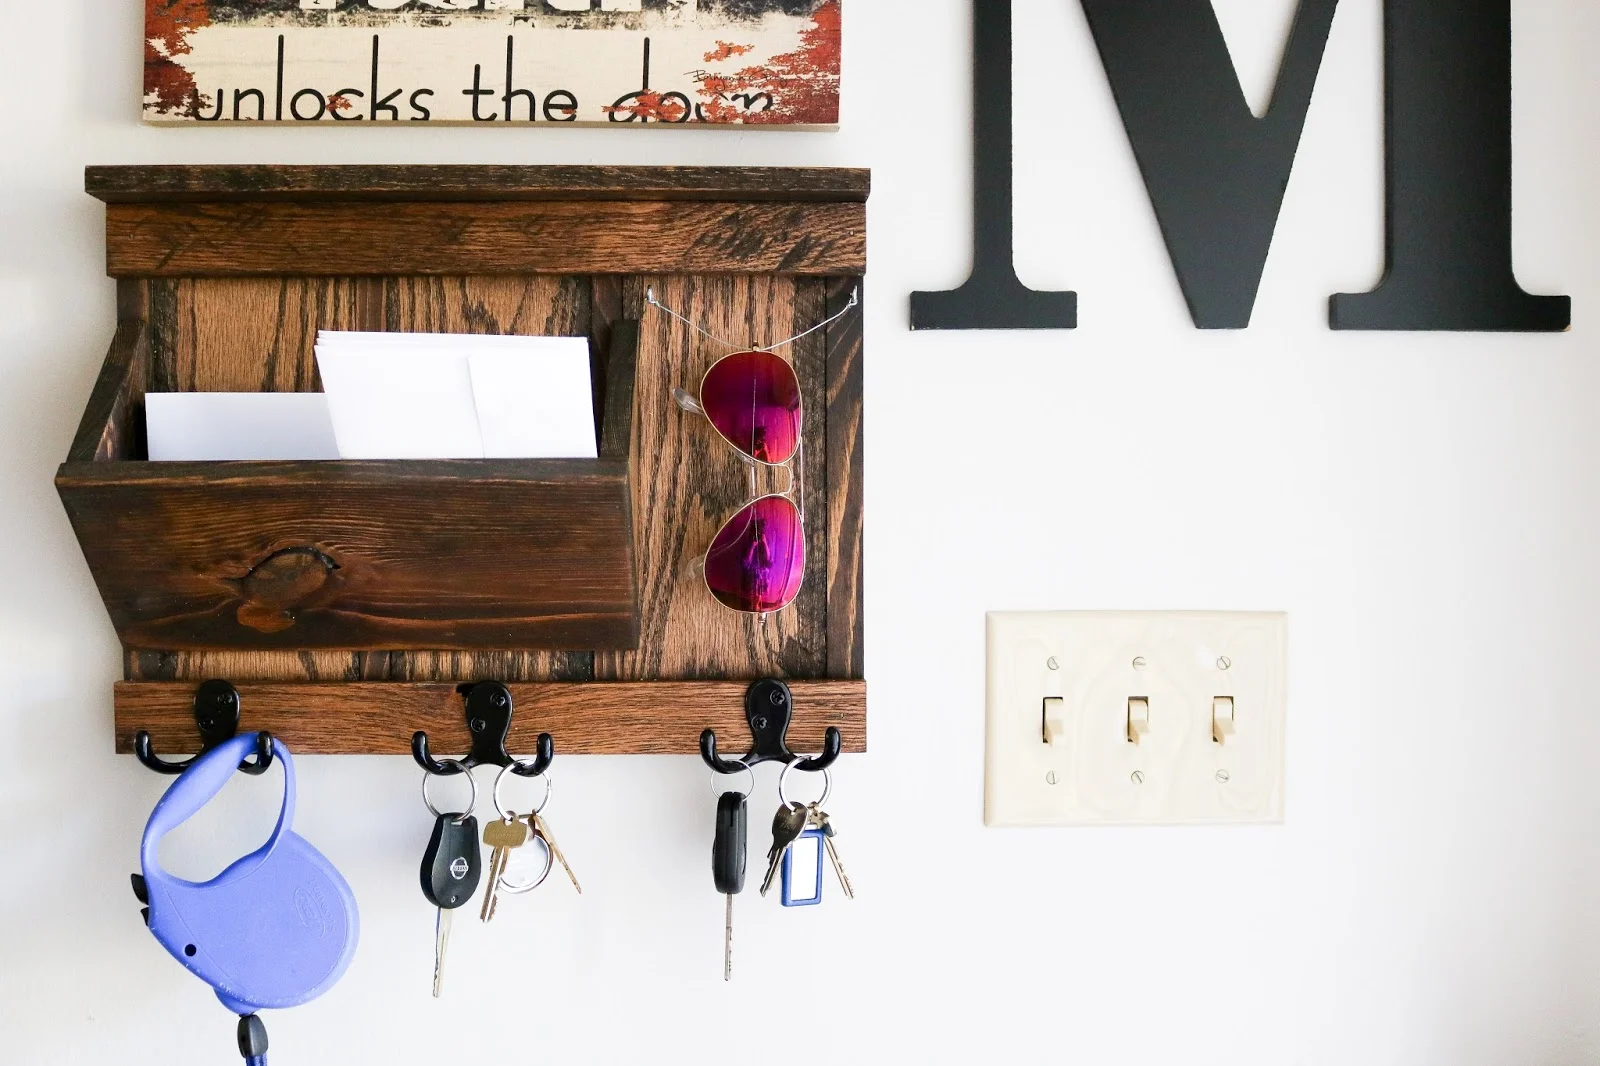
And here is the finished product. Over the years of making these I’ve gotten pretty efficient, this one probably took about 30-45 minutes to make.
Here are a few examples of other styles of organizers I have made using different types of wood, hardware, and wood stain colors.

This was the first entryway organizer I ever made. It was a semi-original idea heavily inspired by designs I found on Pinterest. This is made entirely of pallet wood, it was not sanded, and colored using Minwax Early American. The word mail was spray painted on using black spray paint and stencil letters.
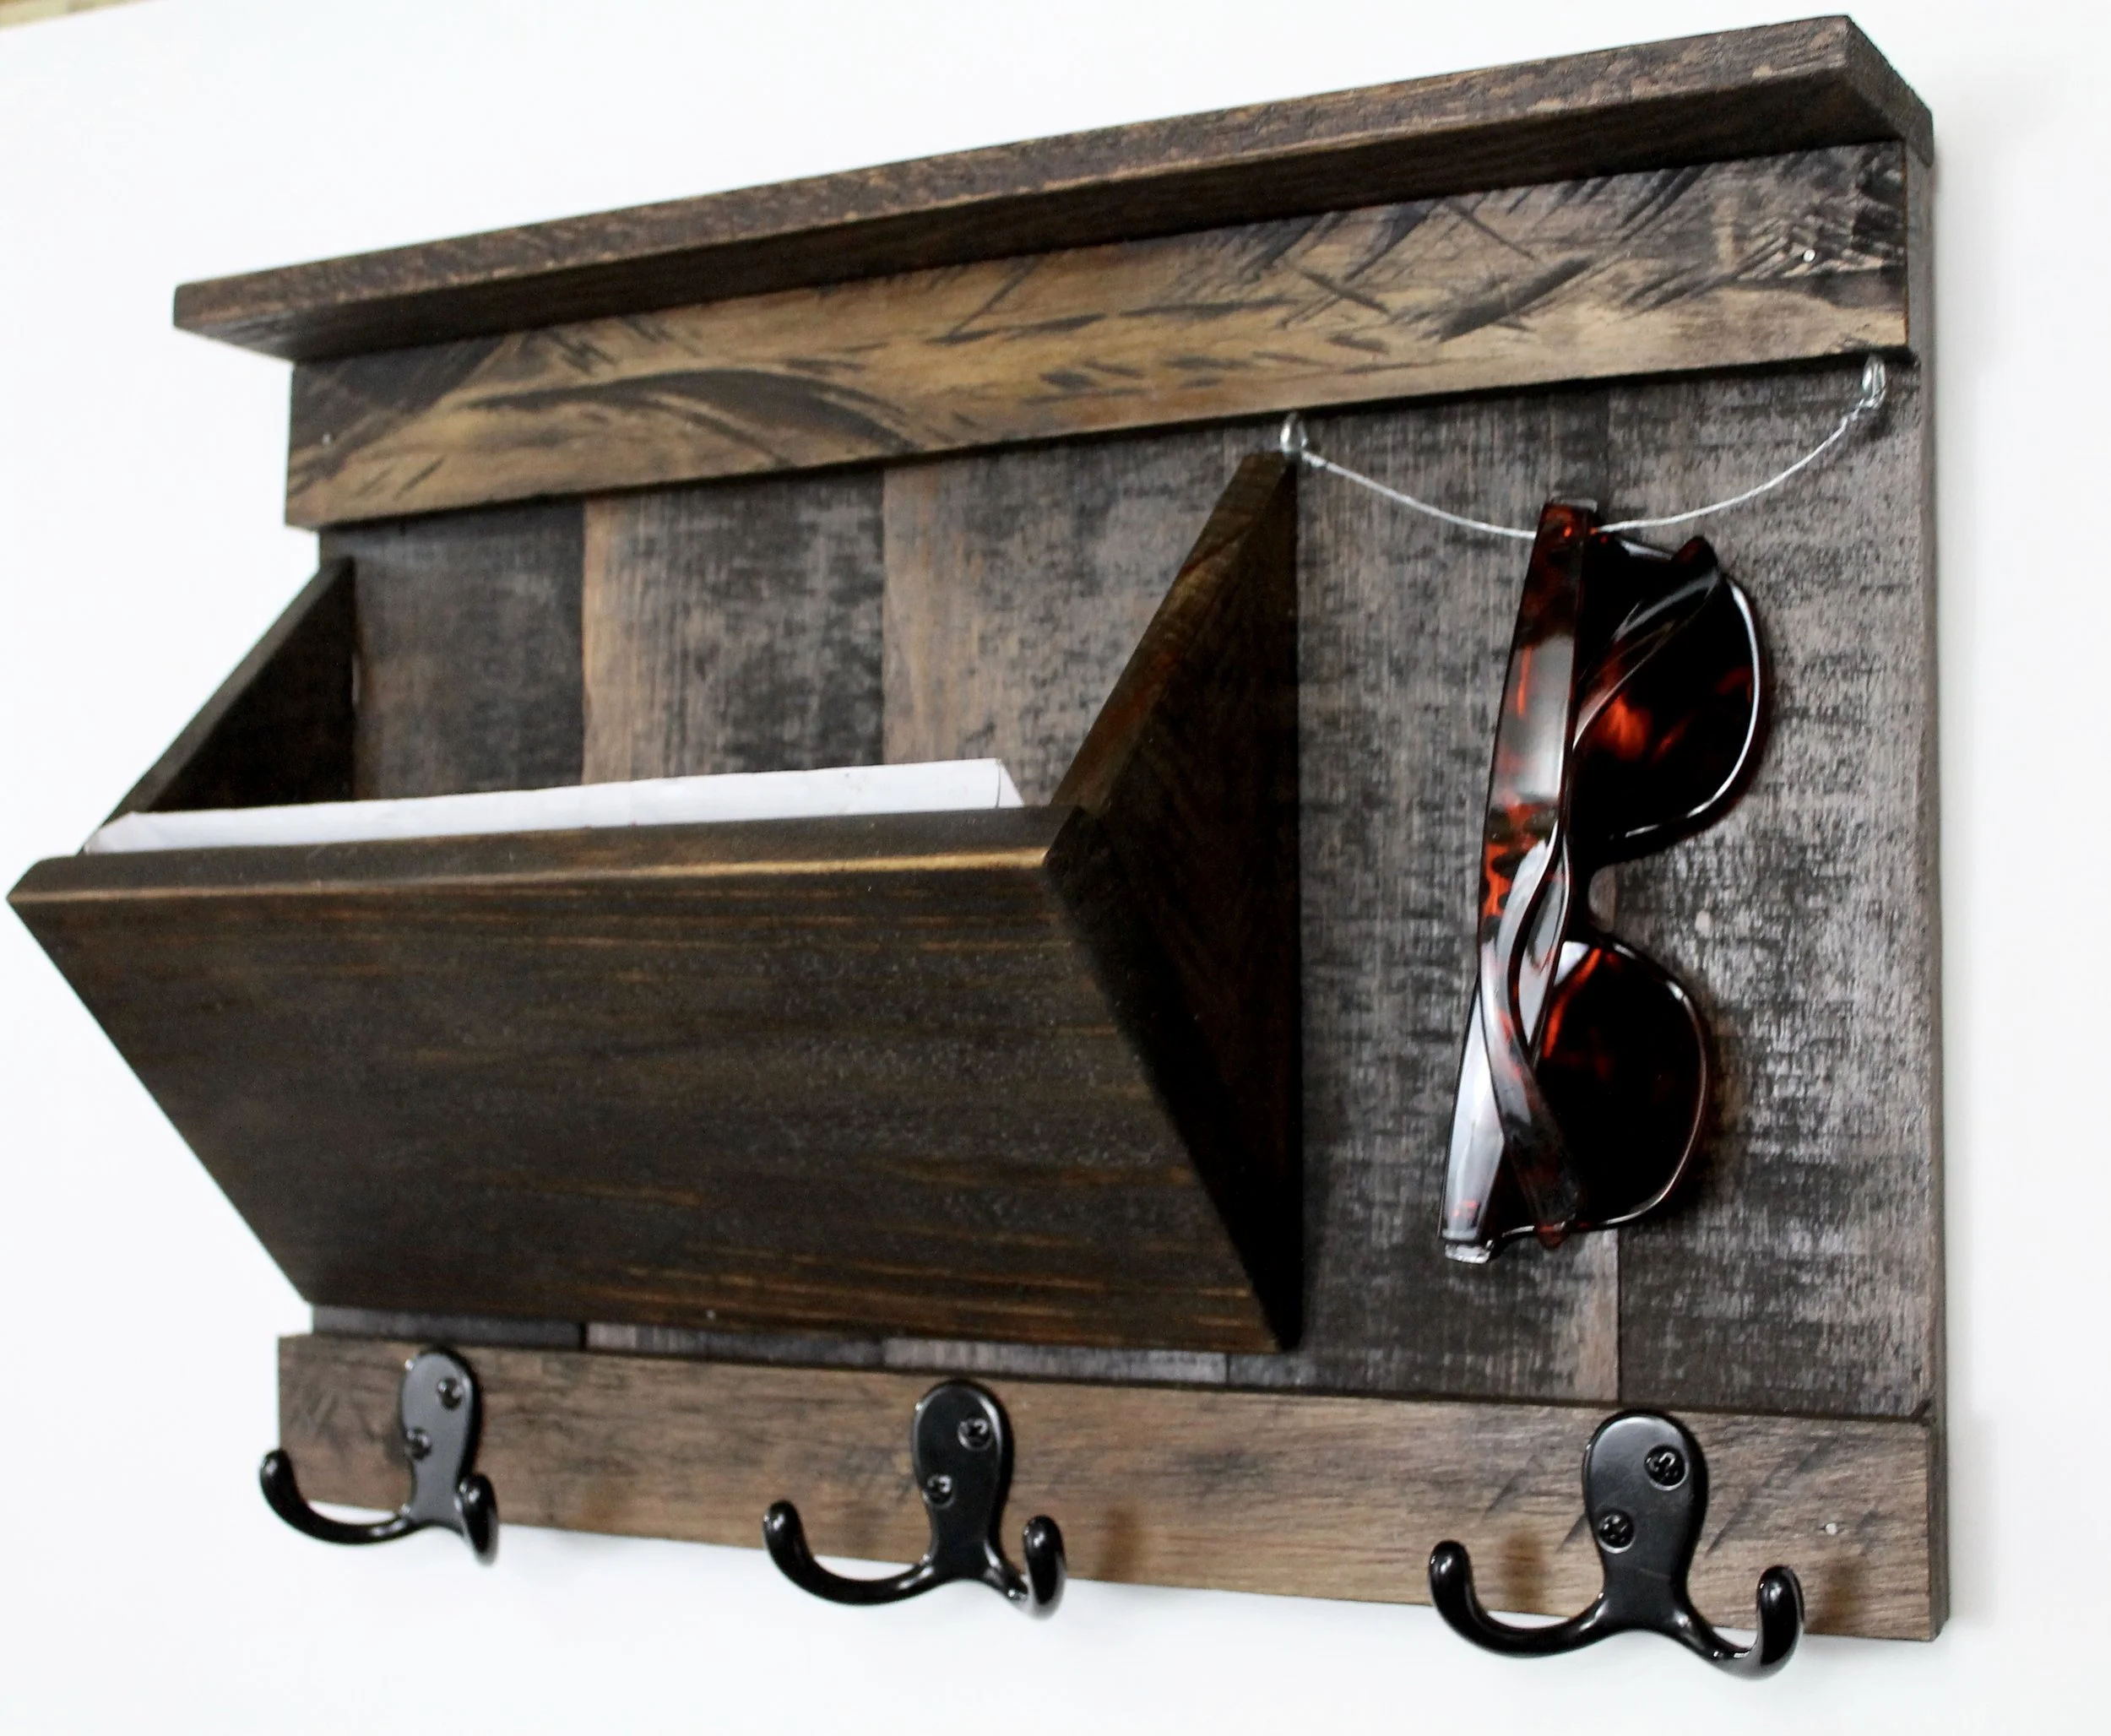
This organizer was made from reclaimed oak and pine, and stained using Minwax Espresso
This is made from pallet wood, sanded and stained with Minwax Espresso.

To achieve this look, after assembling the unit, I stained it with a dark color, let that dry overnight, and then gave it a coat of white spray paint. After the paint dried, I sanded the entire organizer with a palm sander. This is a great way to achieve a weathered look.
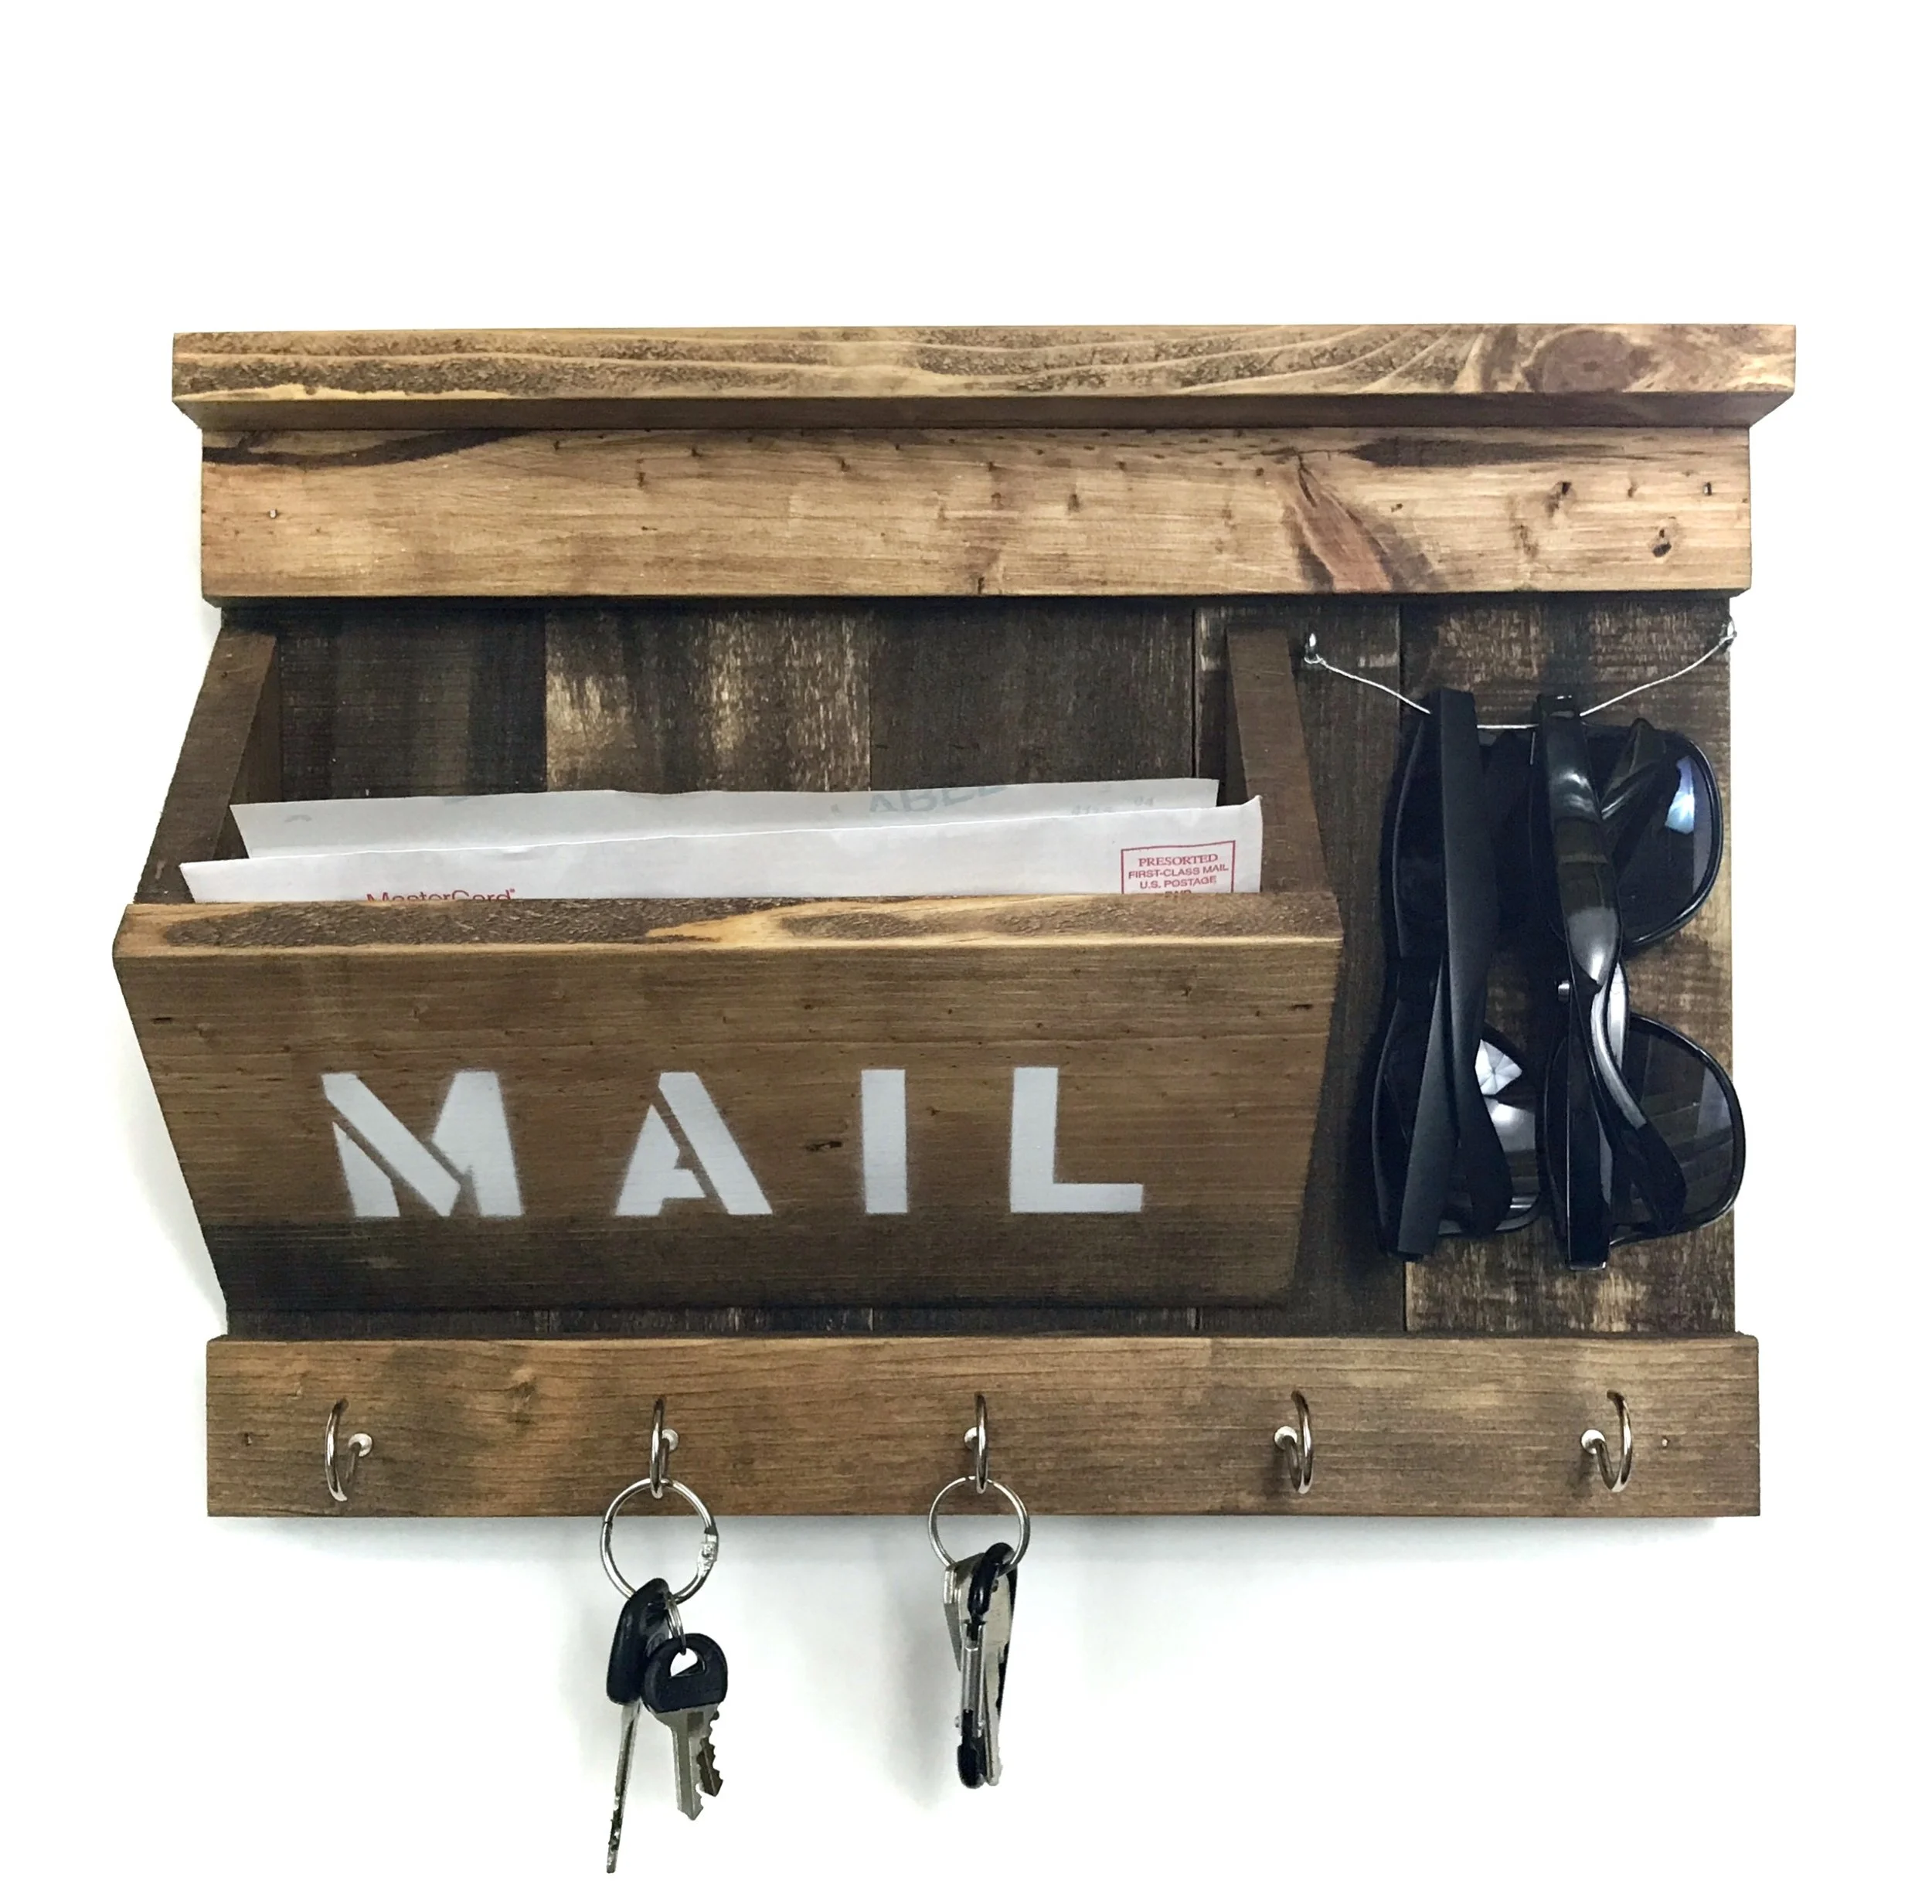
This one was an ode to the early design, utilizing new pine wood instead of reclaimed wood. I used large cup hooks for the key holders and spray painted the word mail using stencils, I colored the wood using Minwax Early American.
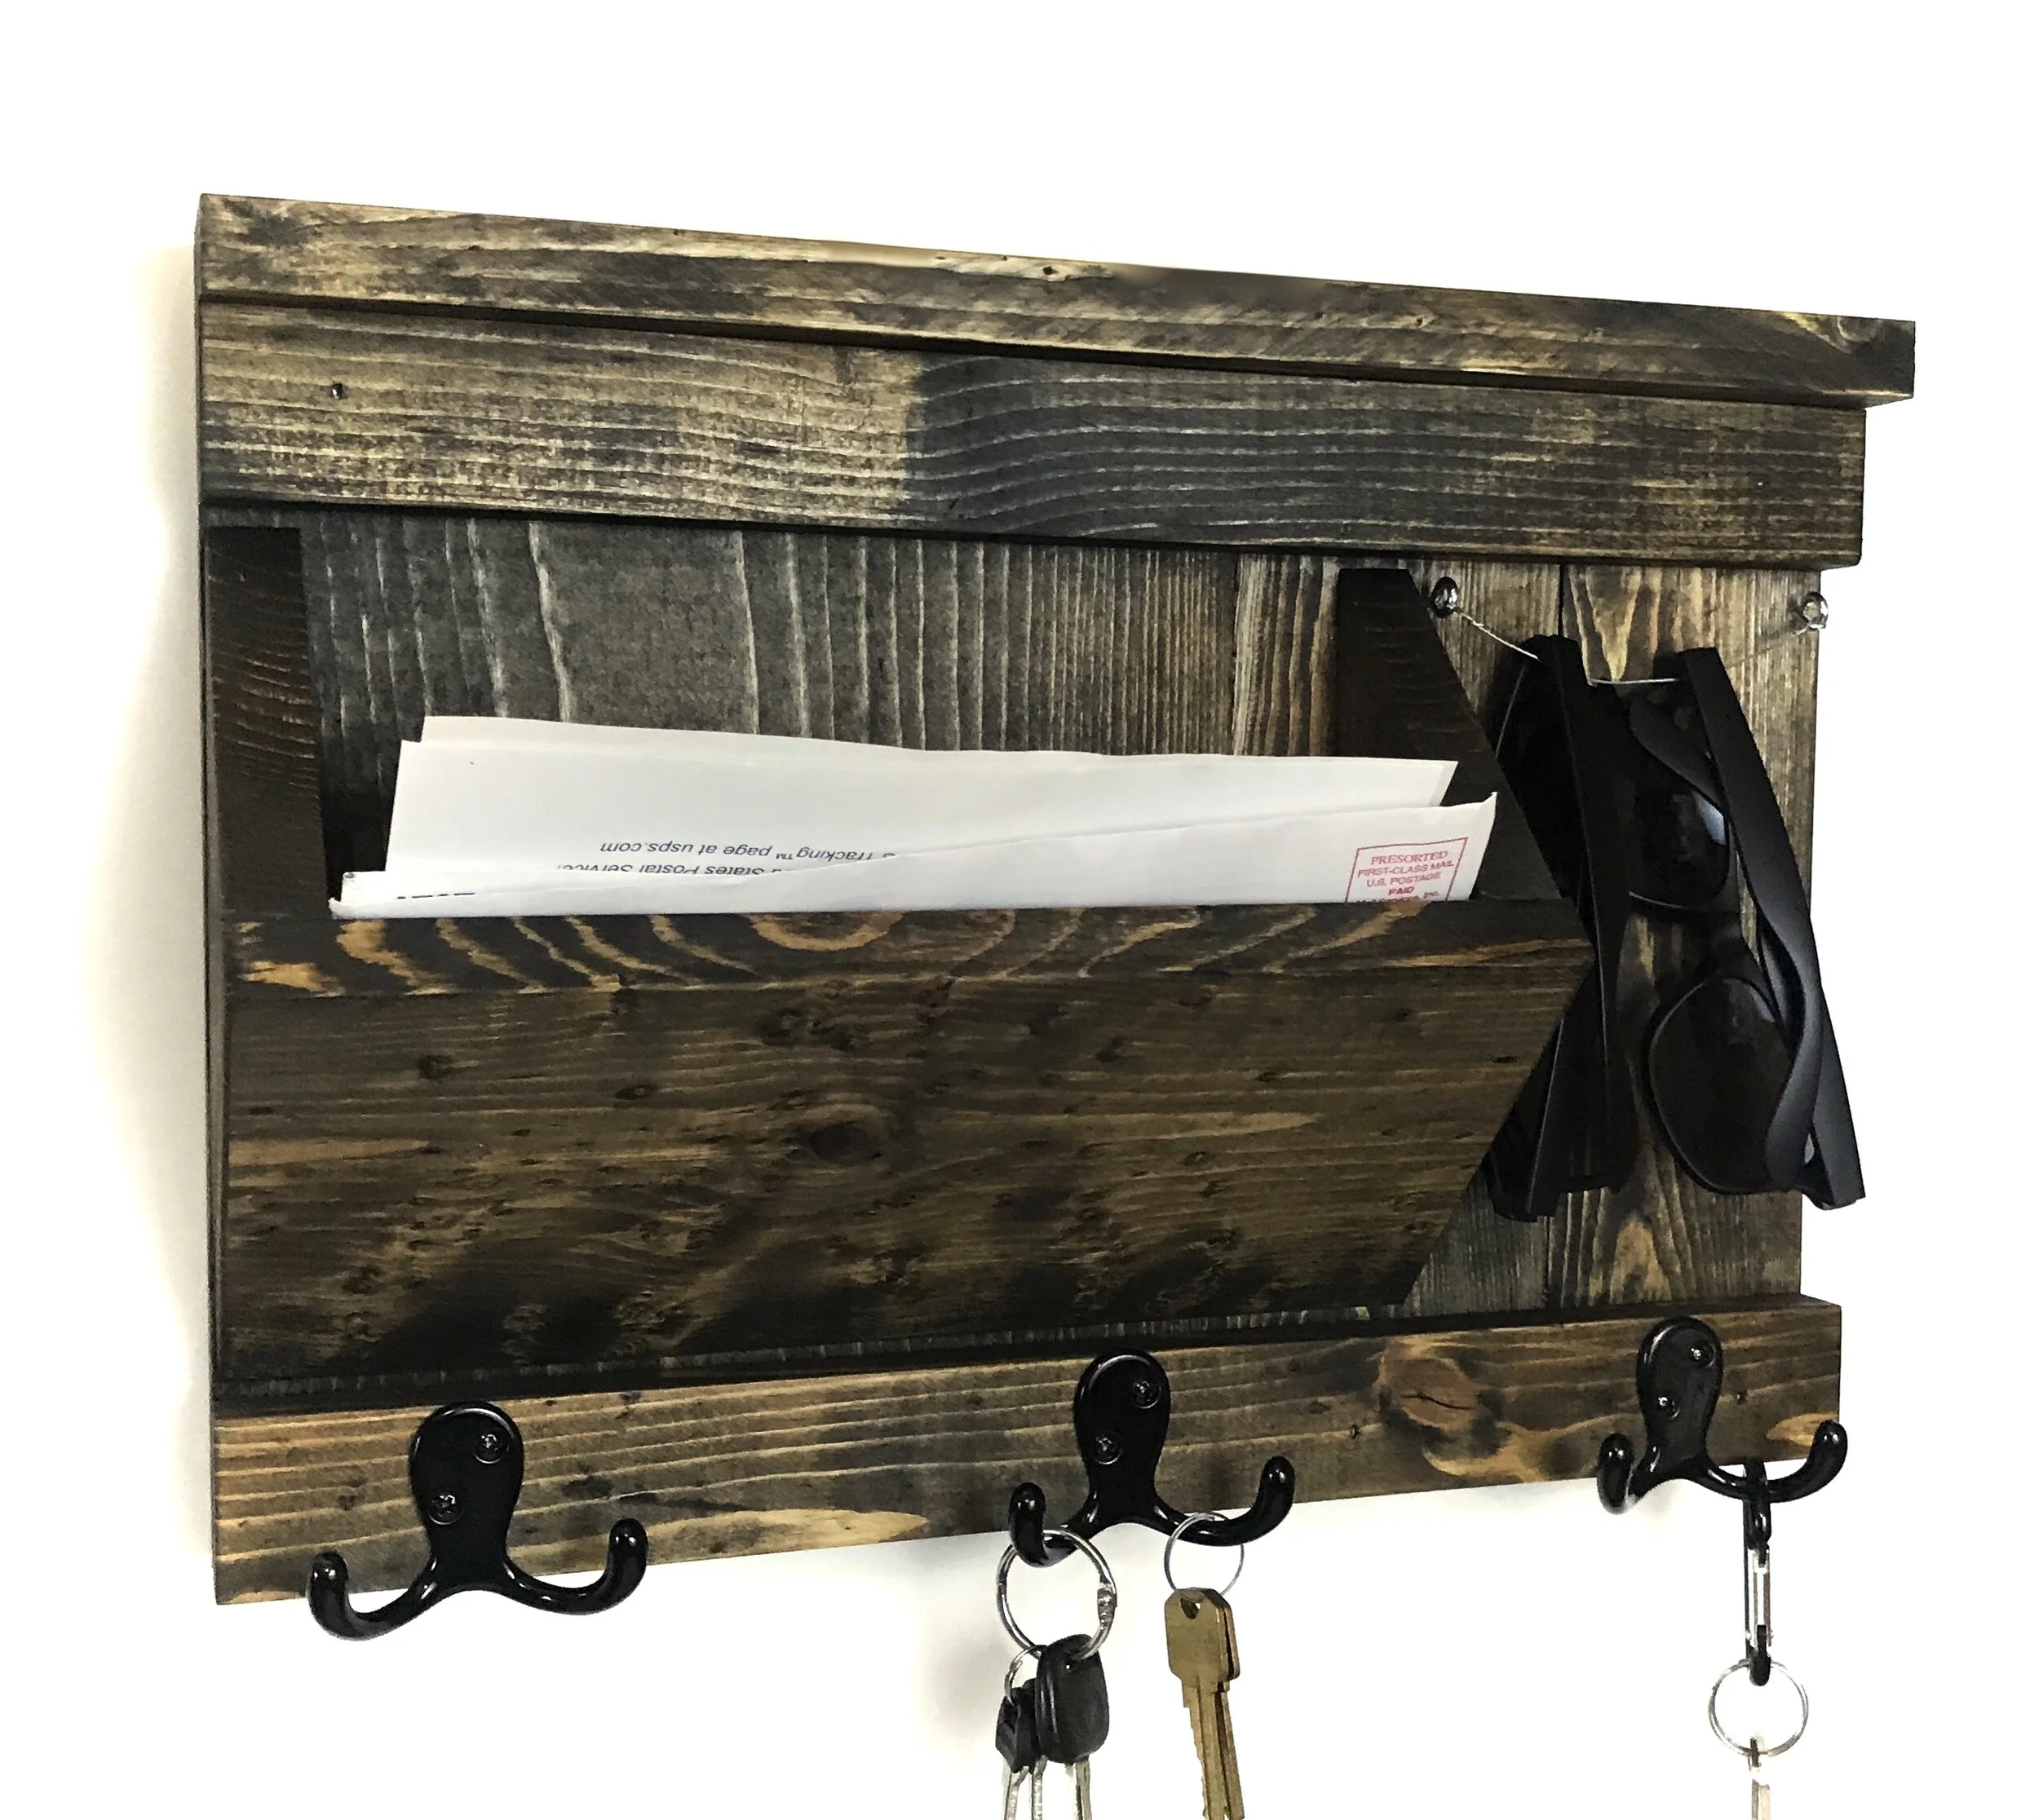
This one was made using new pine wood and the coloring was done with Minwax Espresso.