
Rack mounted preacher curl
Everyone says doing curls in a squat rack is a cardinal sin. In the home gym, we can throw those conventional rules out the window. In my gym, it’s all about being as space efficient with my equipment as possible.
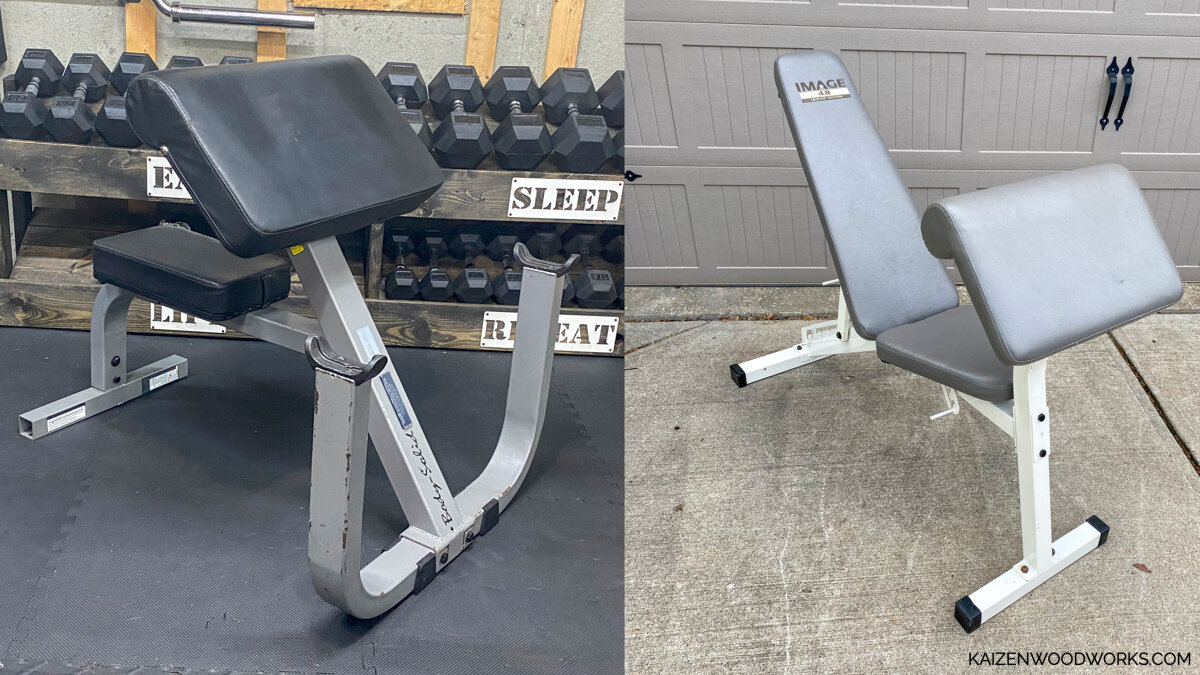
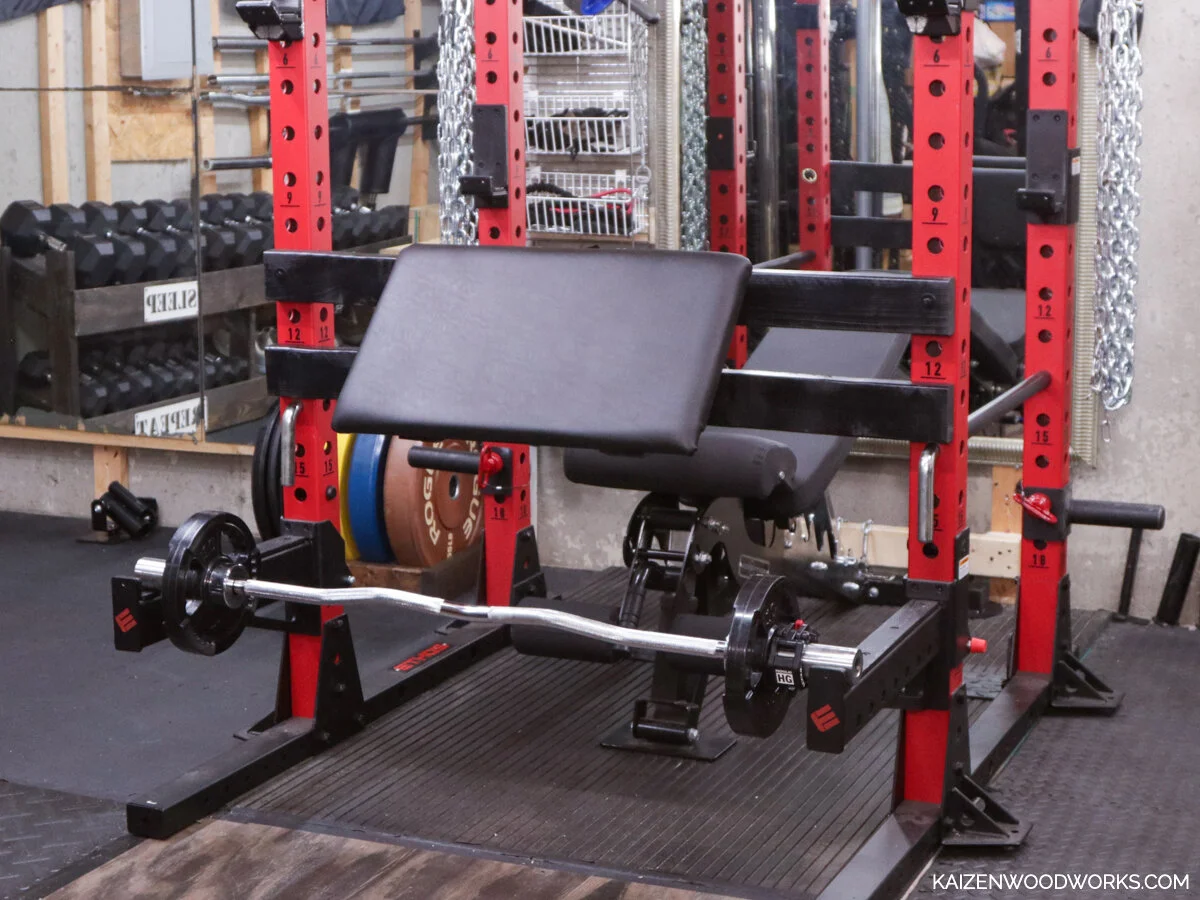
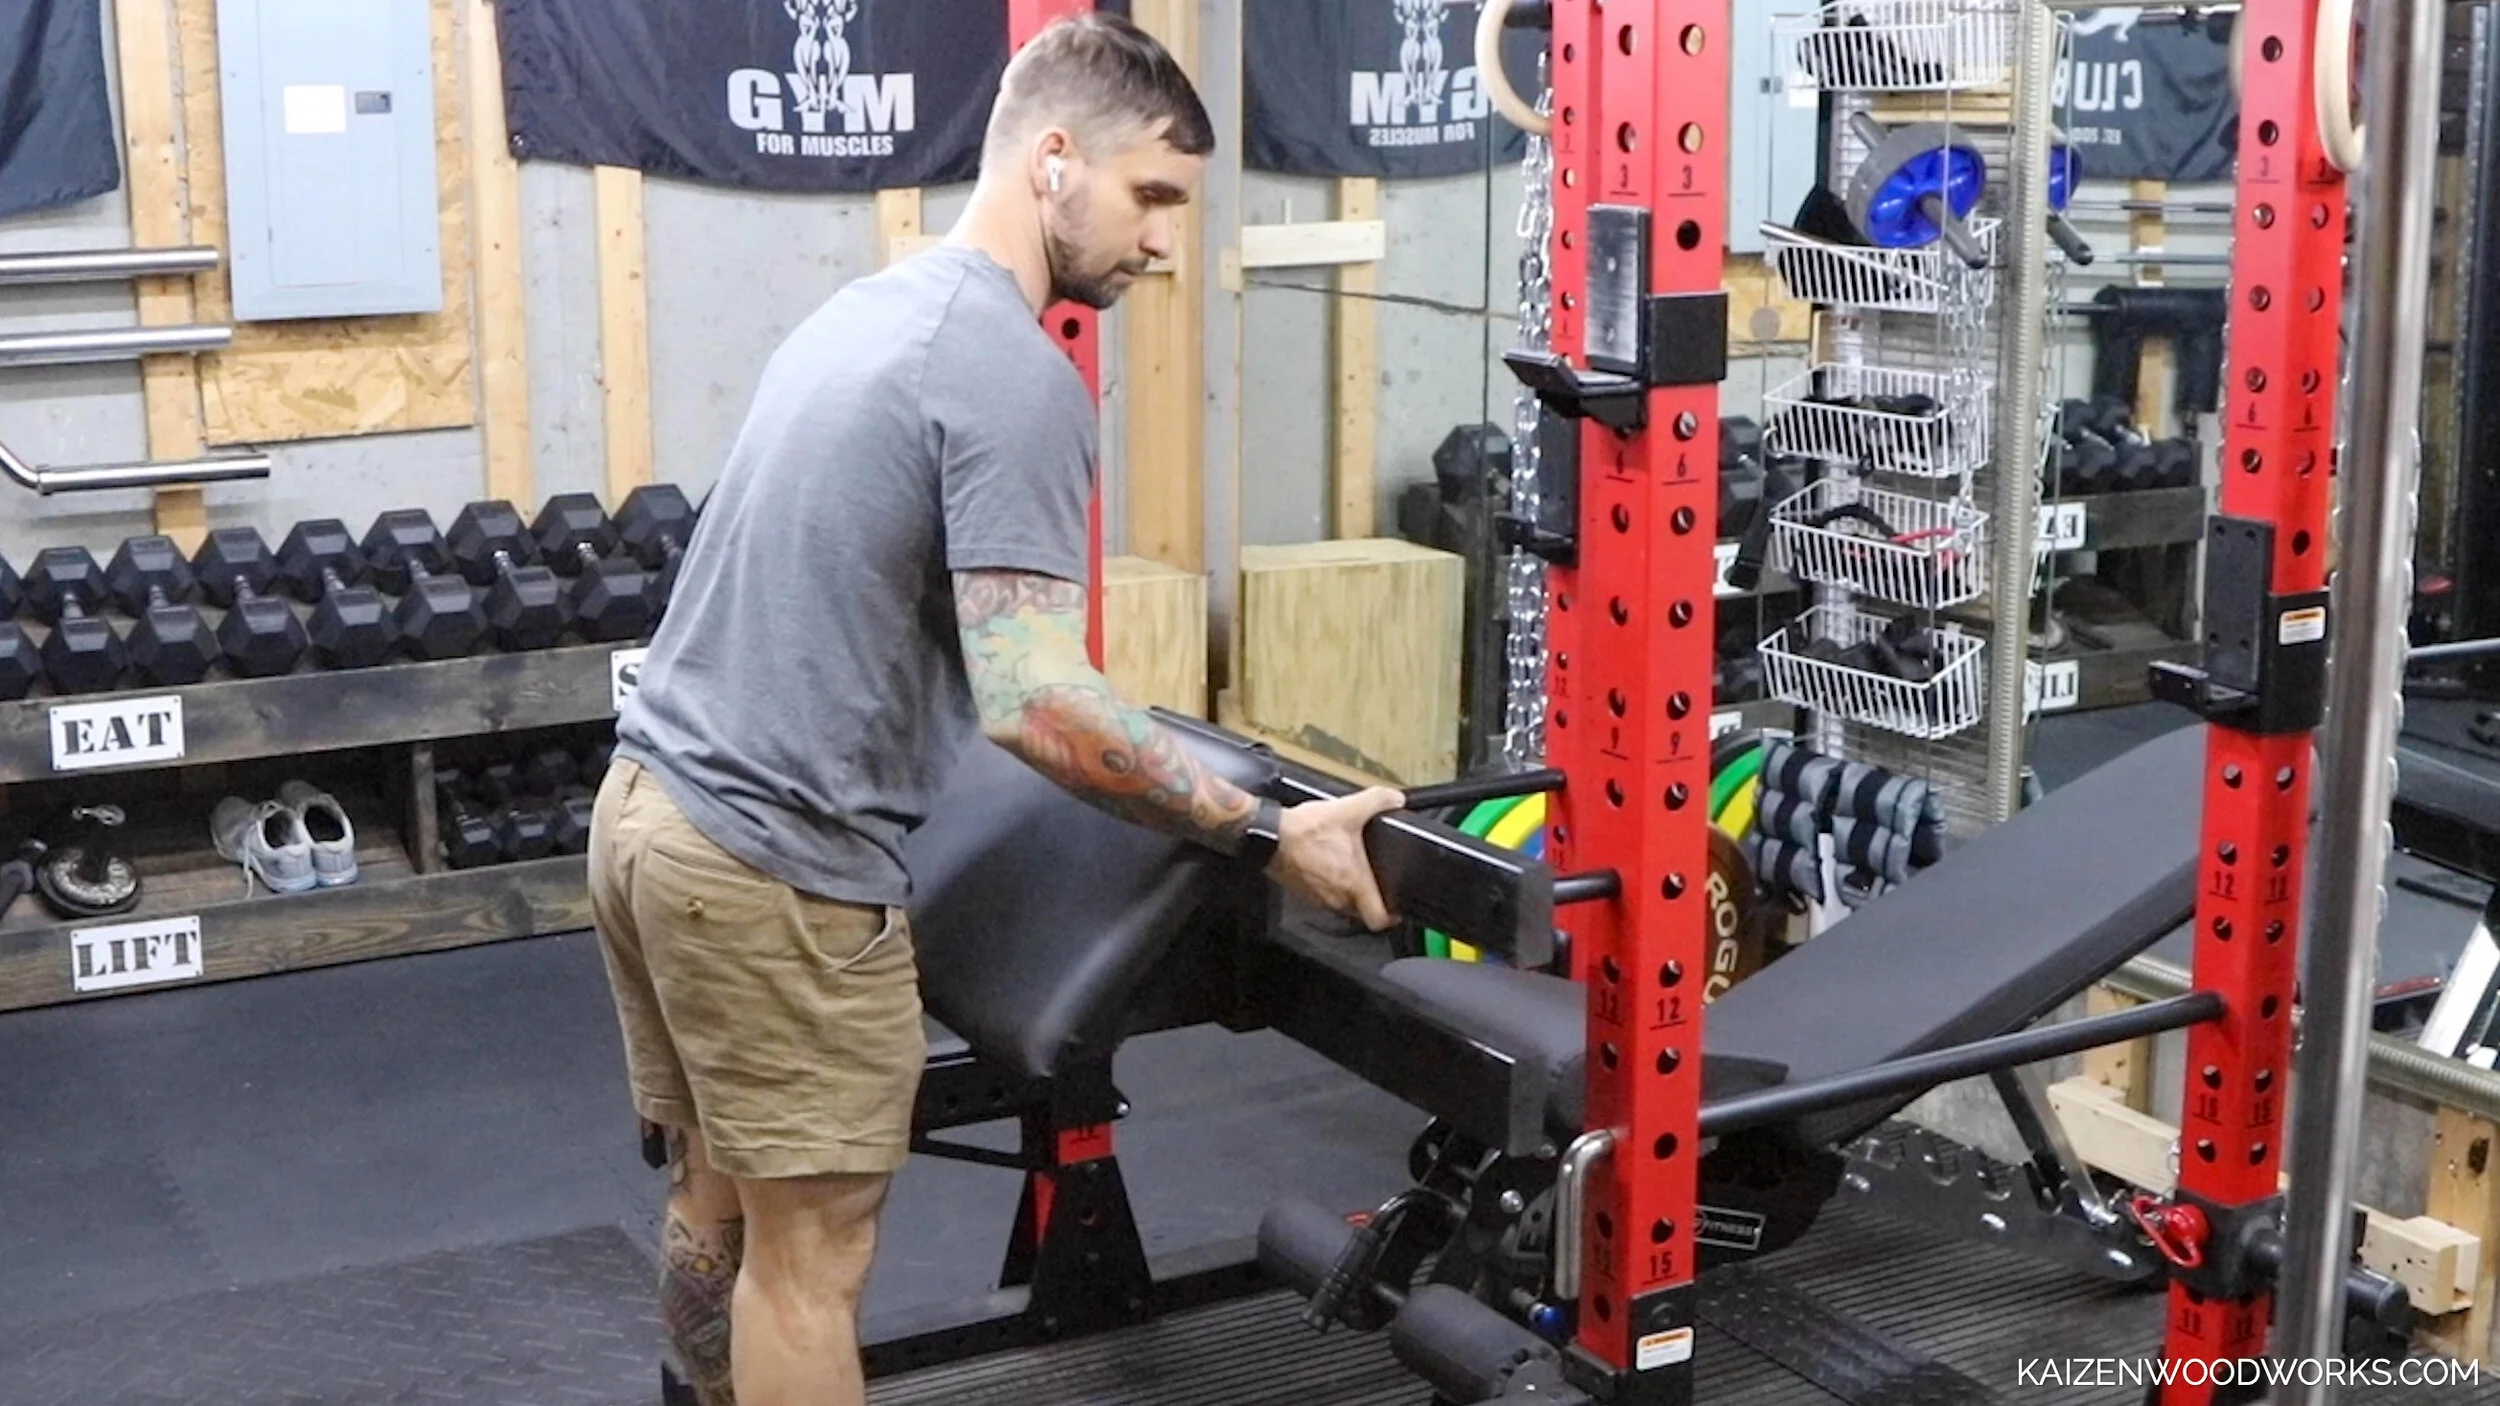
I like doing curls. I had a bench with a preacher pad but found that it was pretty unstable. I had a full on preacher chair for a while, but I didn’t like how much space it took up. My solution was to build a preacher pad that mounts on to my power rack. It is great because I am able to utilize the bench I already have and my spotter arms hold the bar.
If you like this idea but don’t want to build one, Titan Fitness sells a rack mounted preacher curl for $139
This project only took a couple of hours and the materials were relatively inexpensive. There are lots of options on what tools and materials can be used to make this, here’s what I used:
Materials:
2 - 7ft 2x4’s
24” x 24” piece of 1/2” thick plywood
1” dowel rod (this will vary depending on your rack)
1 7/16 in x 4 1/2 in rafter ties
2 1/2 in x 1 3/8 in mending plates
2 -7/16 in x 1 1/2 in lynch pins
Finishing washers (for foam mat)
Tools:
Drill press - alternatively, the holes can also be drilled using a cordless drill
This post is not sponsored. Some of the links are affiliates which means if you purchase through the link, I’ll receive a small commission.
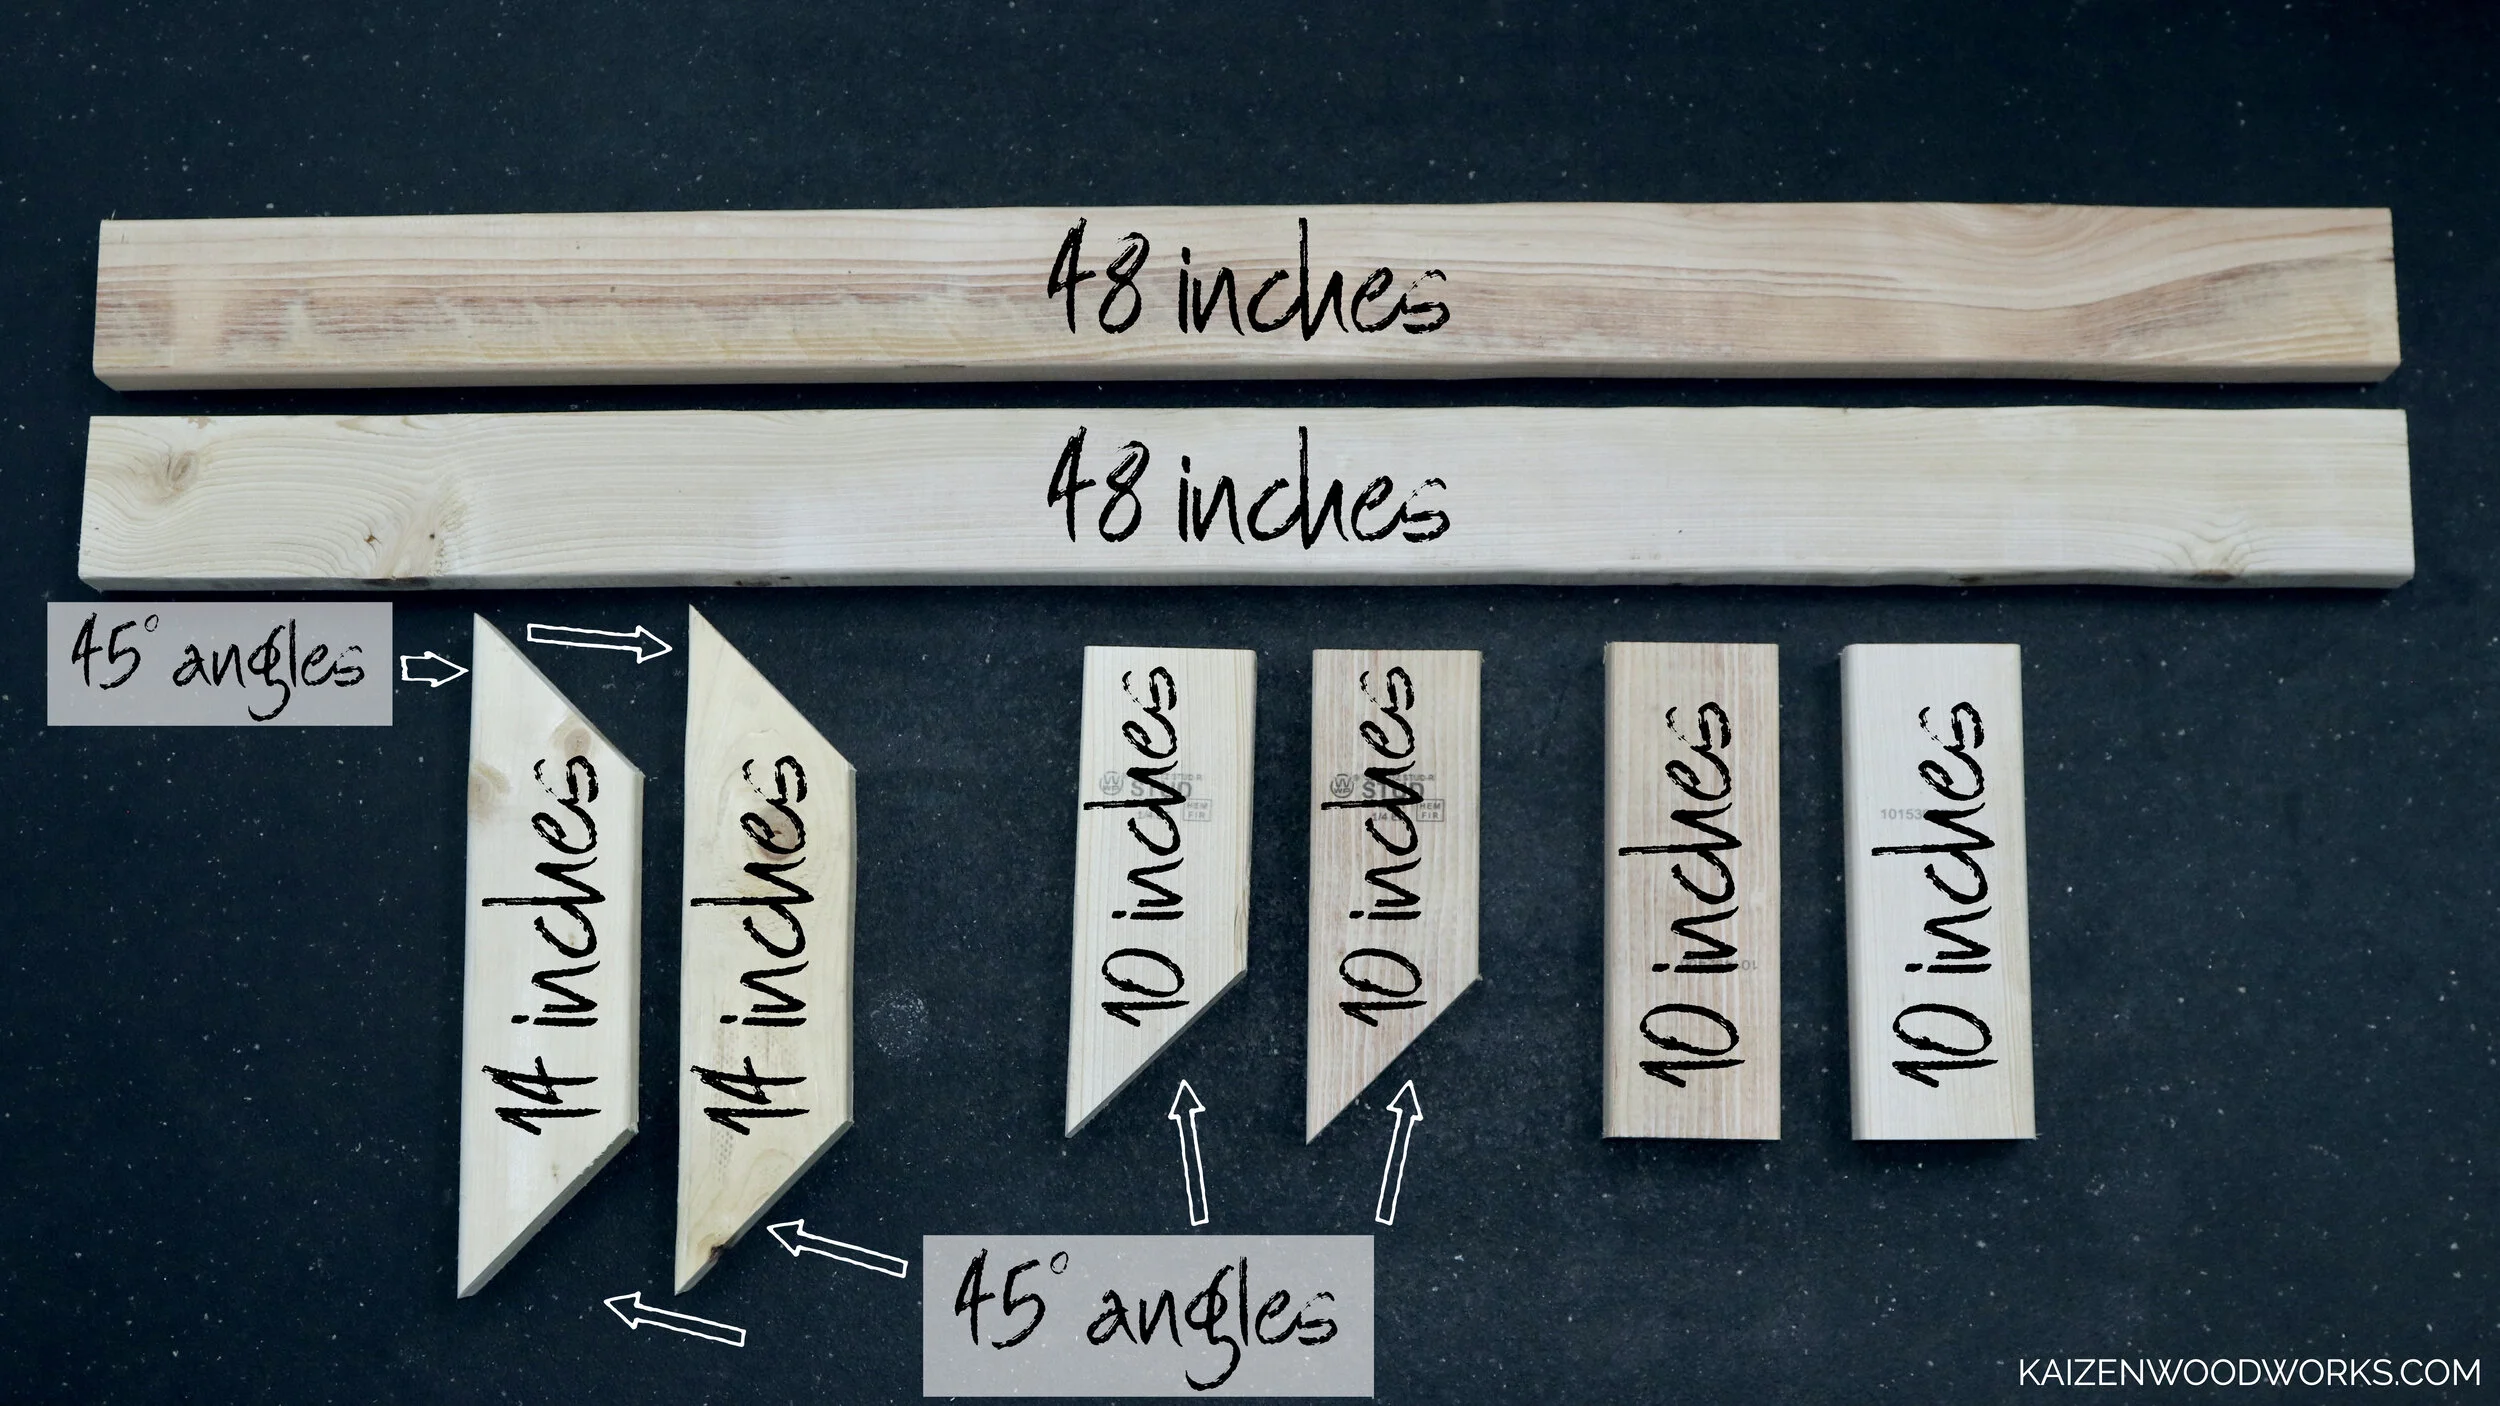
The cuts are simple, all are either 90 degrees or 45 degrees
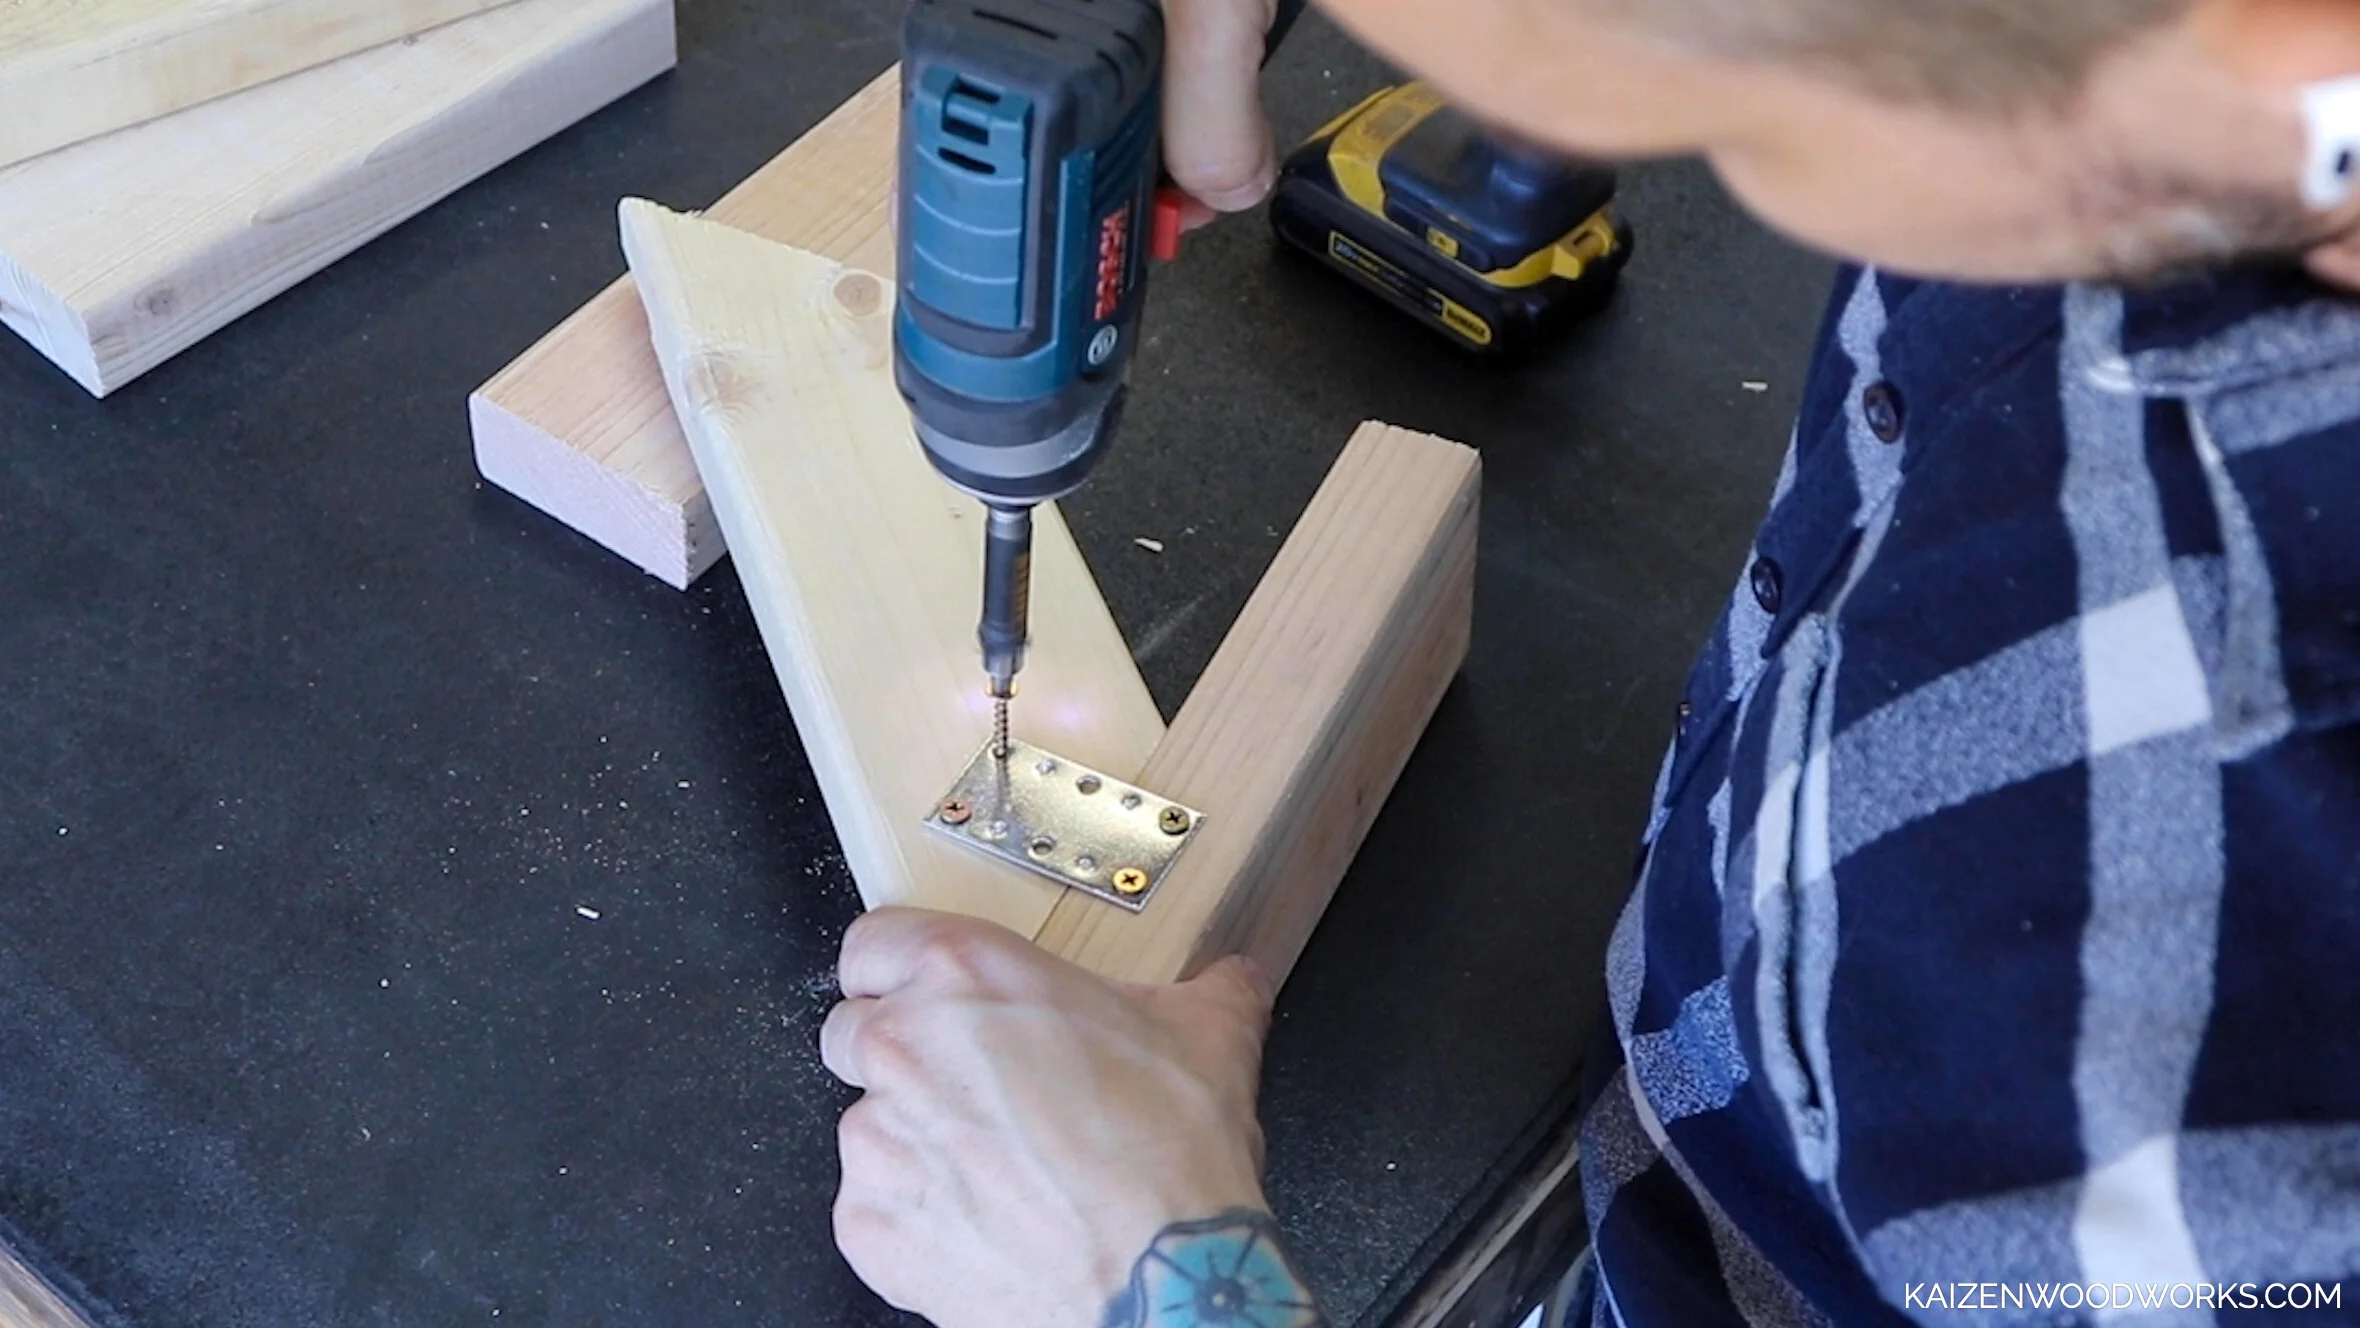
First I assemble the supports. I use mending plates and rafter ties to help secure everything together.
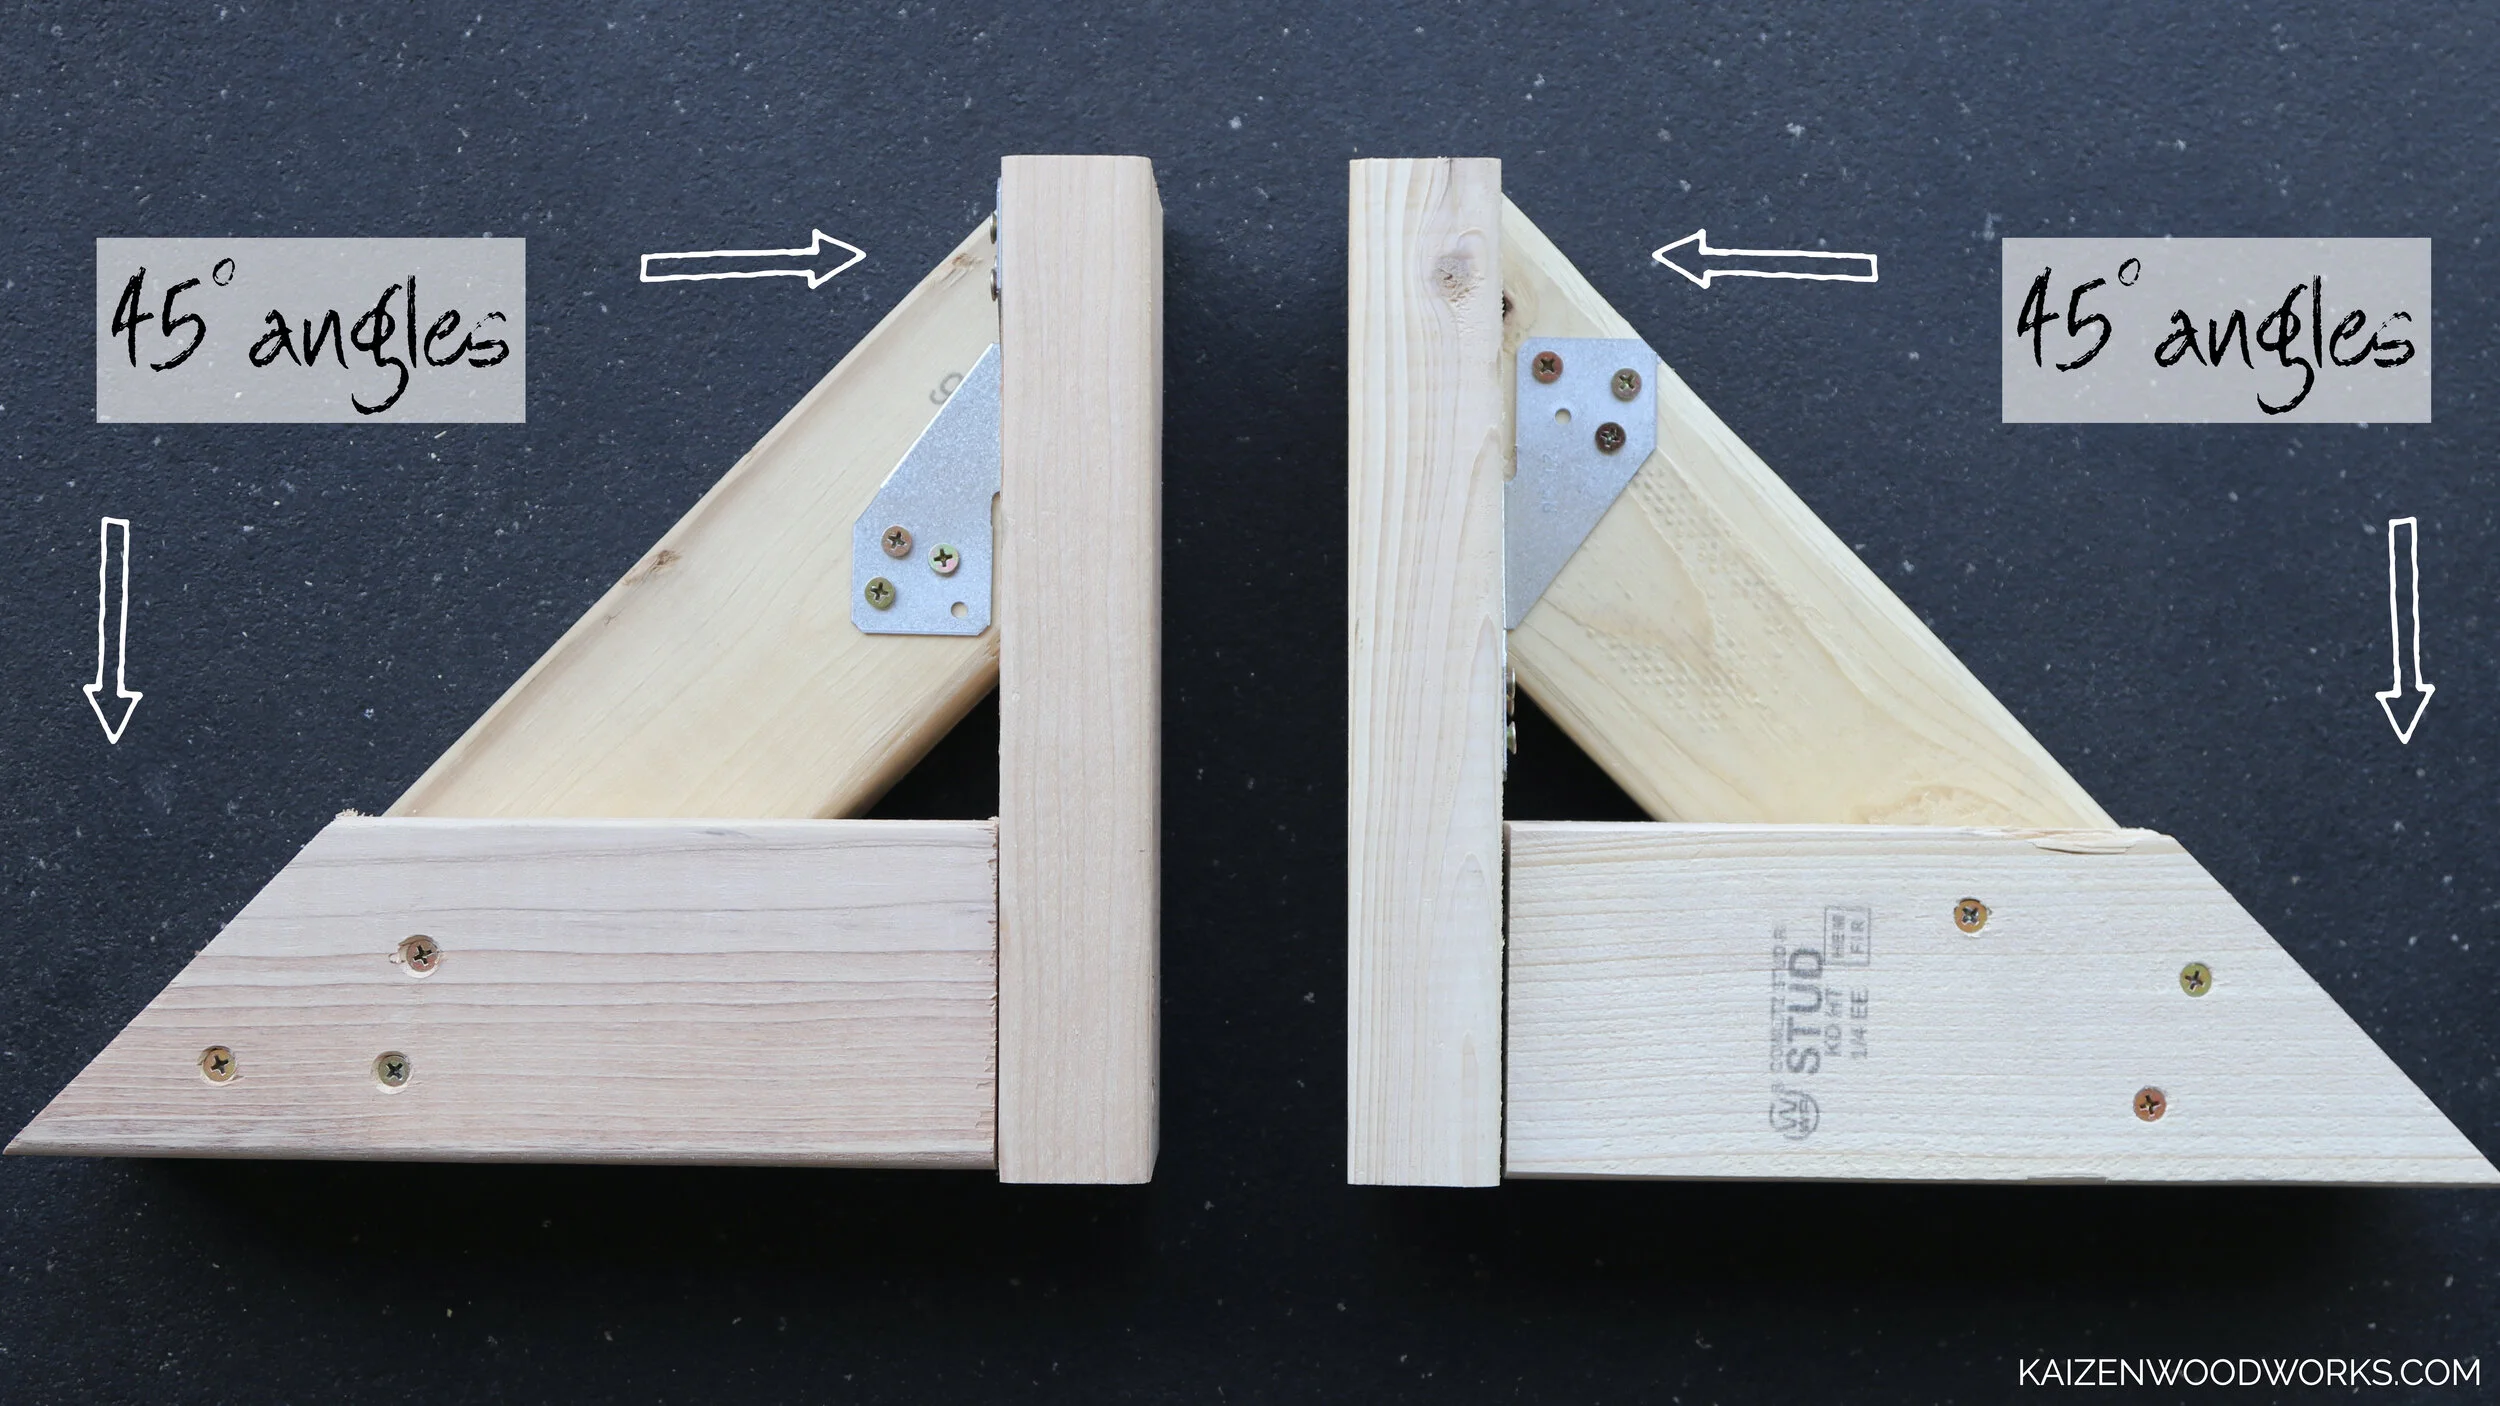
When they are done they should look like mirror images of each other.
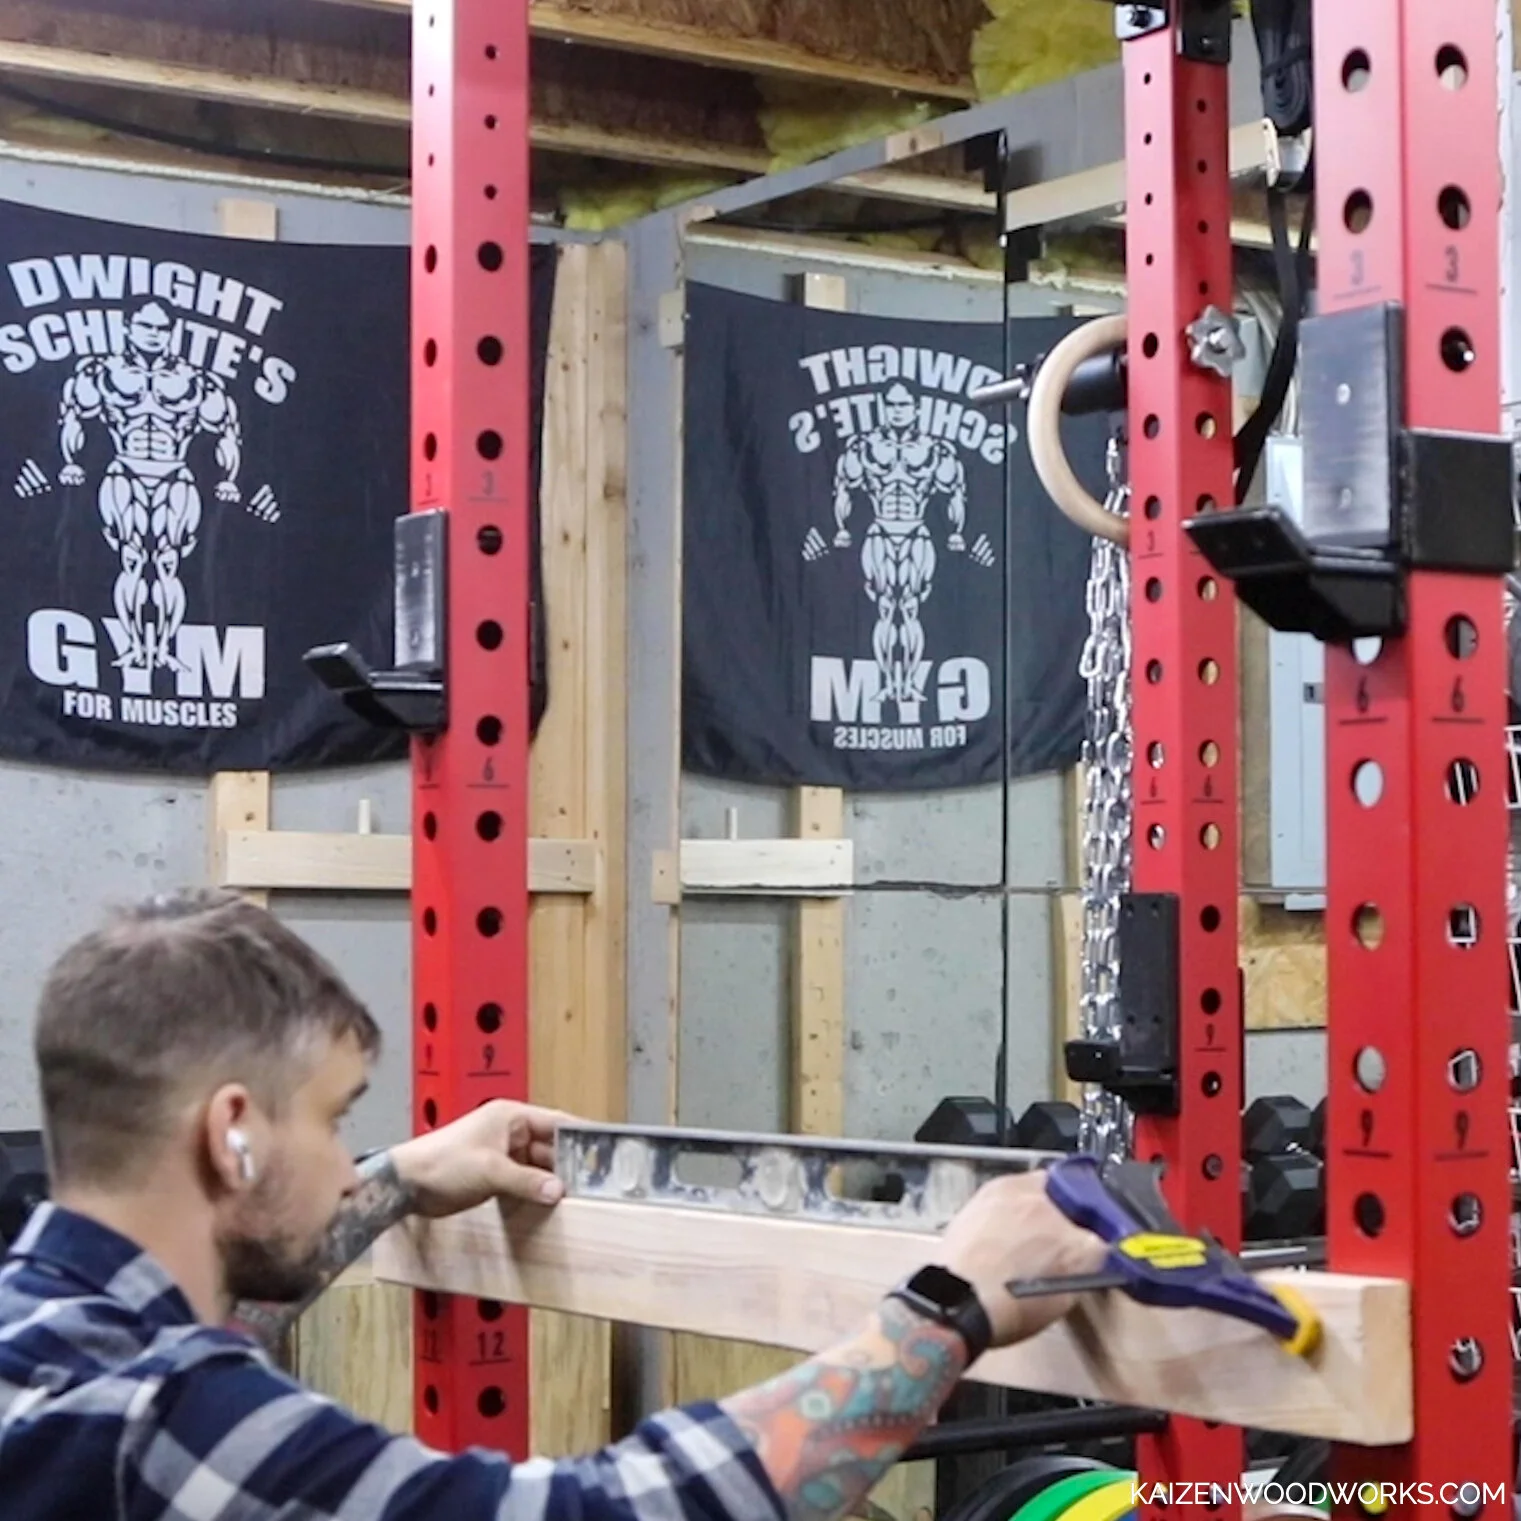
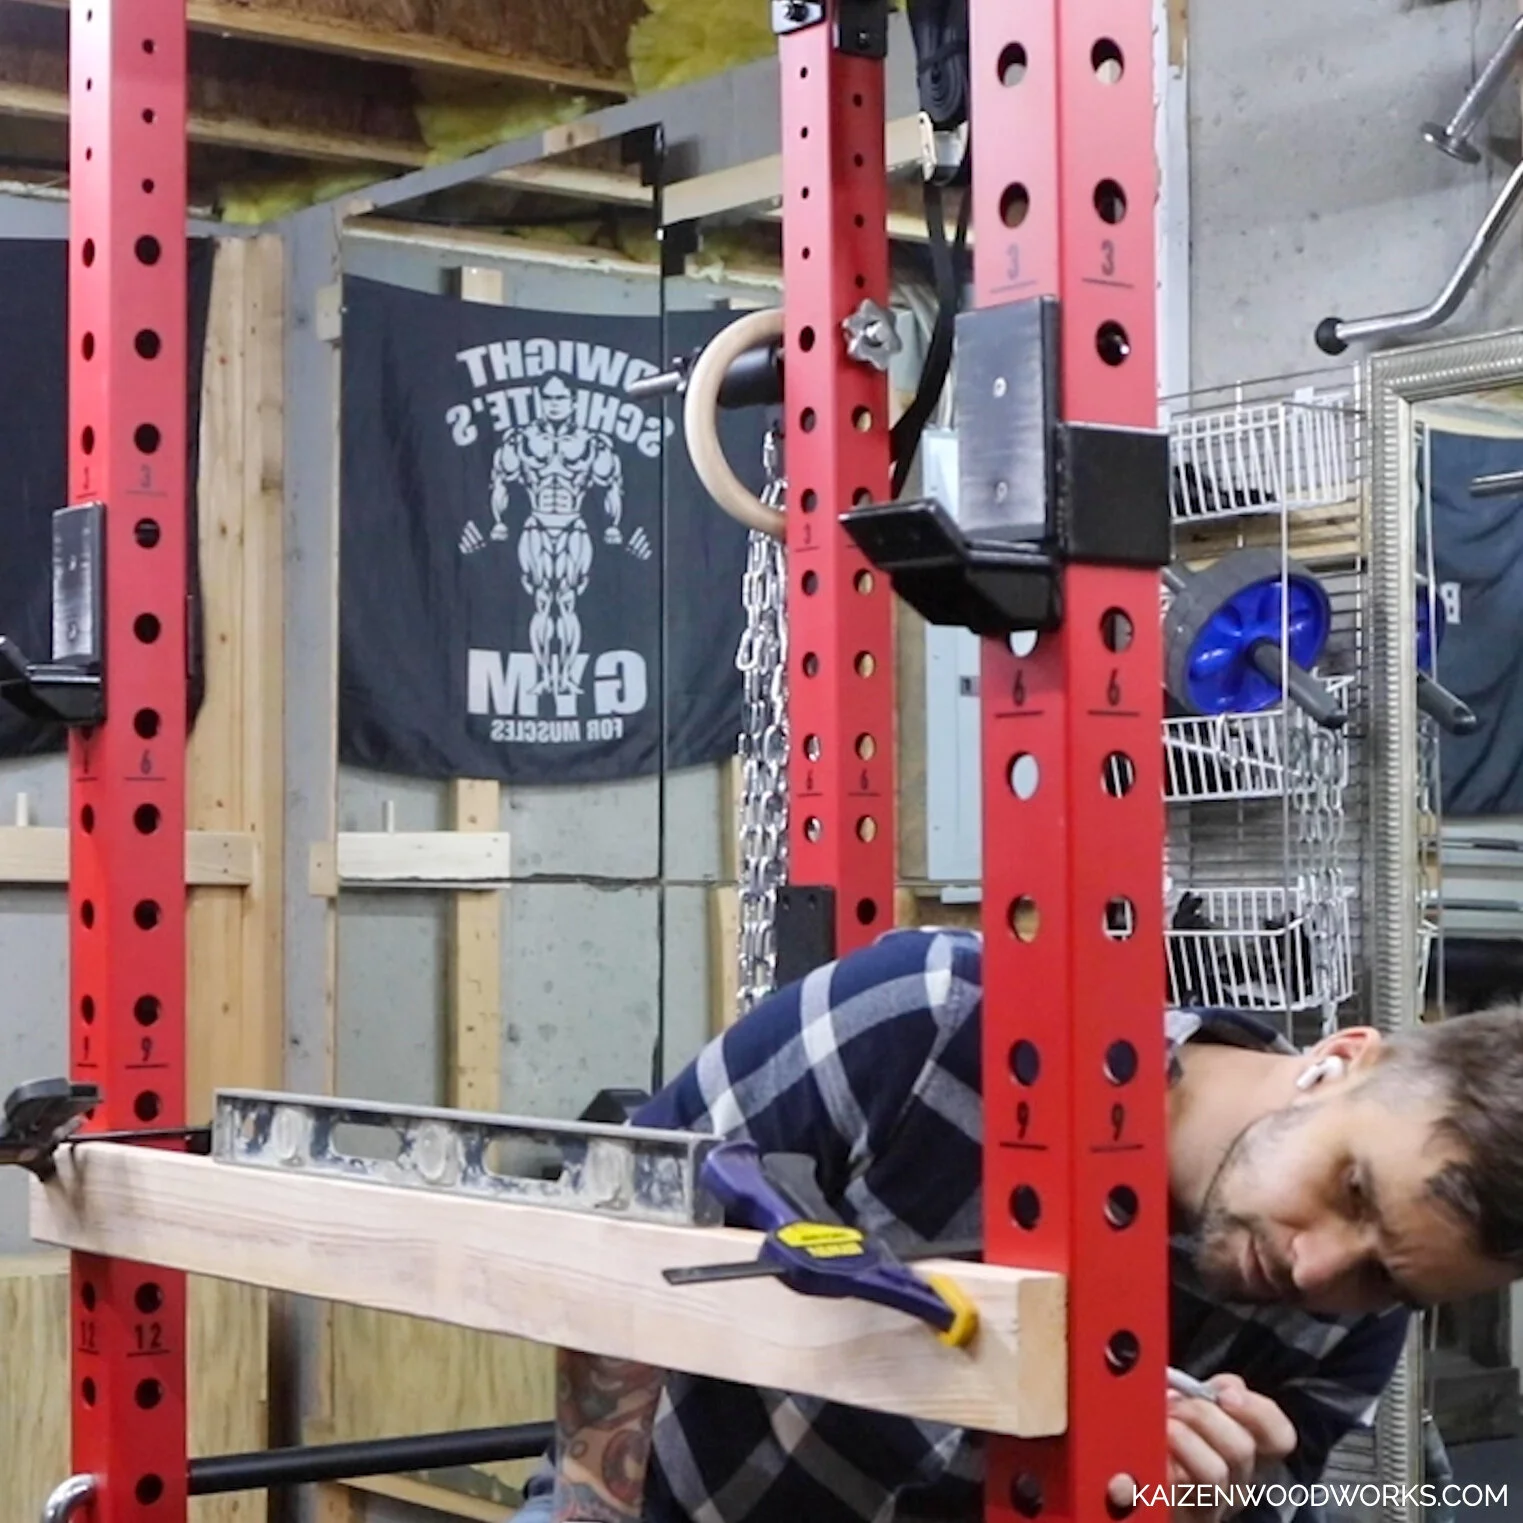
To figure out where to drill the holes for the dowels, I clamp one of the 2x4s to my rack. Once everything is level, I use a pen to trace the circle.
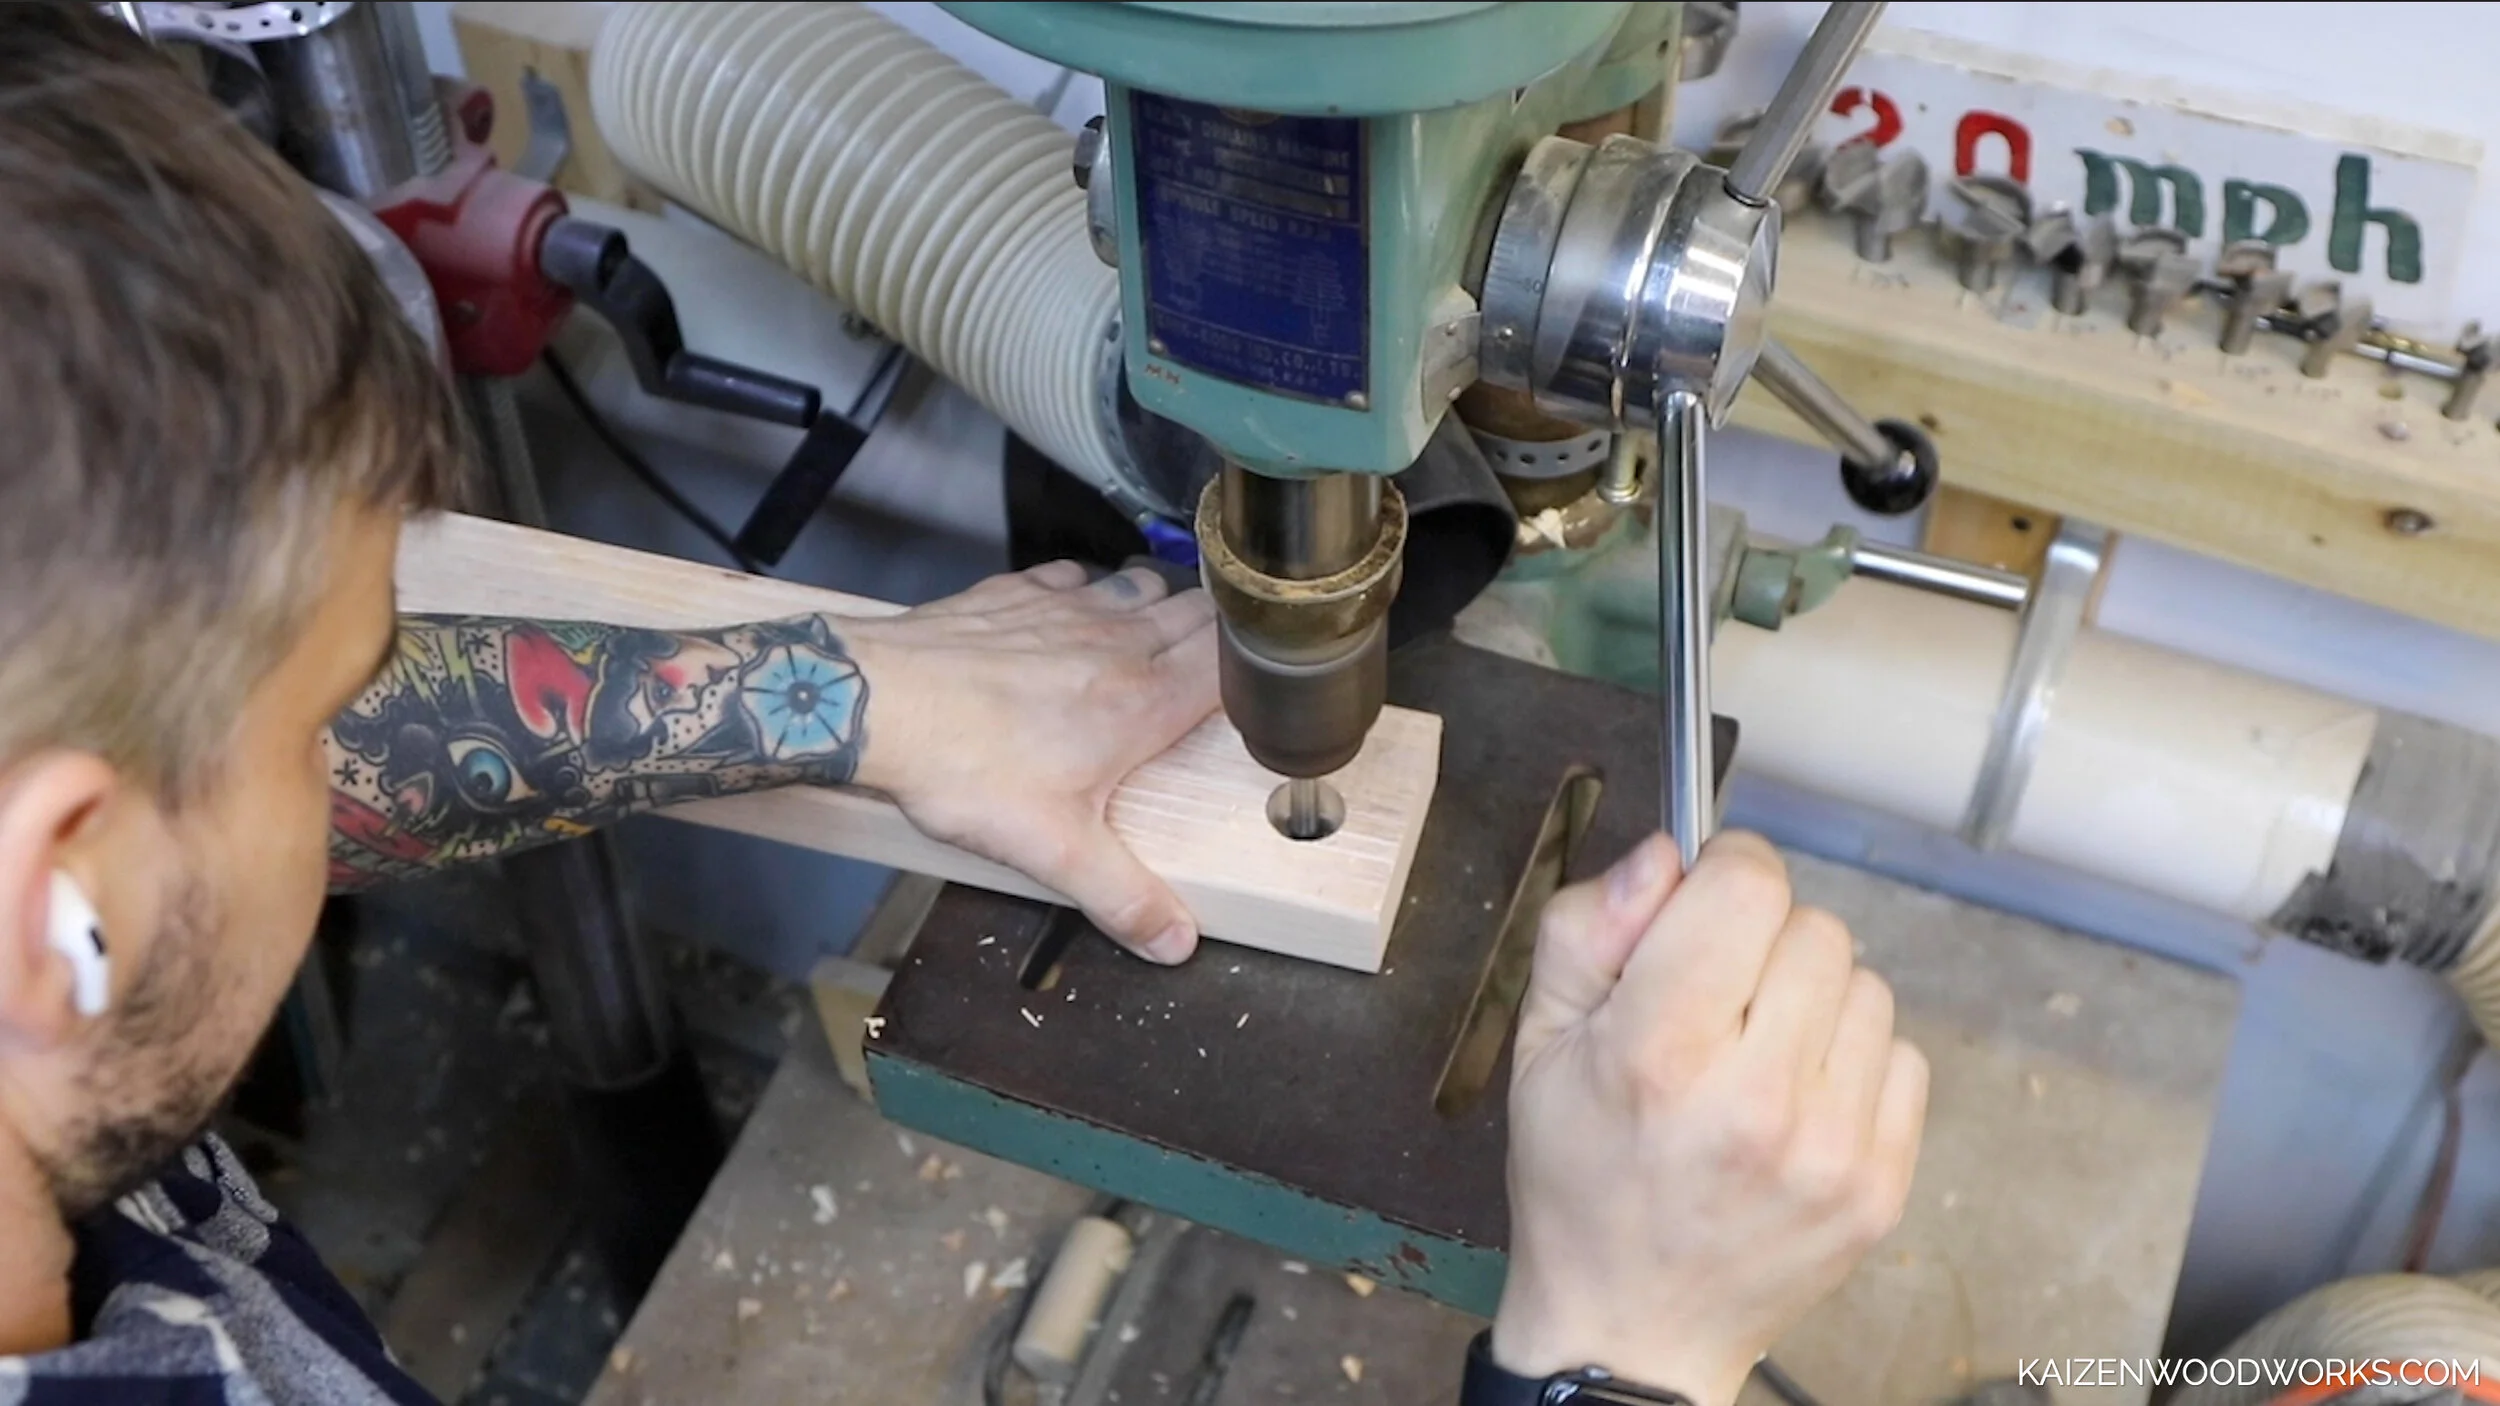
I drill 1 inch holes where I traced the circles, I only drill 3/4 of the way through.
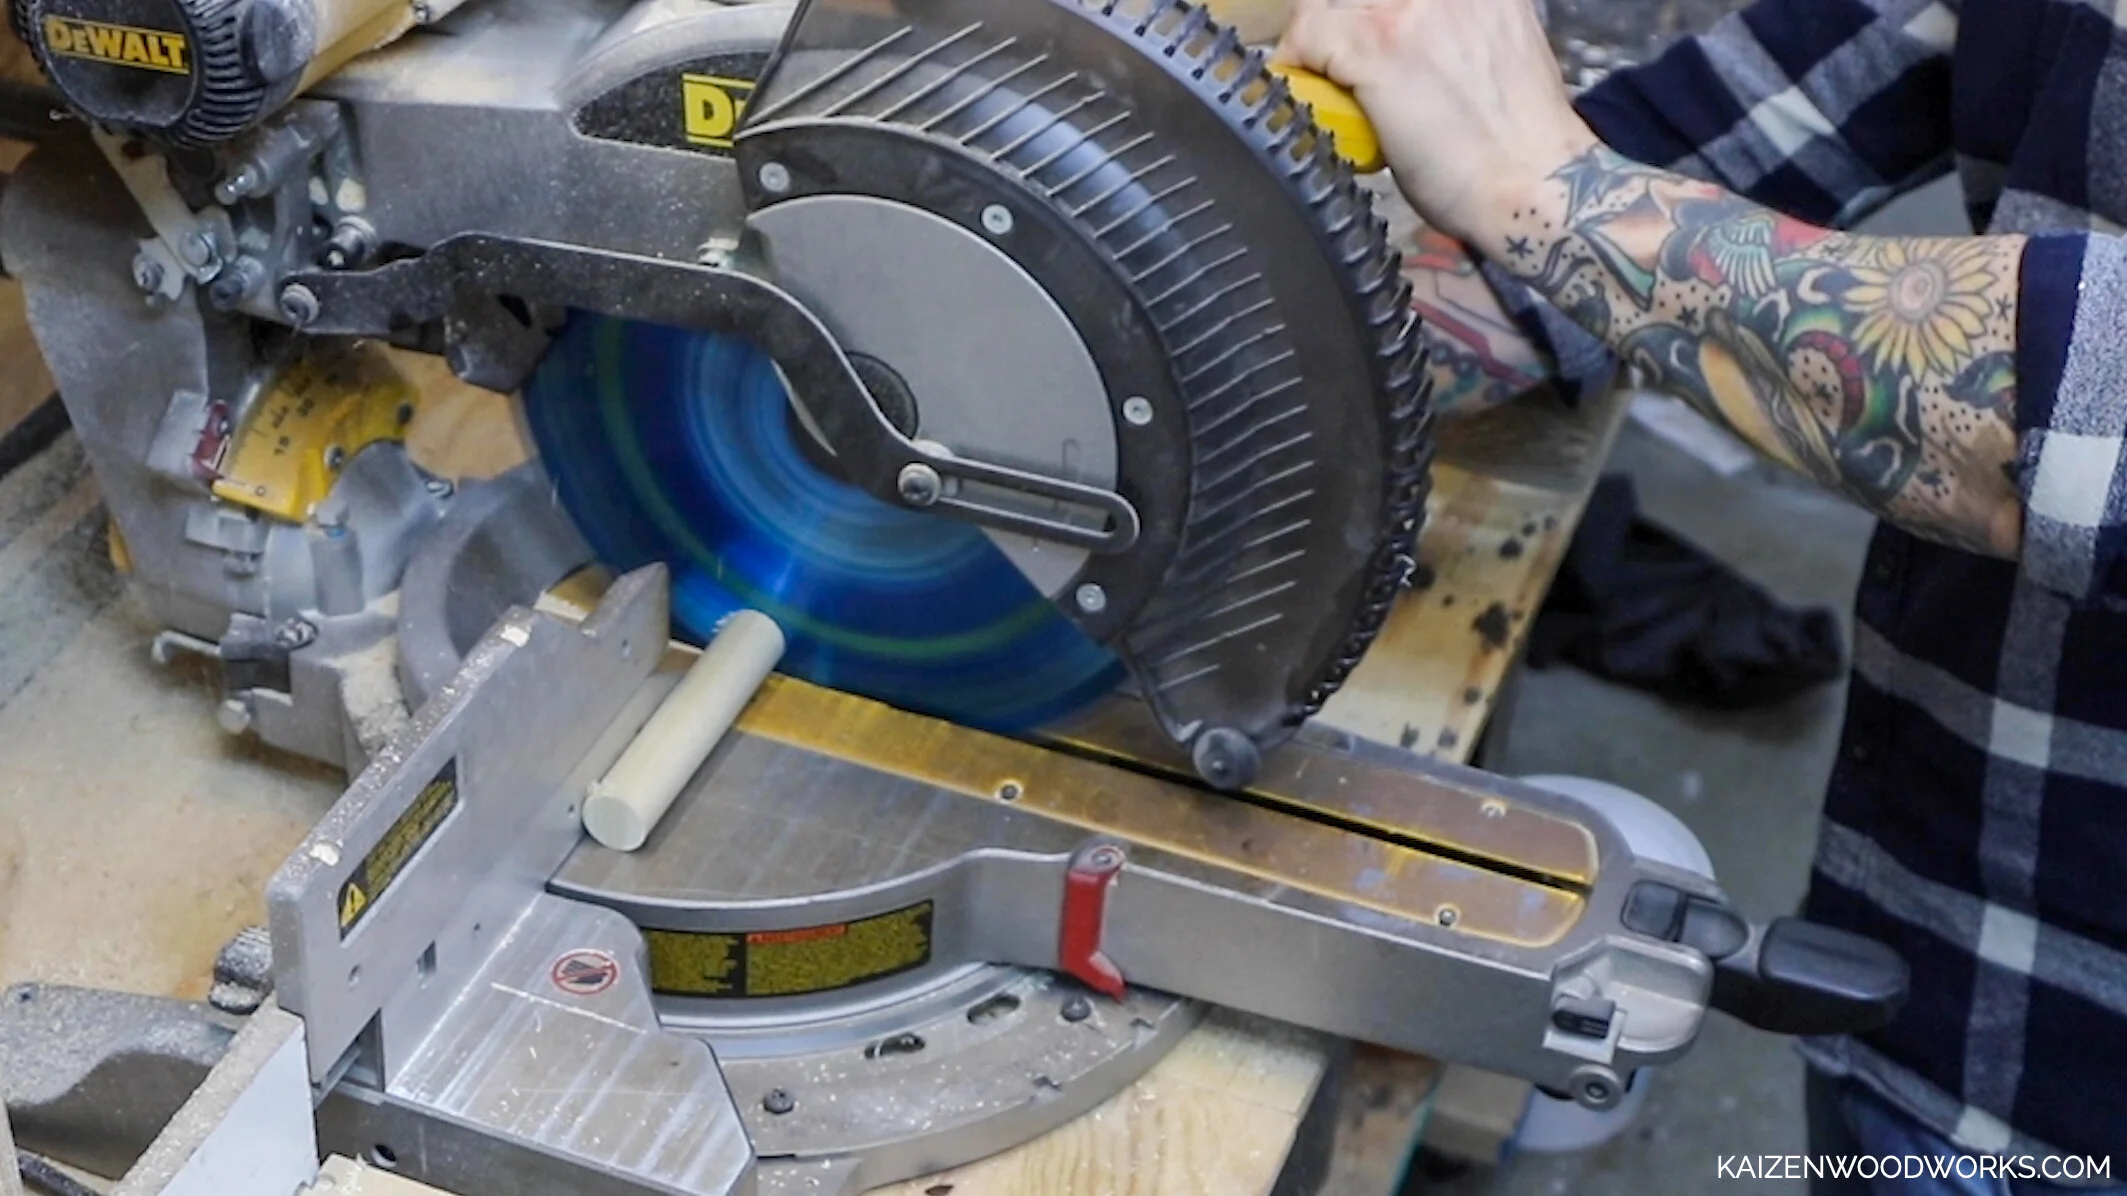
The holes in my rack are 1 inch, so I use 1 inch dowels. If you have a rack with smaller holes, I suggest using metal bolts instead of wood dowels. I cut my dowels to 5 and a half inches
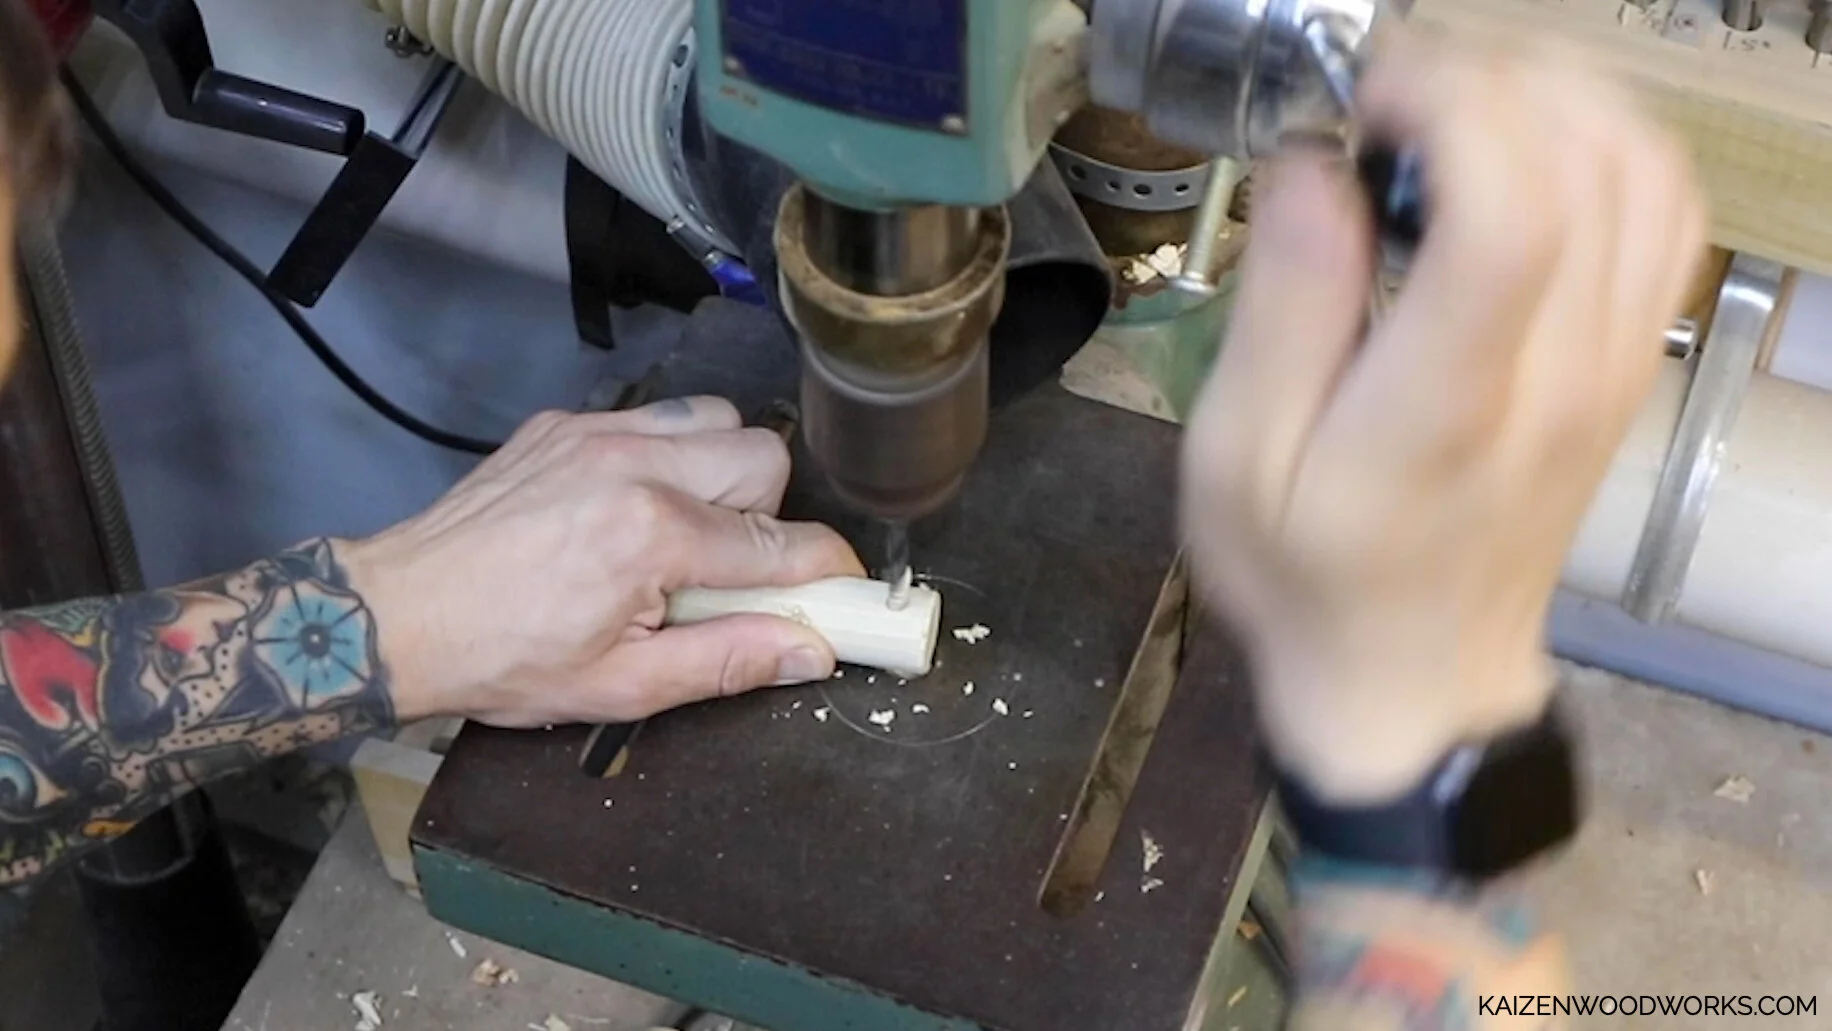
On each dowel, I drill a hole with a 1/4 inch drill bit. This is where the lynch pins will go.
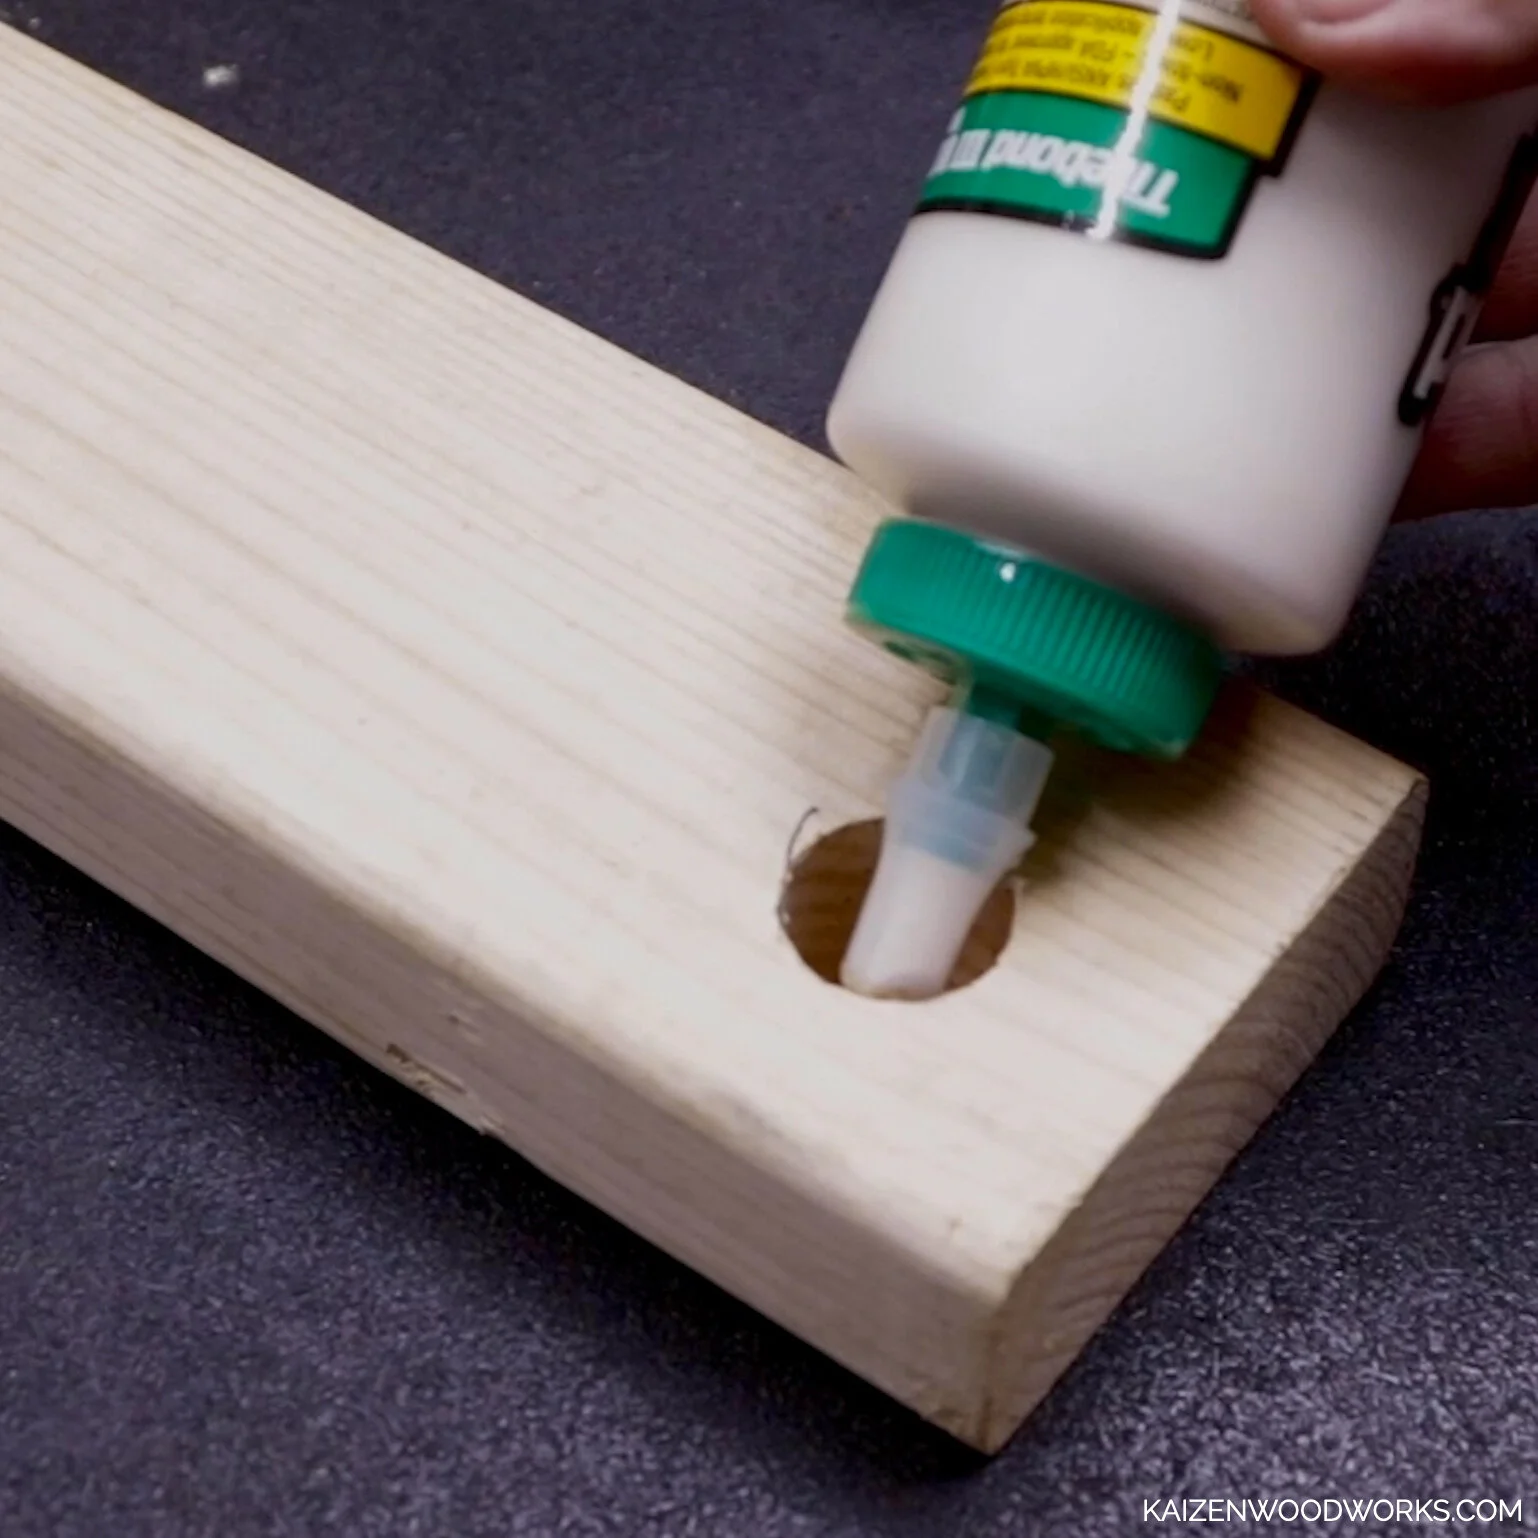
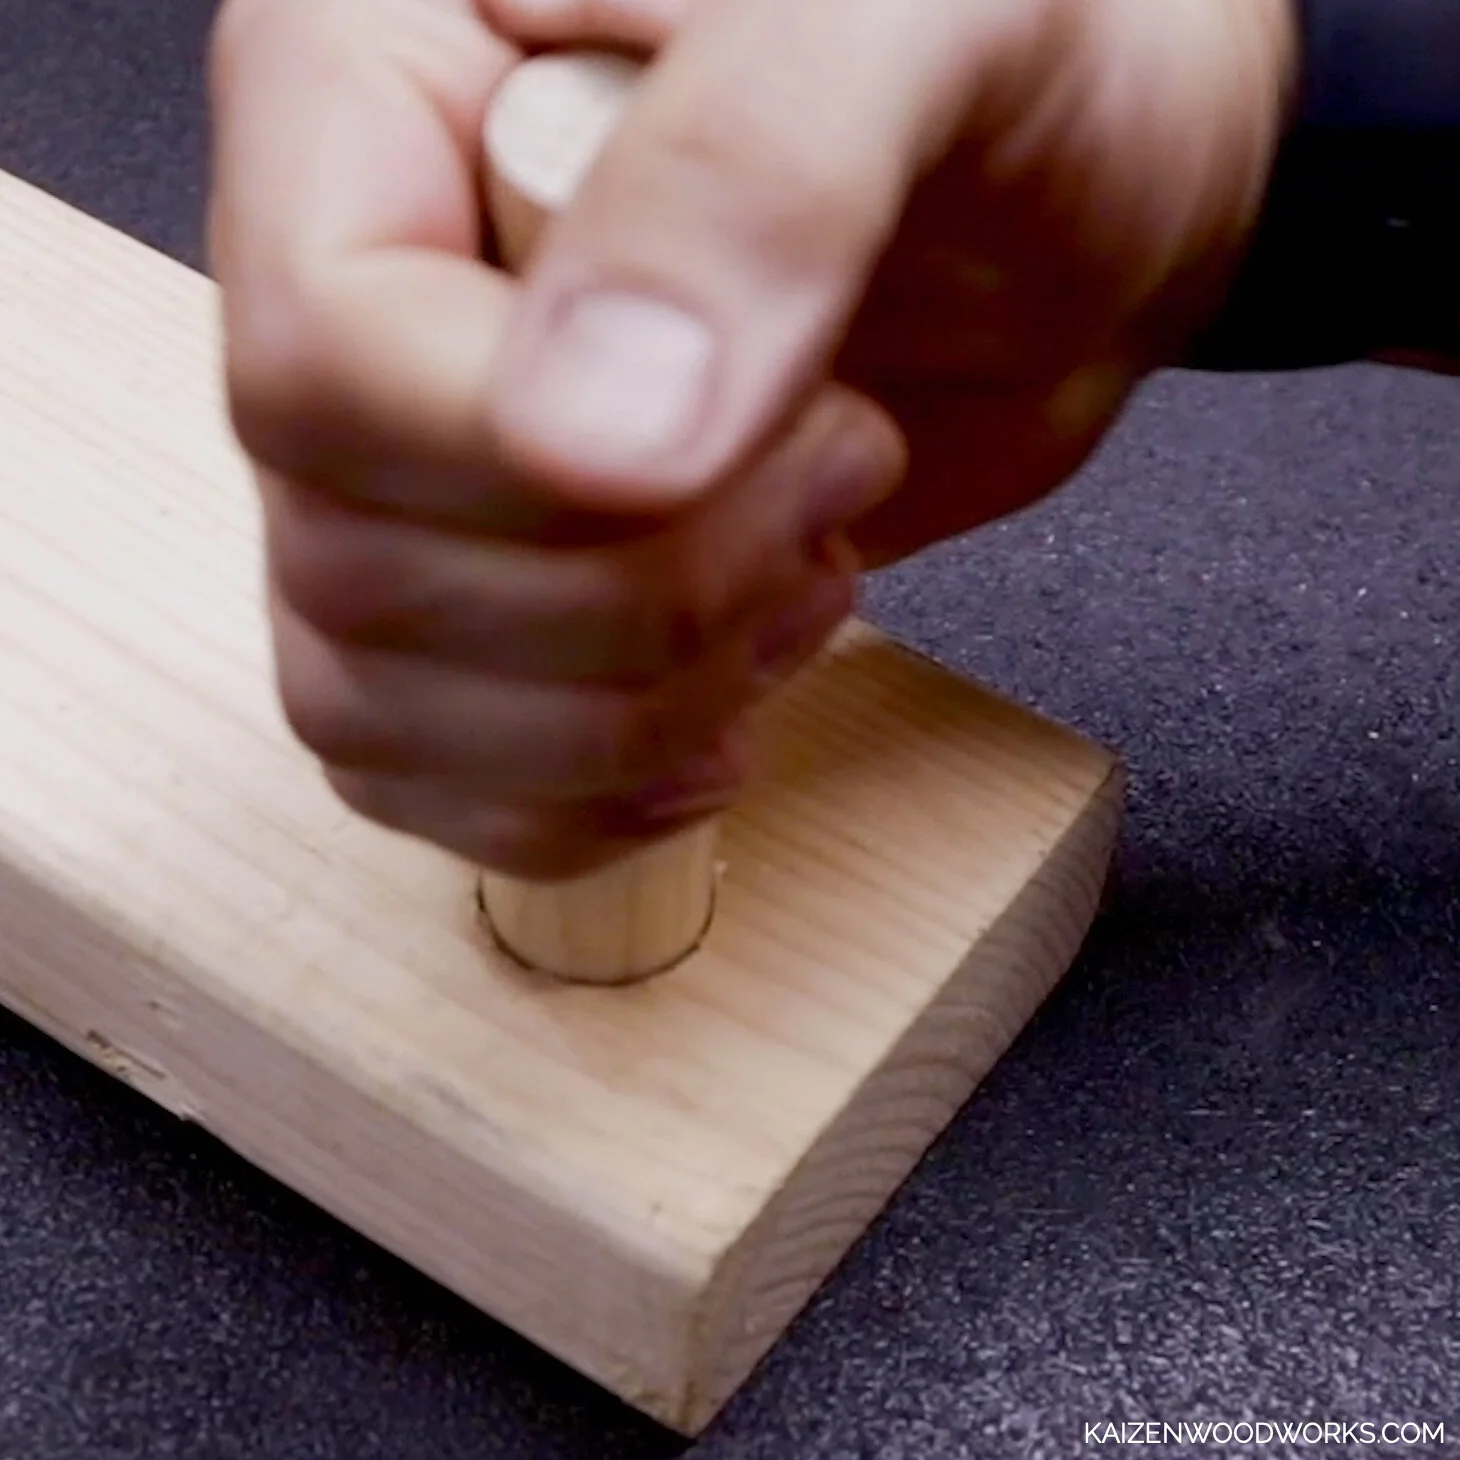
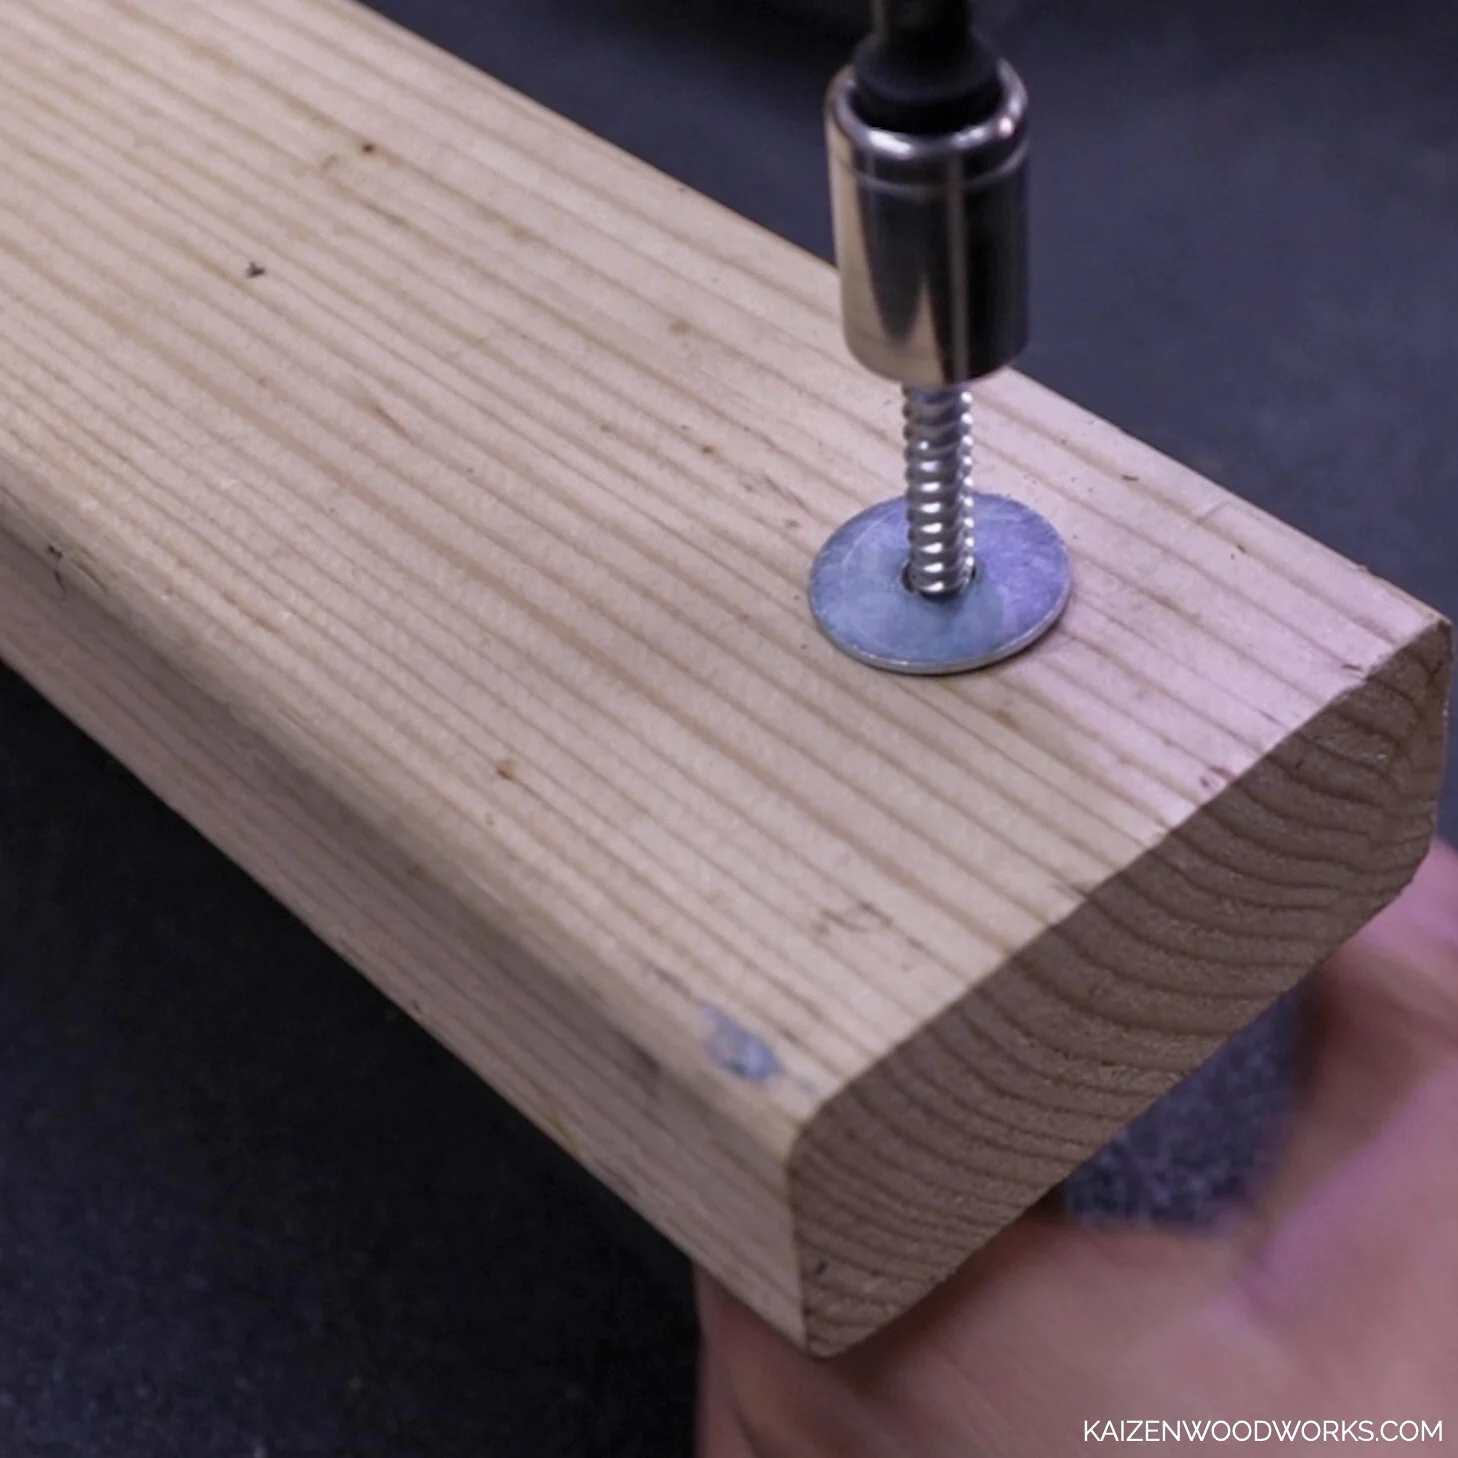
I use wood glue and 2 inch lag screws to secure the dowels in place. I predrill the holes before the lags go in.


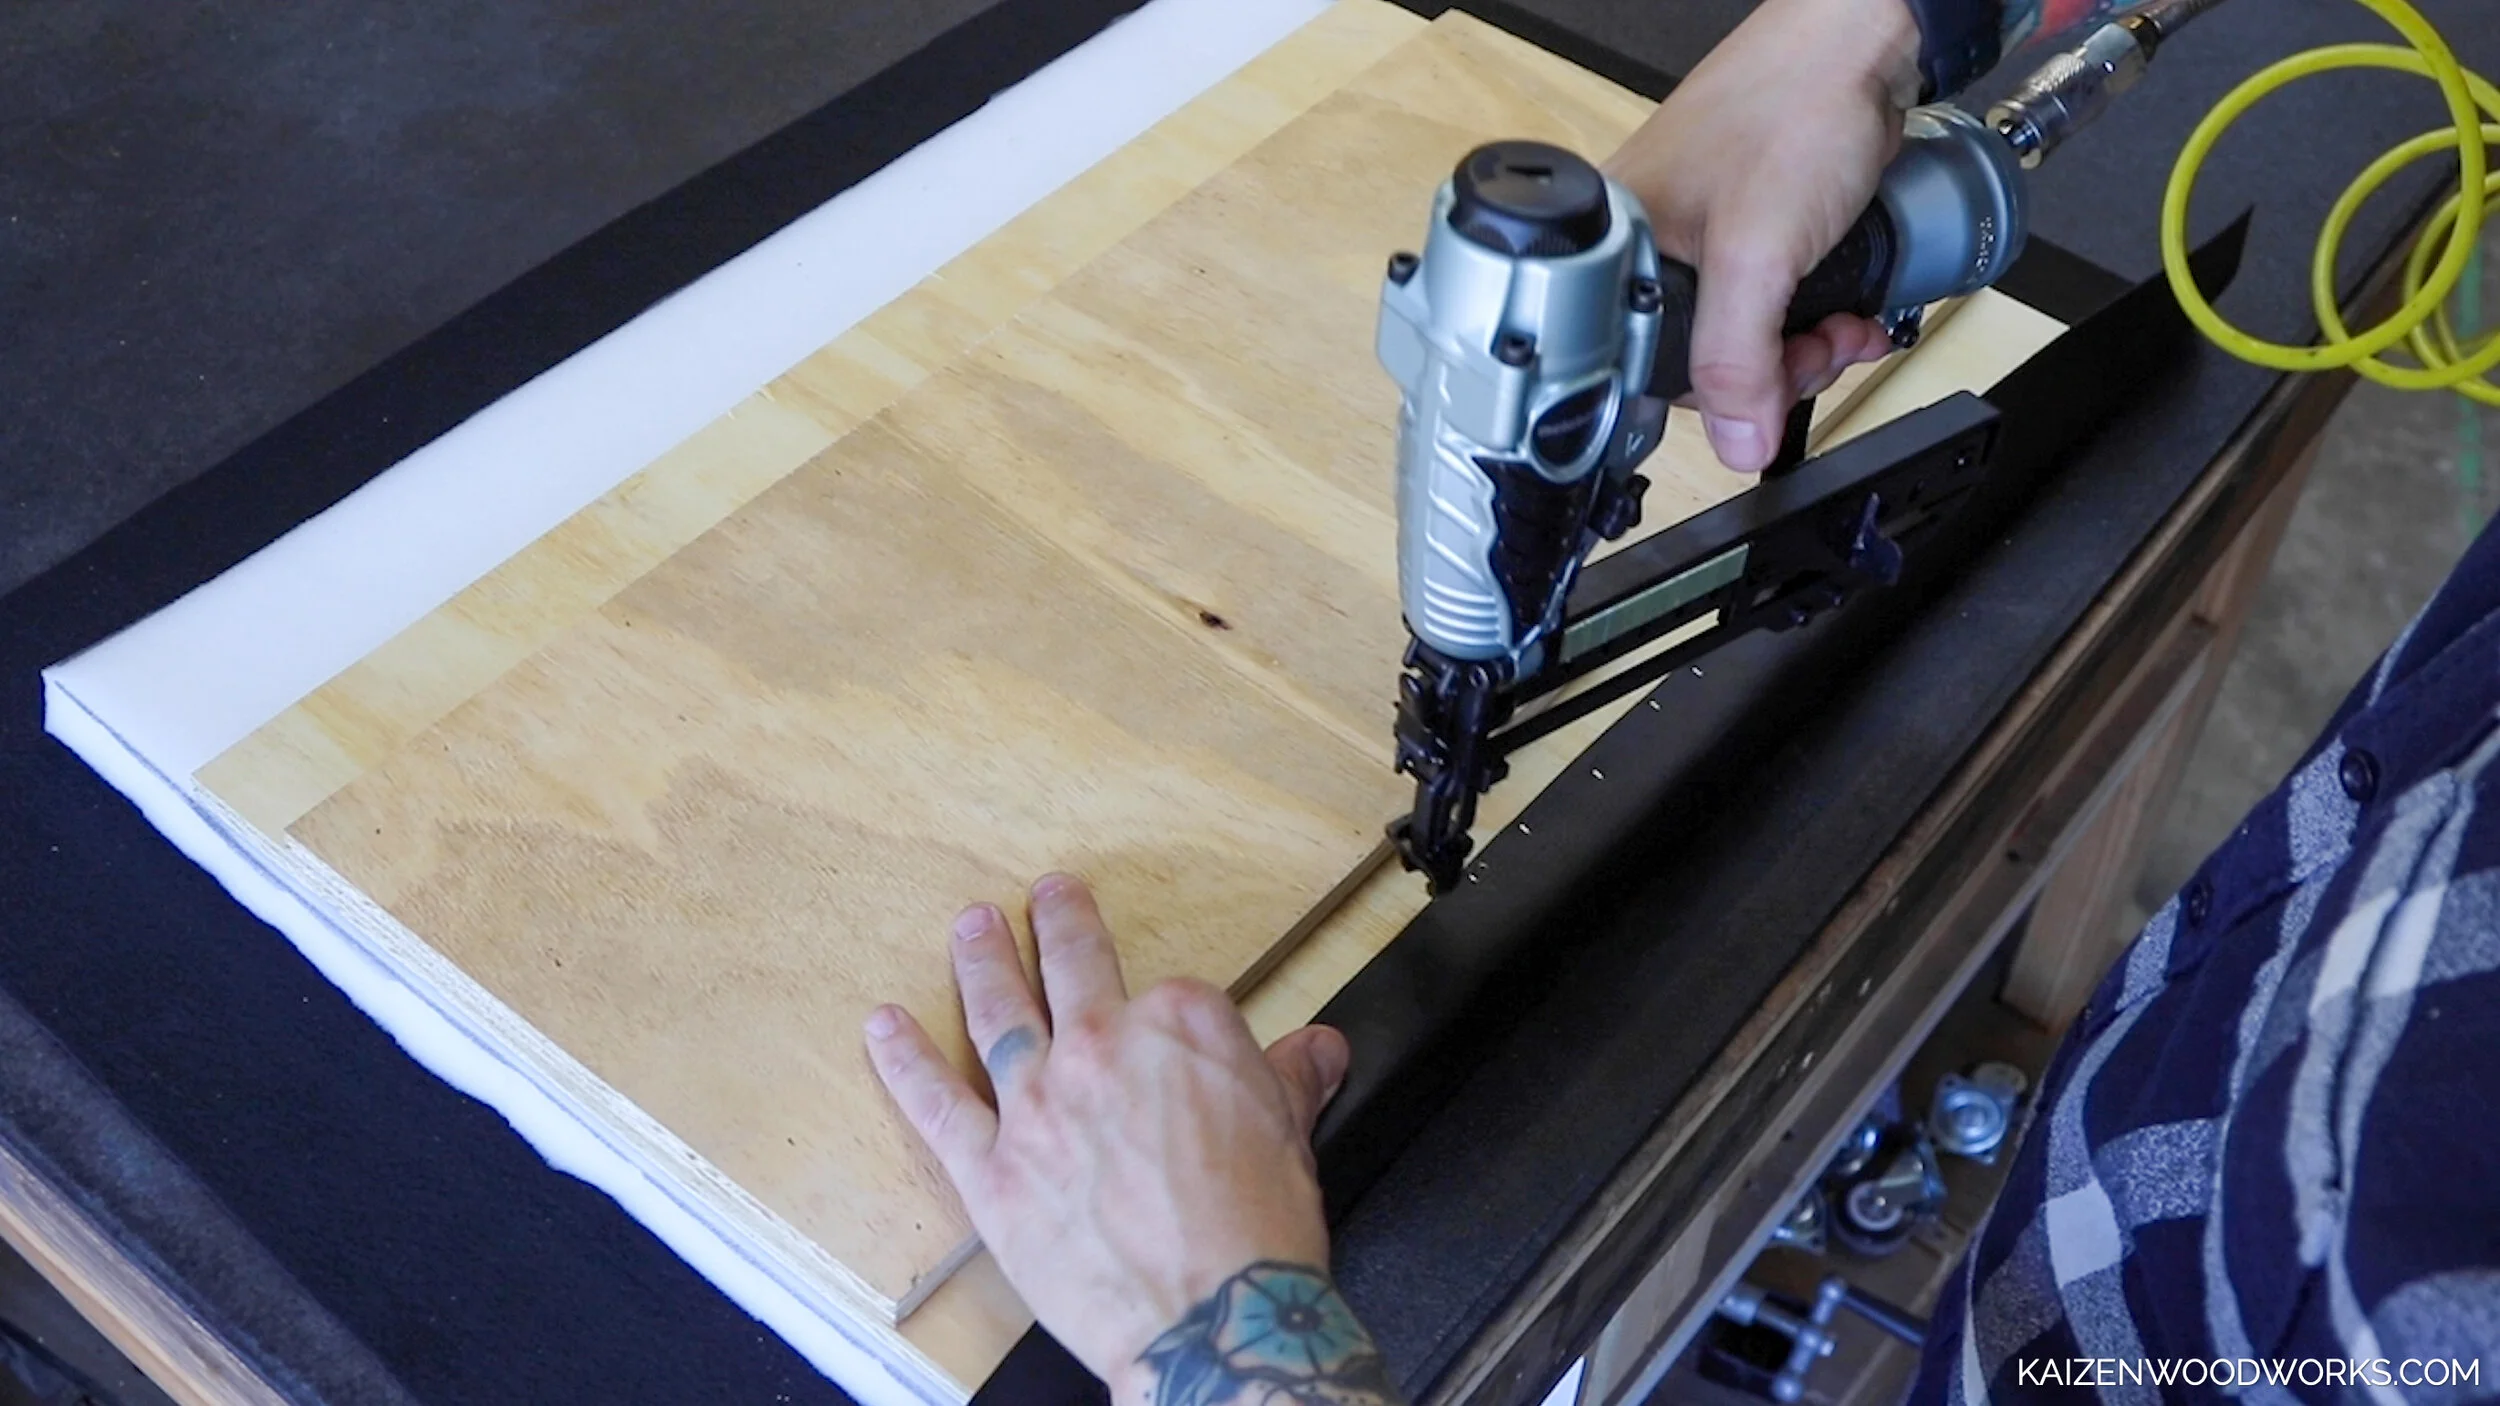
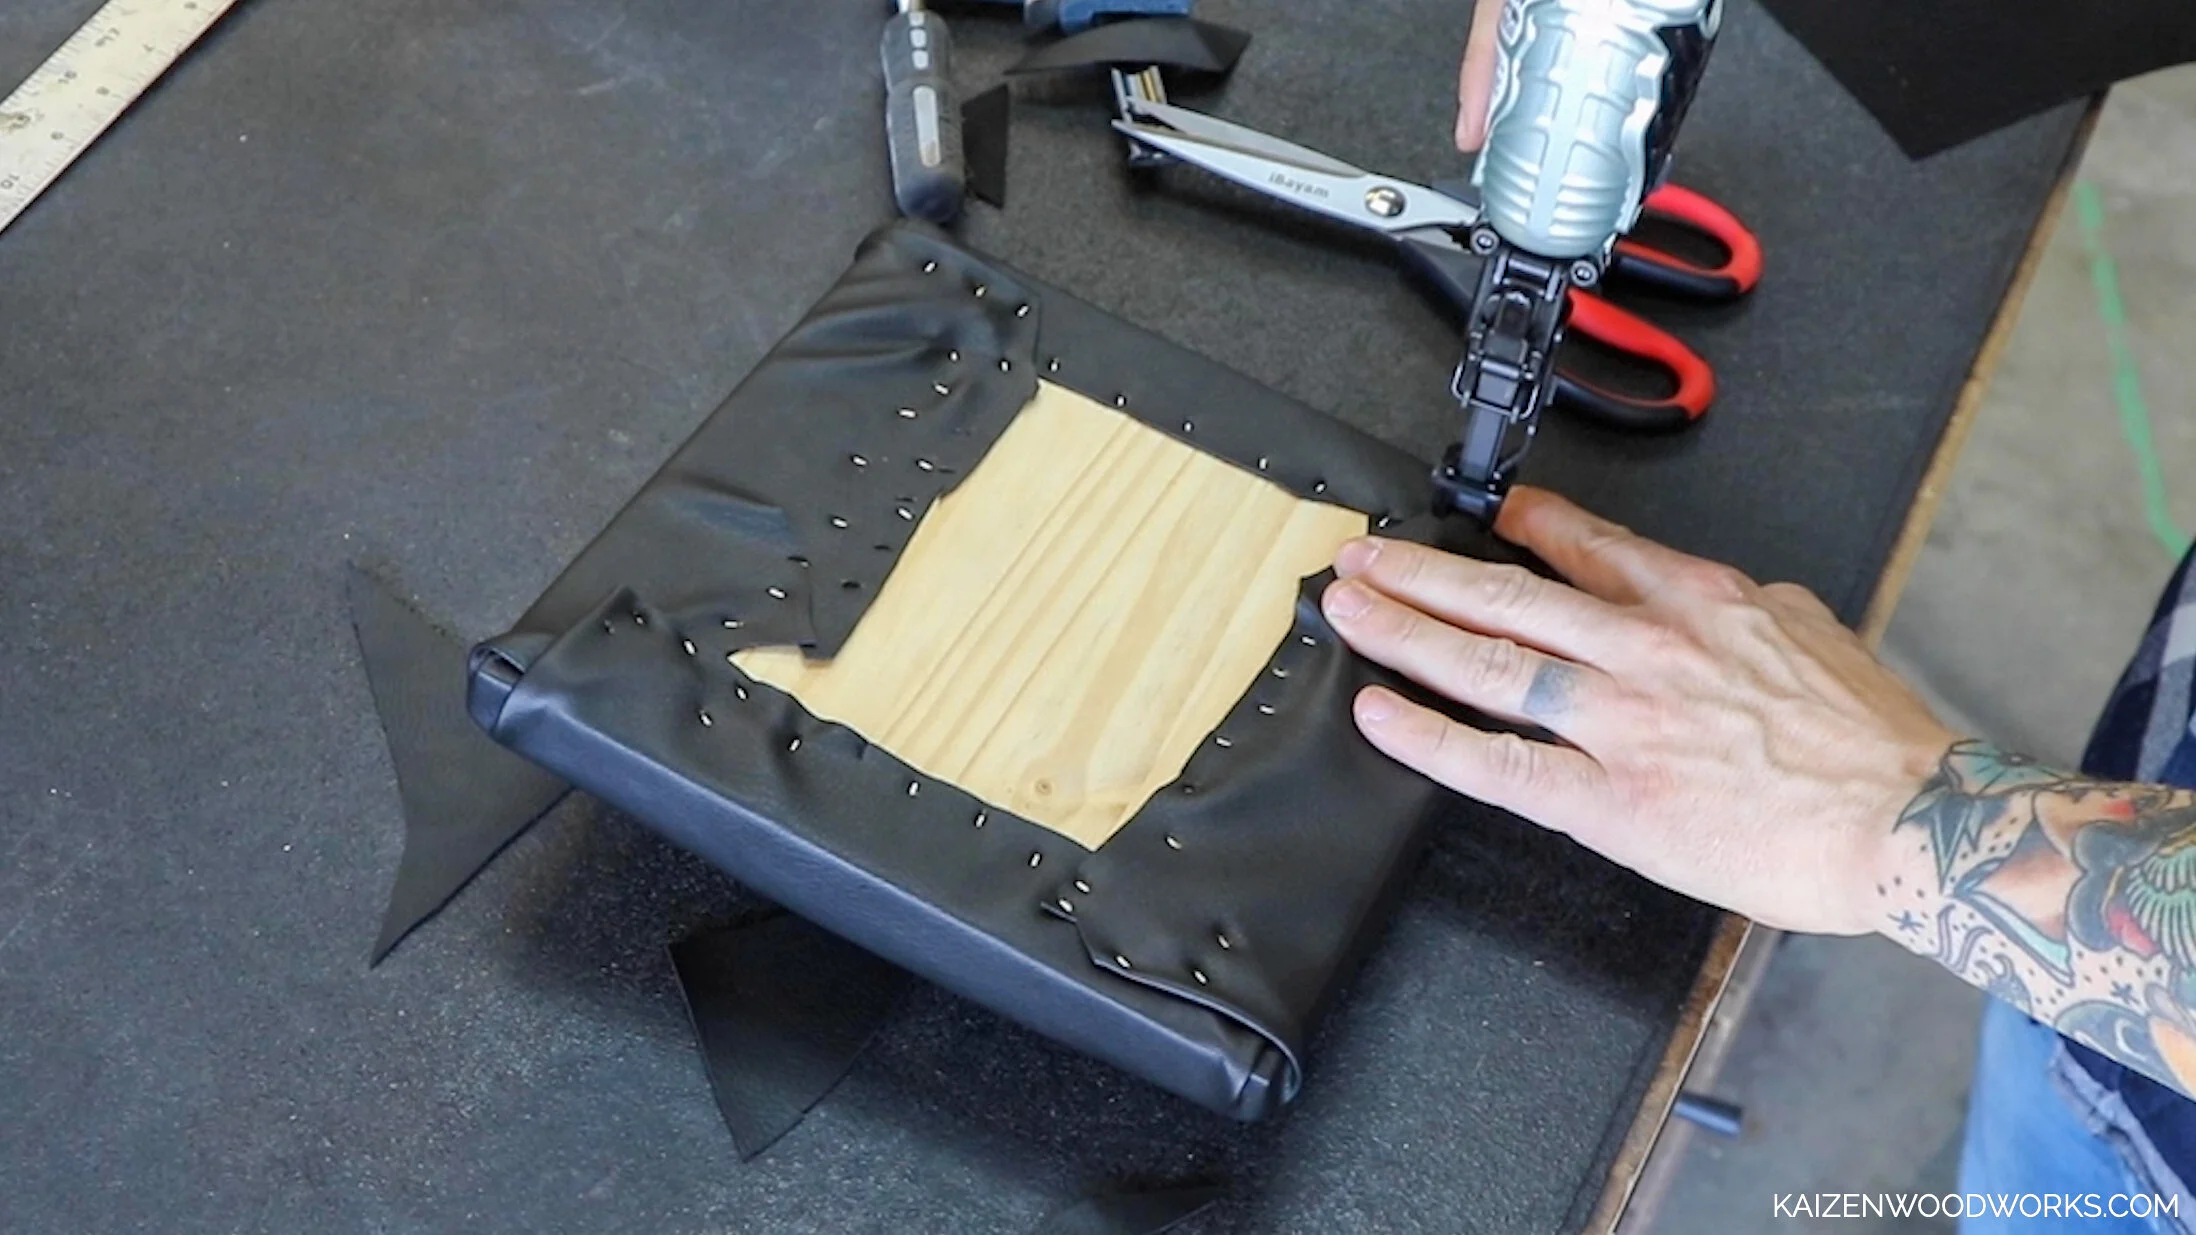
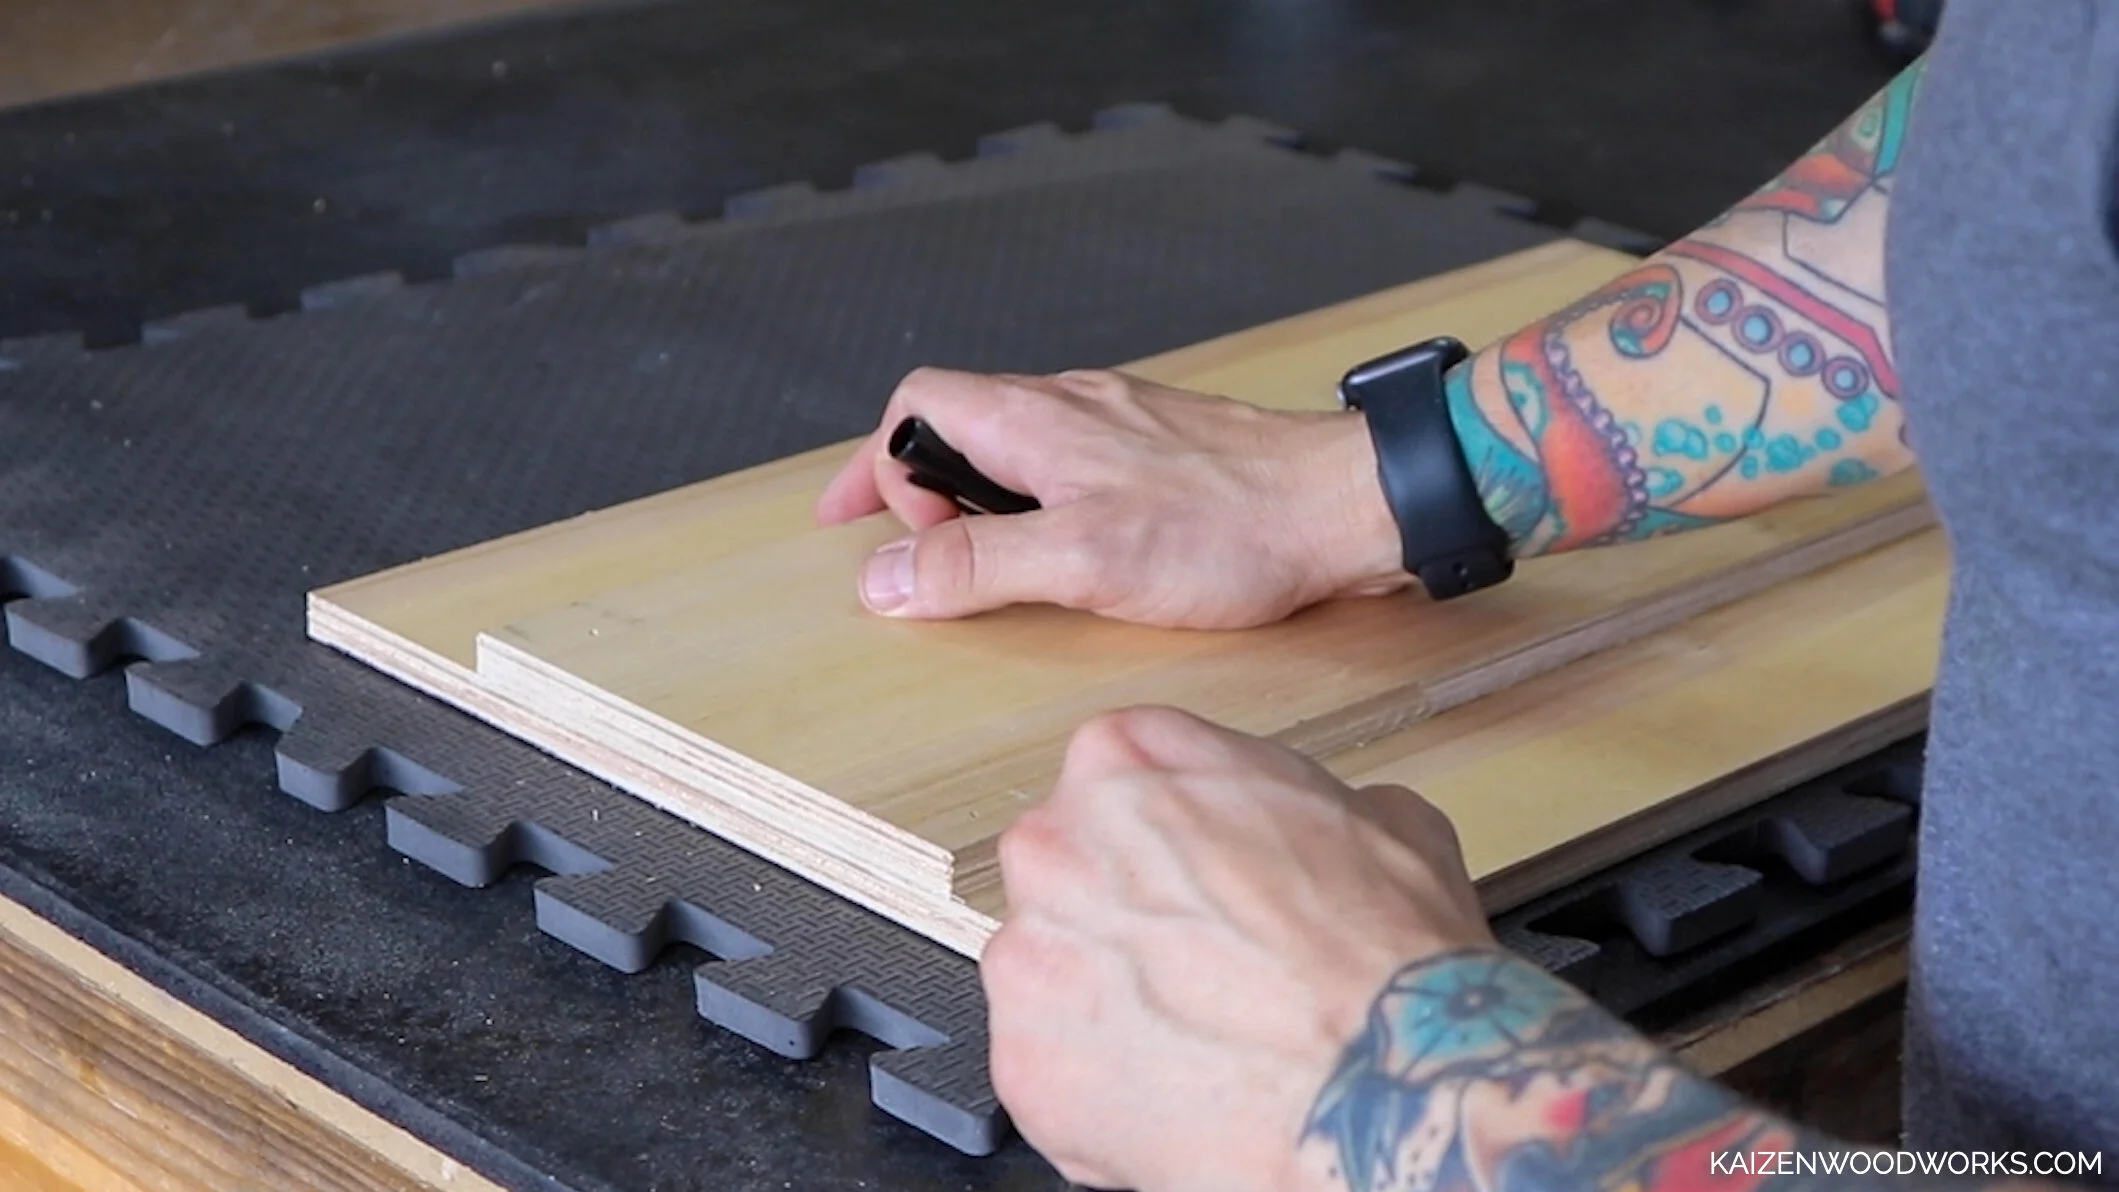
The pad for my preacher curl is made from 1/2 inch thick plywood. The width of my sheet is already 24 inches, which is what I want, so I cut a 15 inch piece and a 10 inch piece.

I add wood glue and use a nail gun to attach the two pieces.
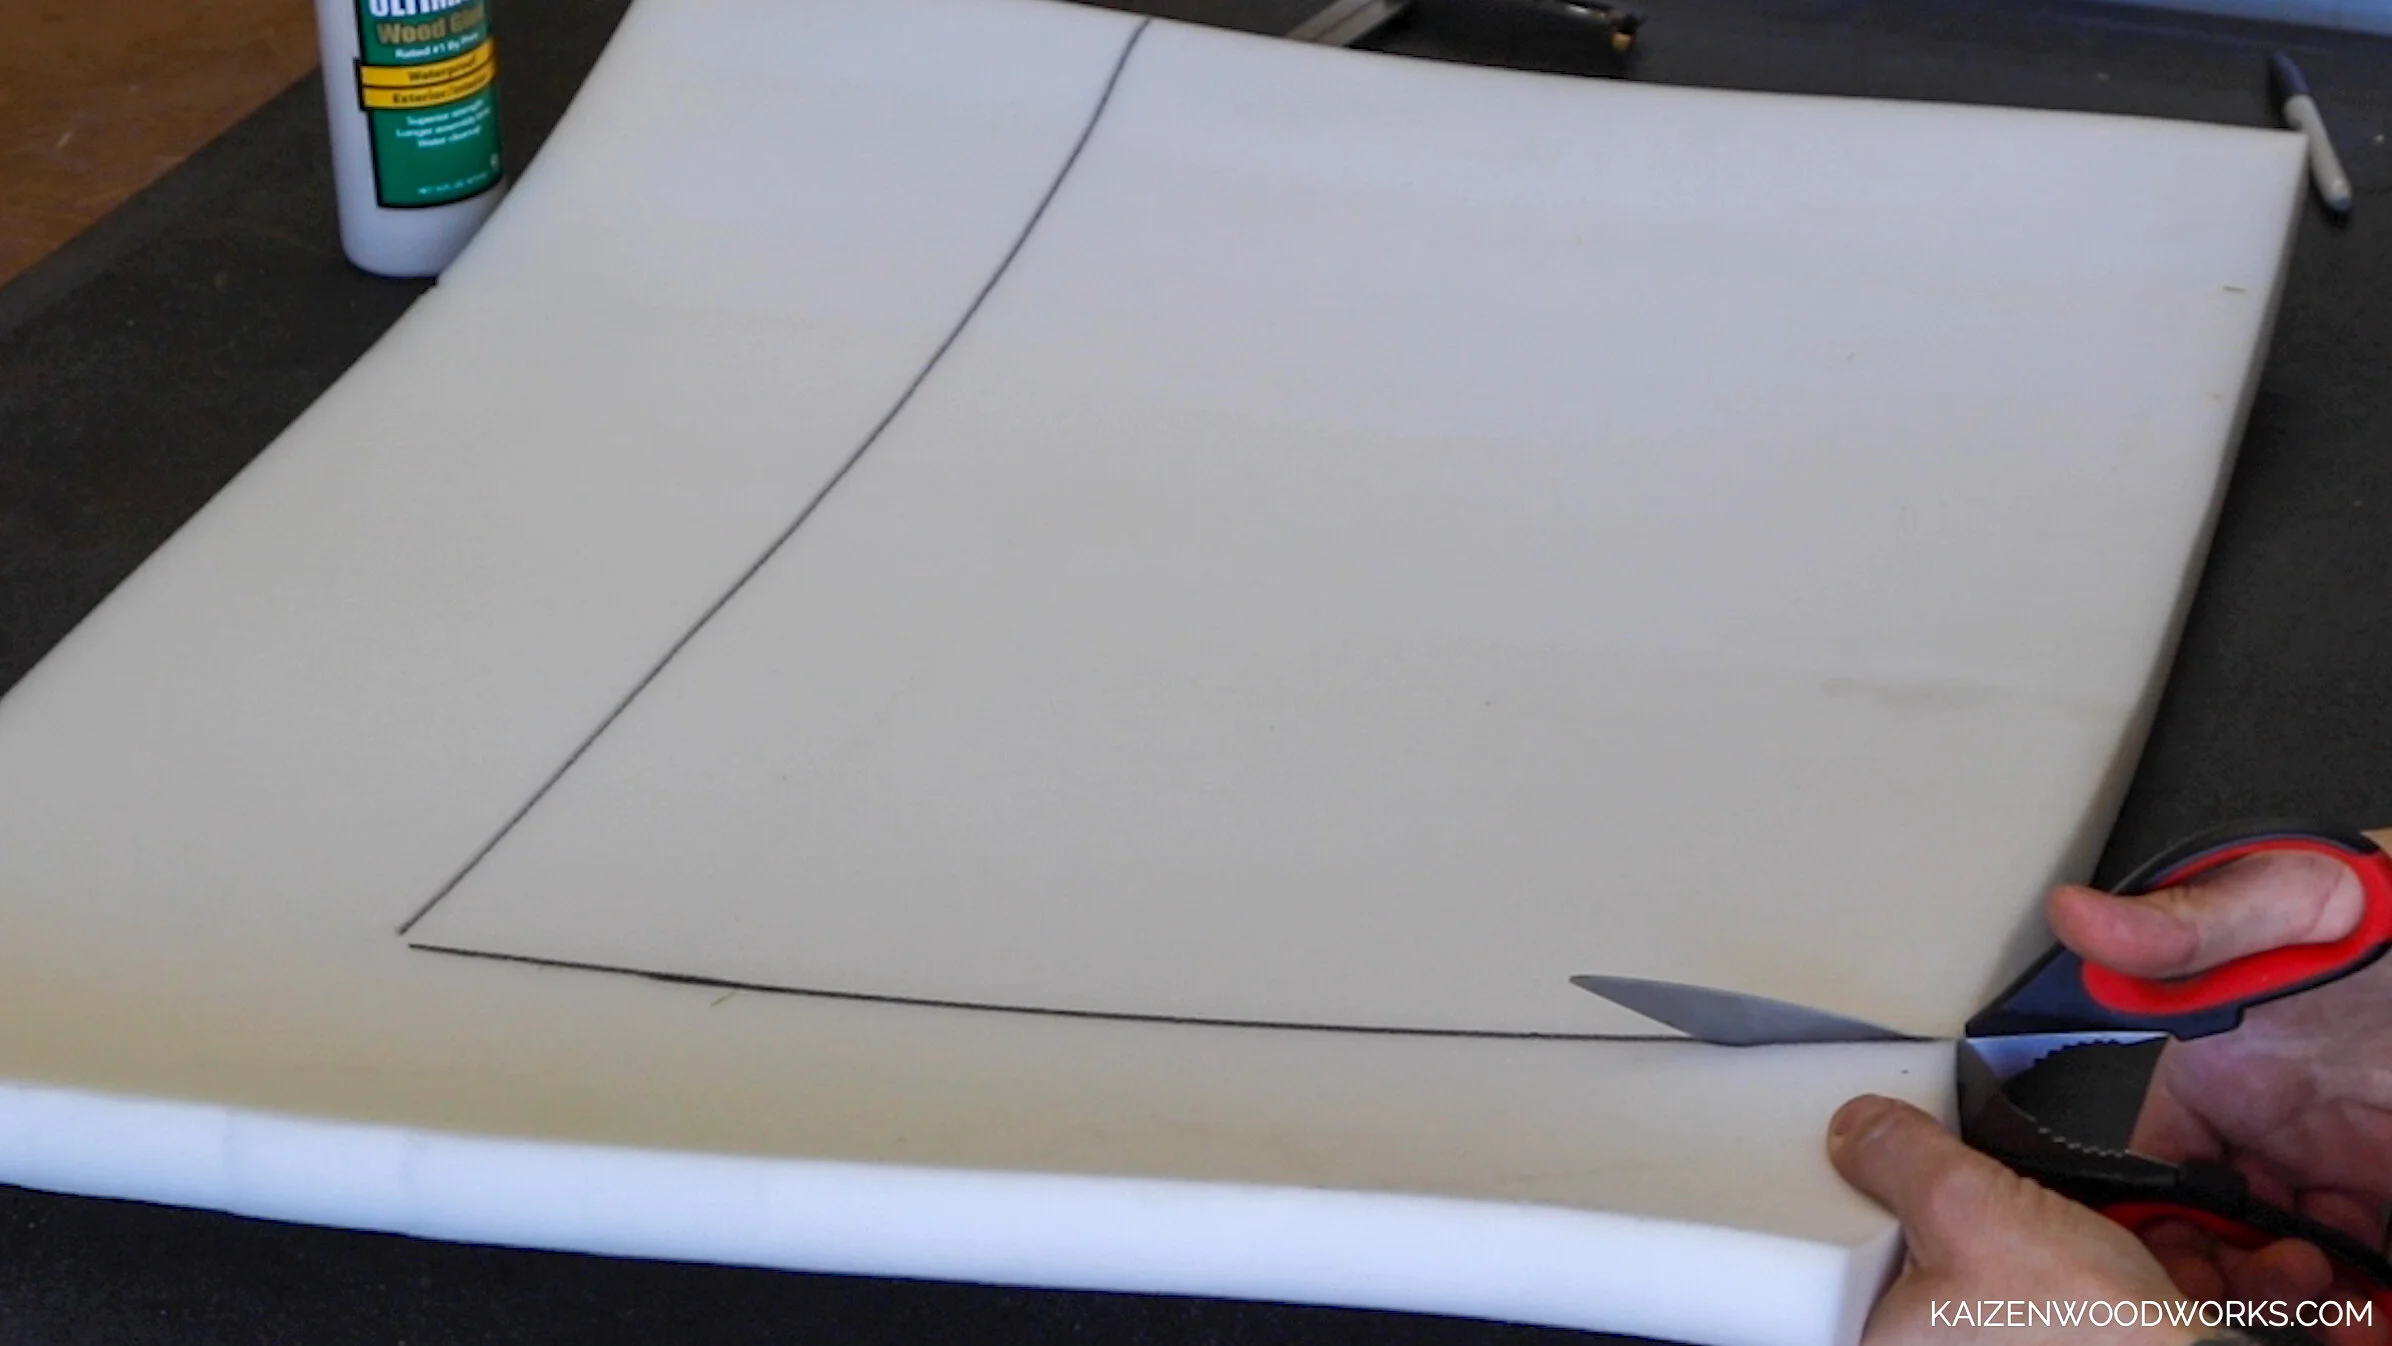
I use foam padding and some vinyl fabric I got at the local craft store. I have no prior experience in upholstery but honestly it was easier than I thought it would be.
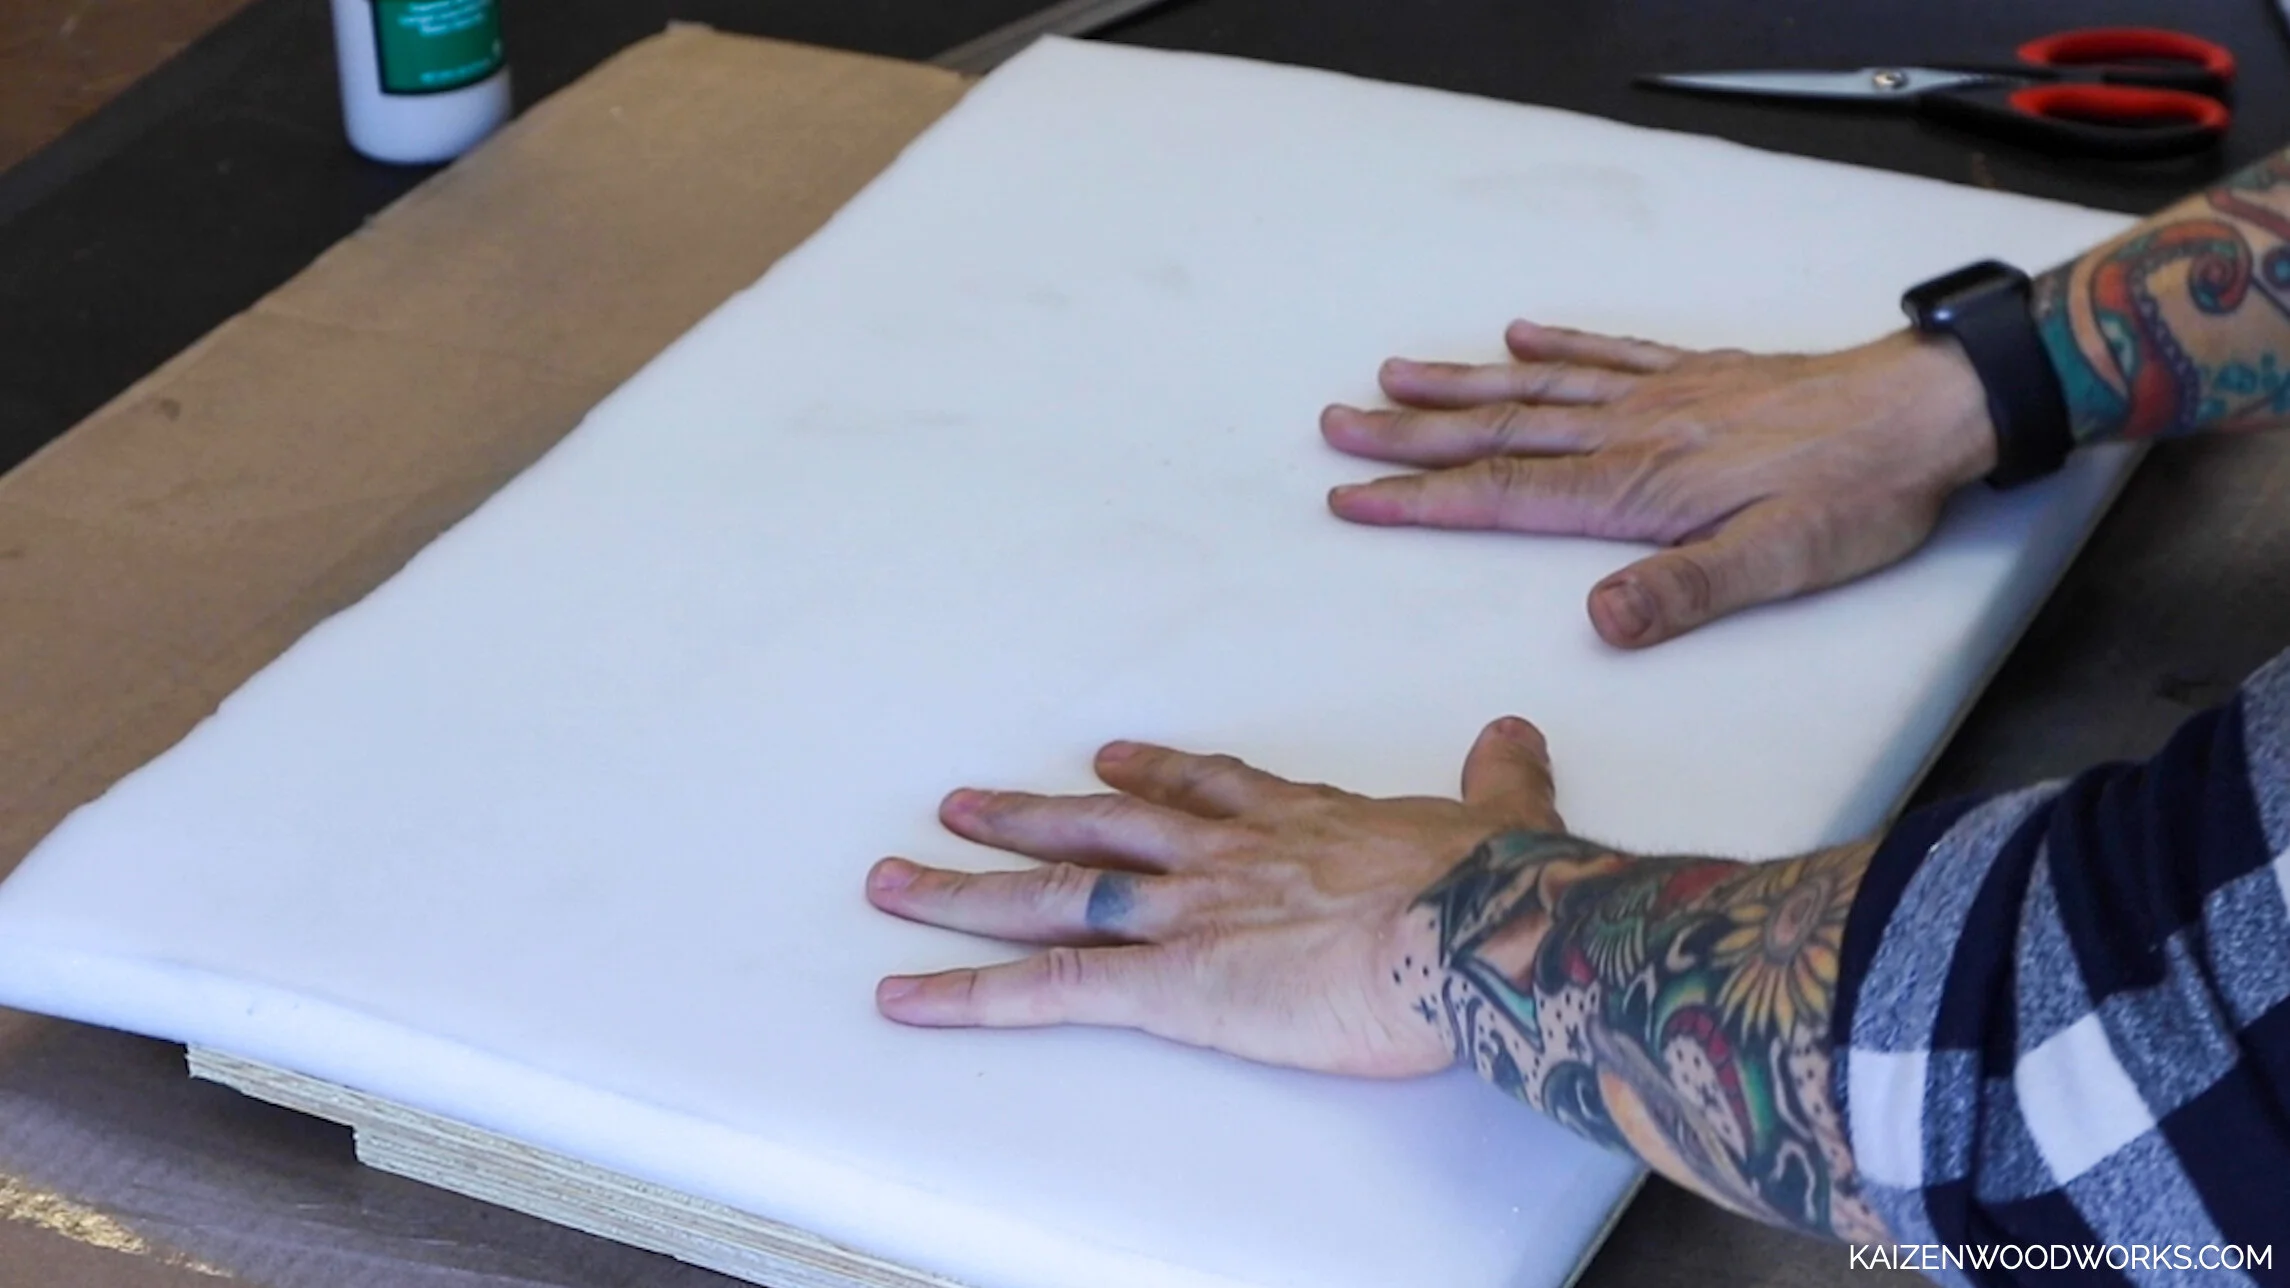
I leave a little extra padding to fold over the top where my arms will be resting. I spray my plywood with glue before putting the foam on.

When cutting the fabric, I try to make sure there are a couple extra inches to fold over on each side. If you’re not into the idea of doing this kind of pad, I have another option later as well.
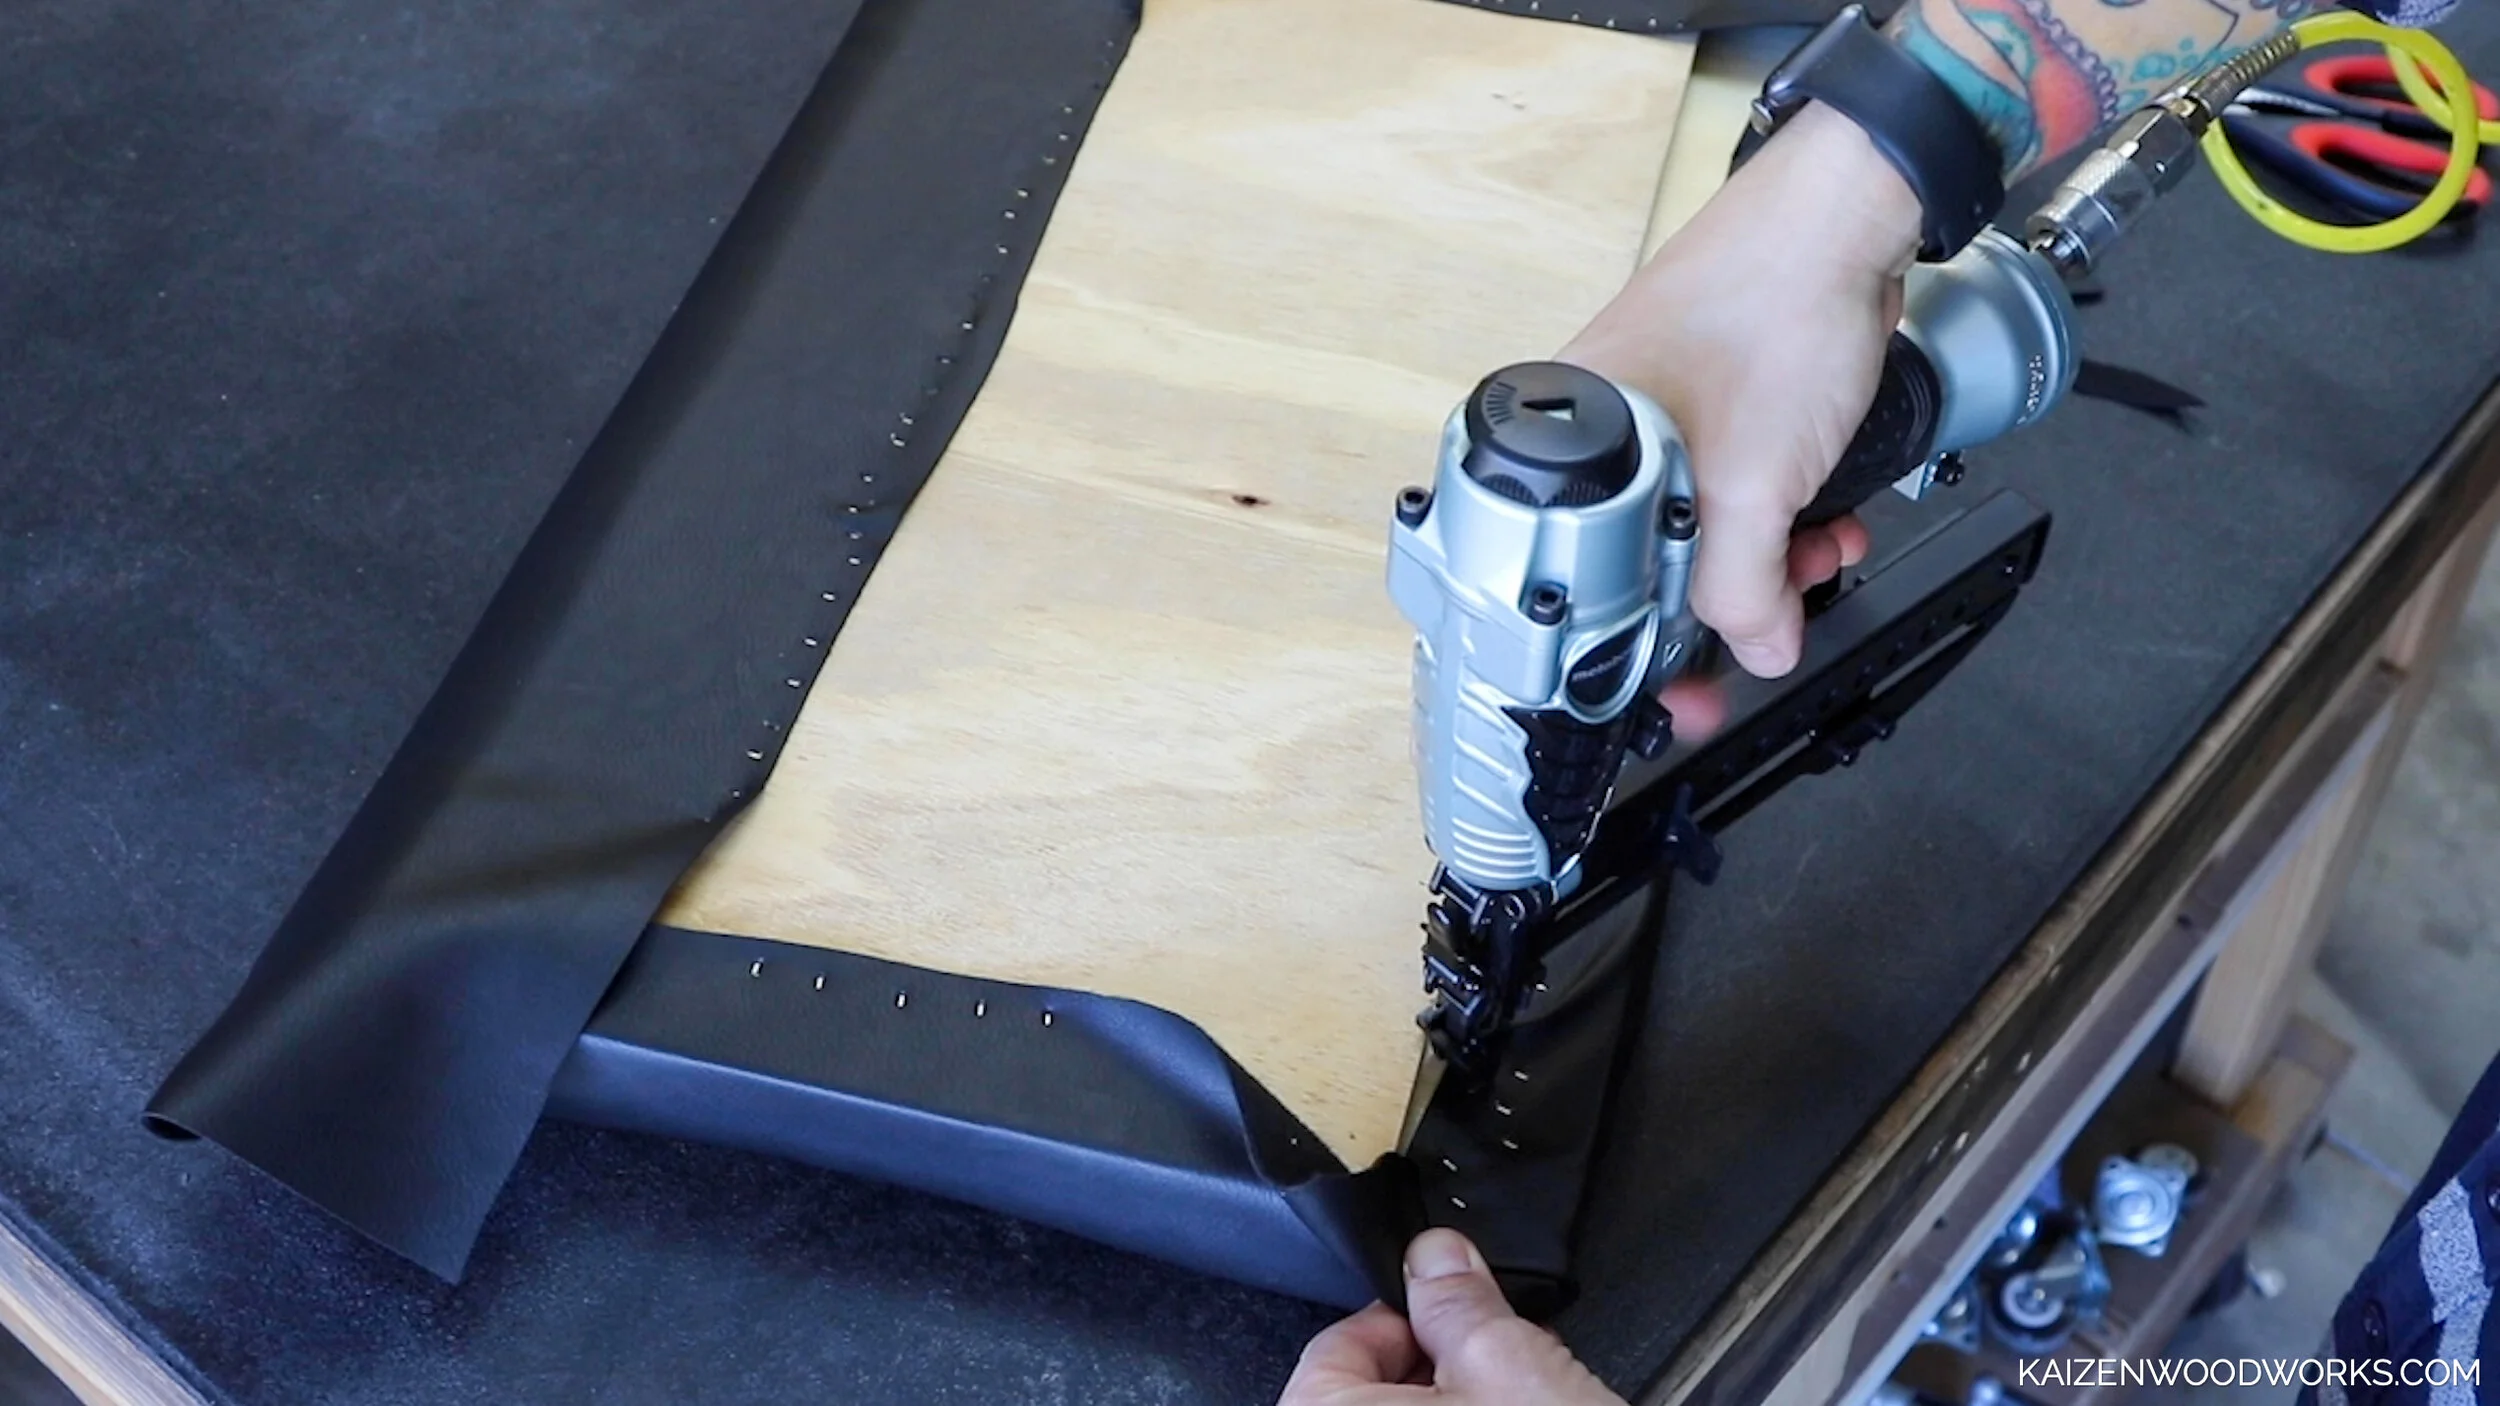
The main goal is to make sure everything is snug while you’re putting in the staples. The corners are a bit tricky but it really doesn’t have to be perfect. There are plenty of upholstery tutorials available if you want to learn more before attempting this. Anyway, despite my lack of experience, it turns out pretty good.
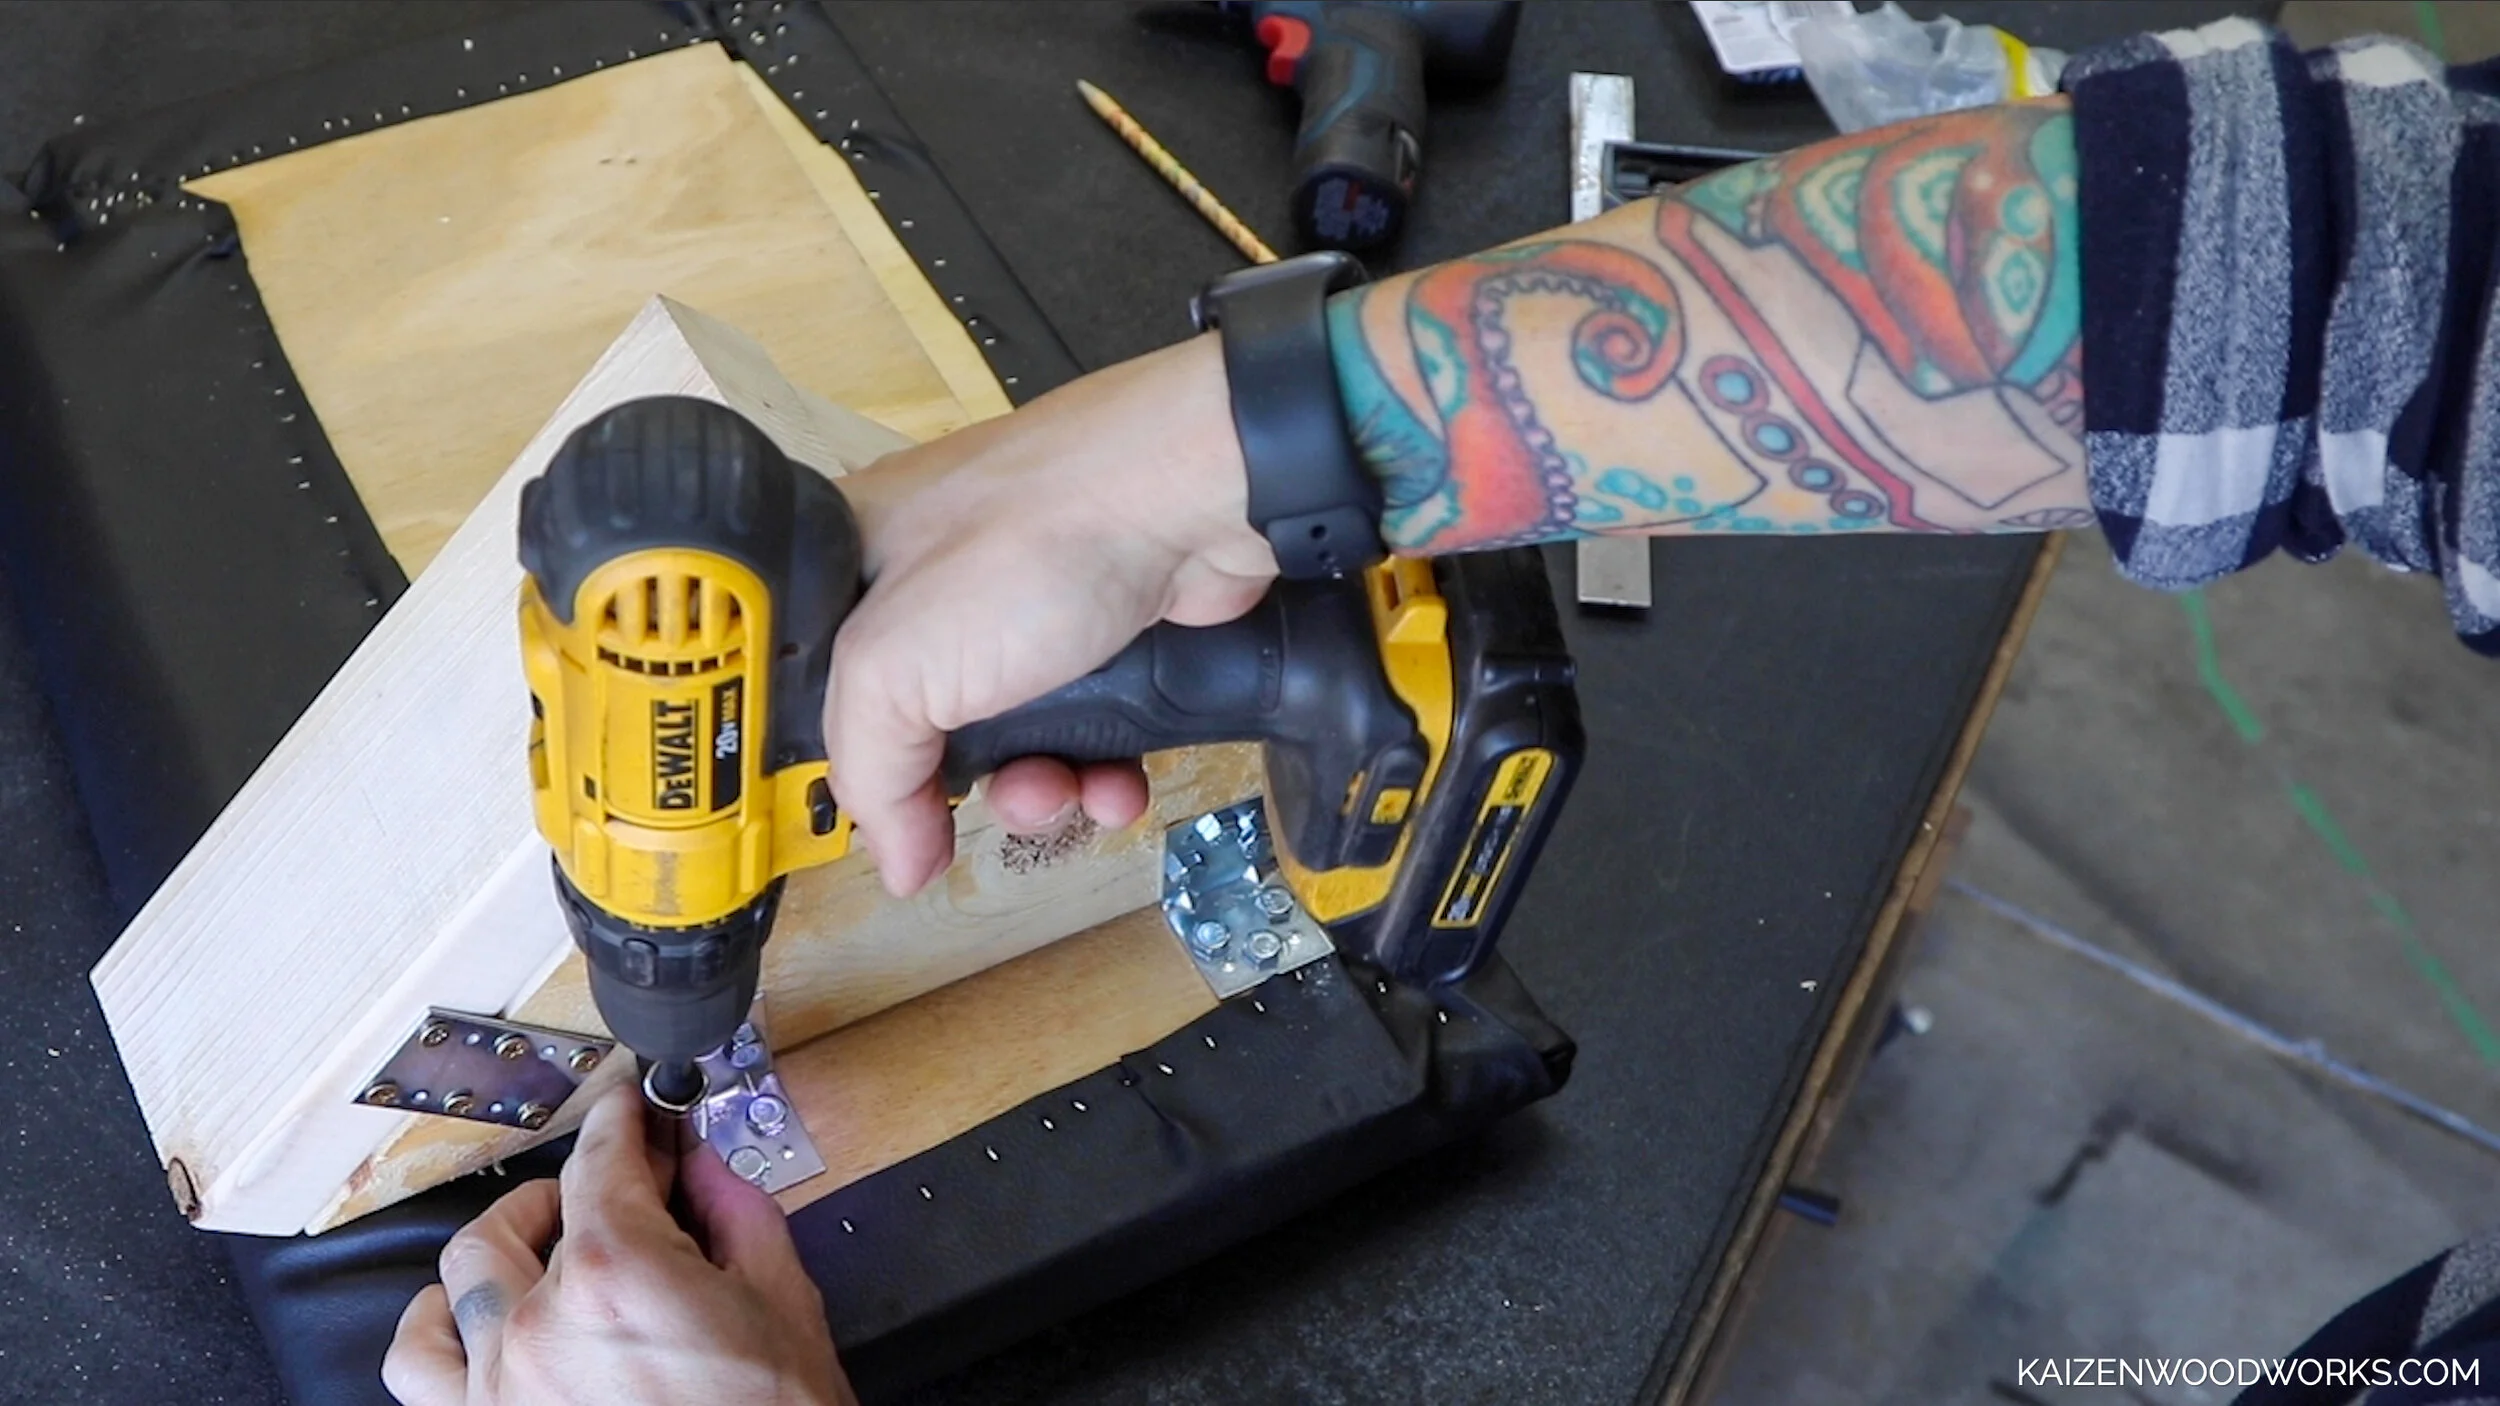

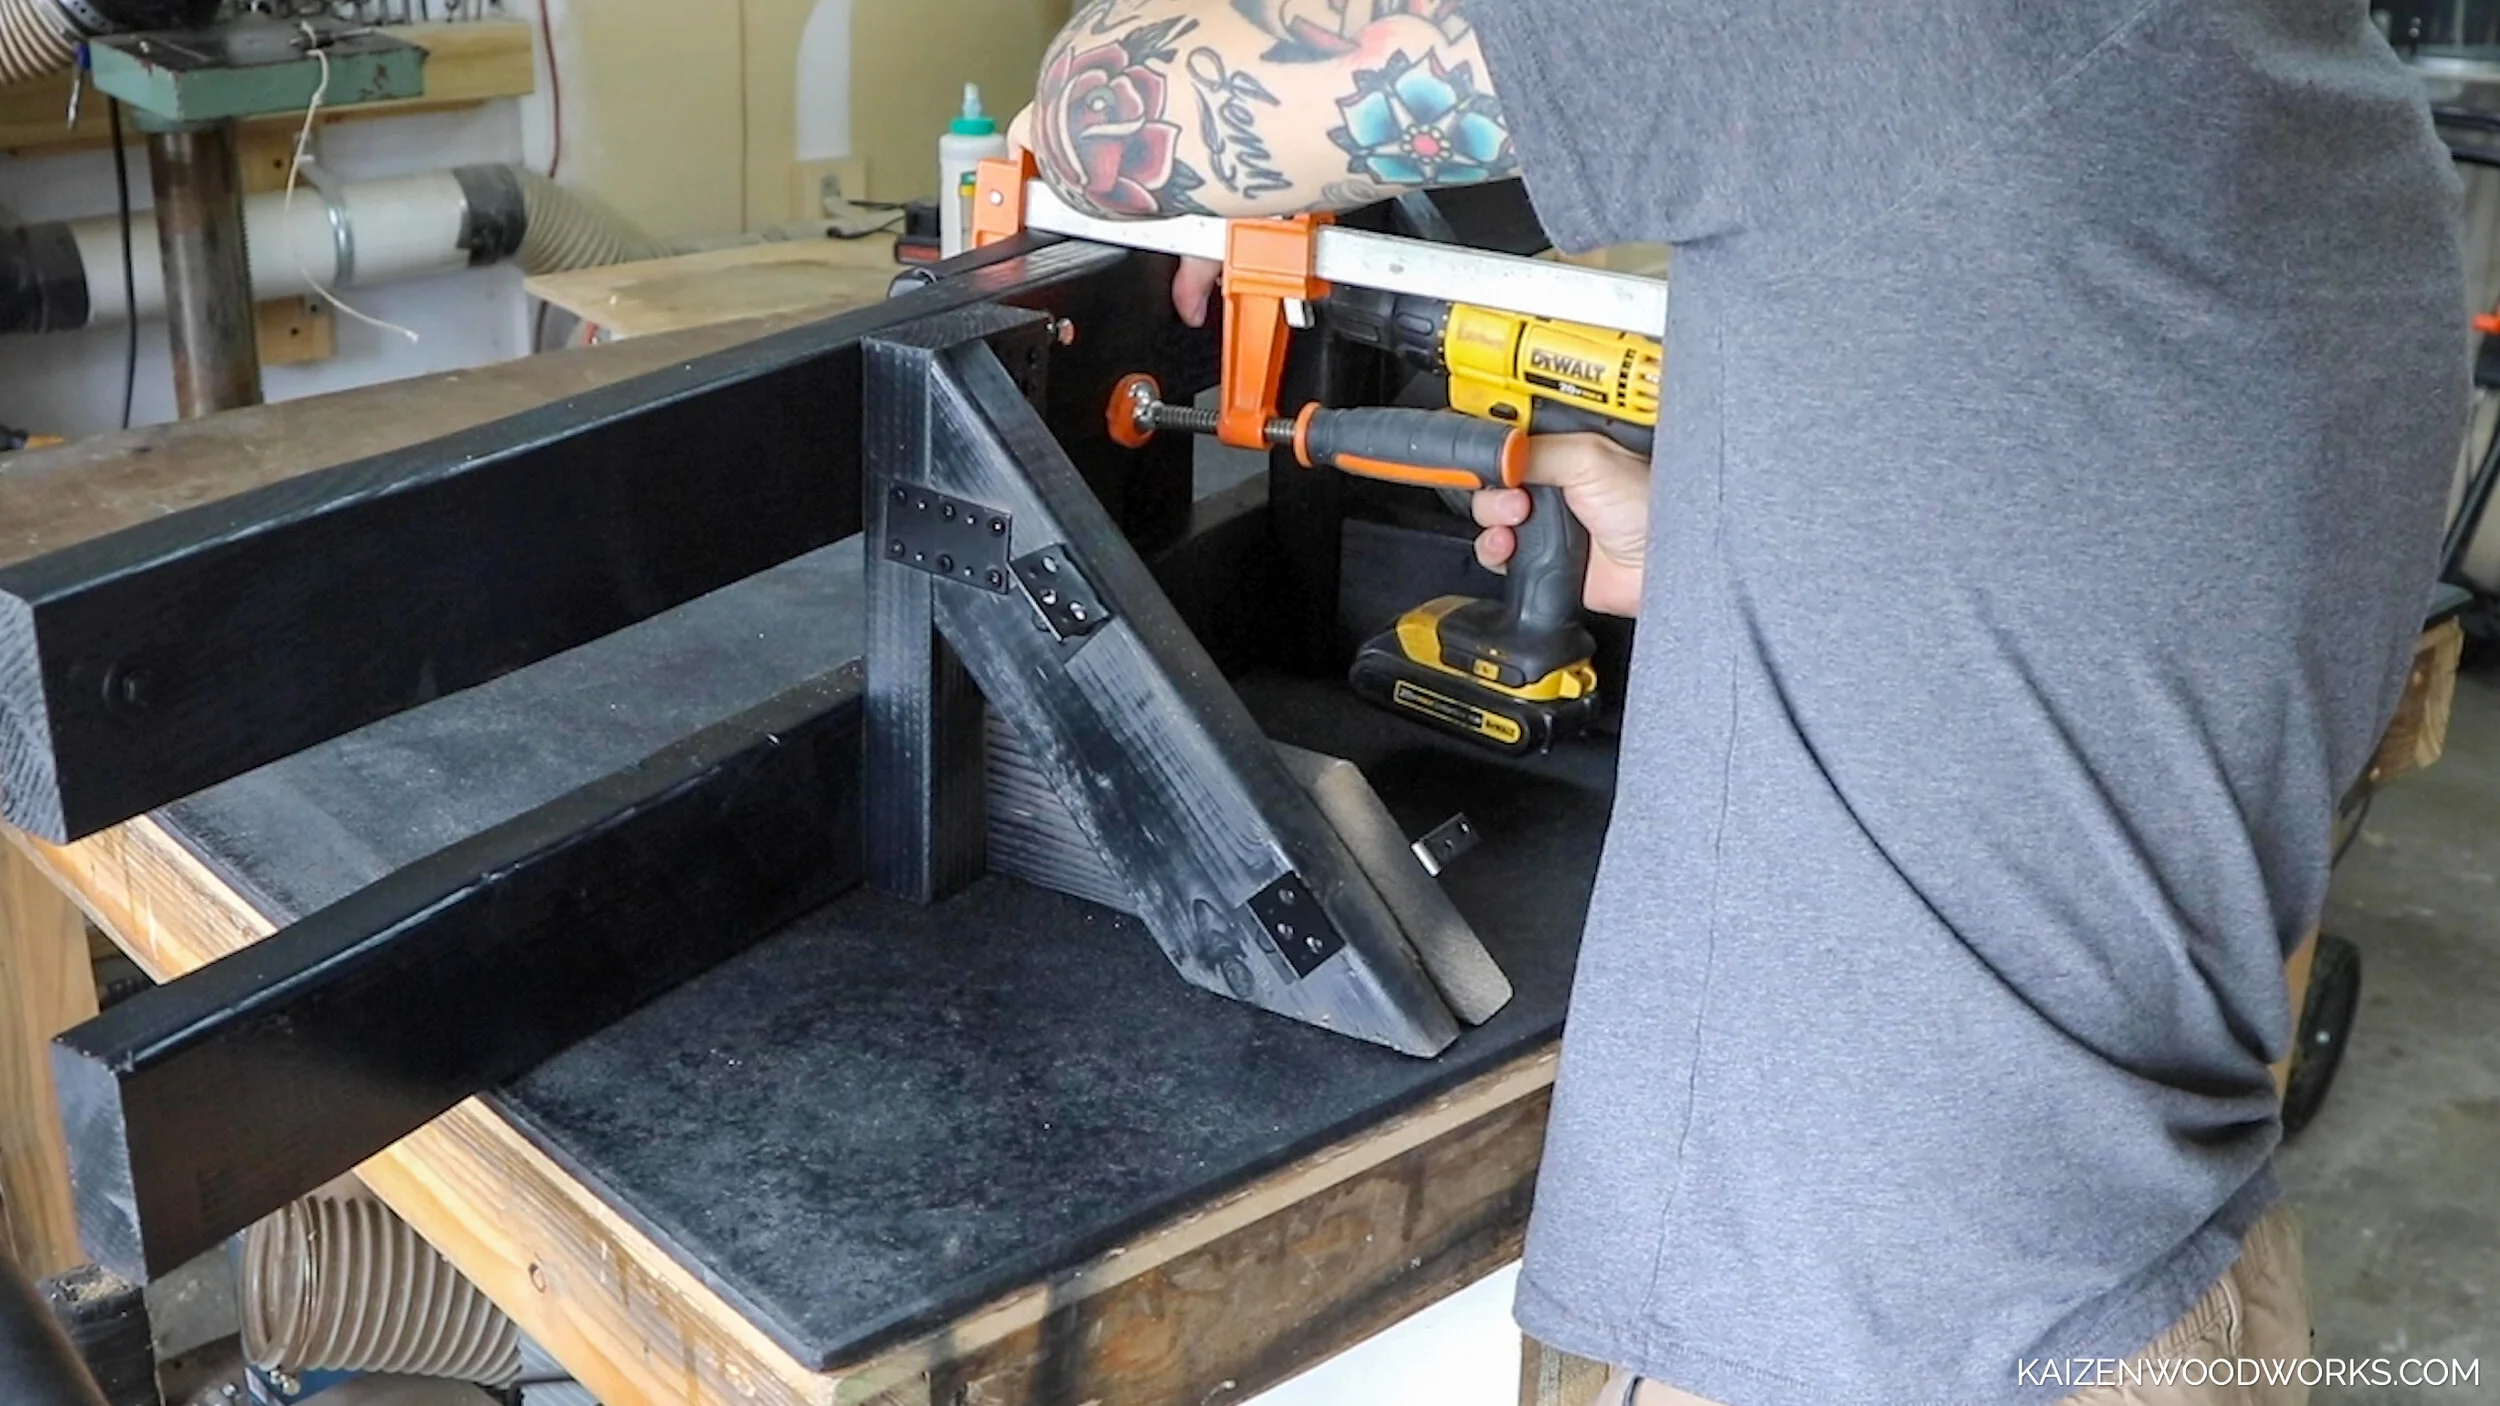
Now it is time to attach the pad to the supports. I use lag screws and L brackets for this.
I use a scrap piece of wood that’s about 8x8 for the chest pad. Same steps as the larger pad.
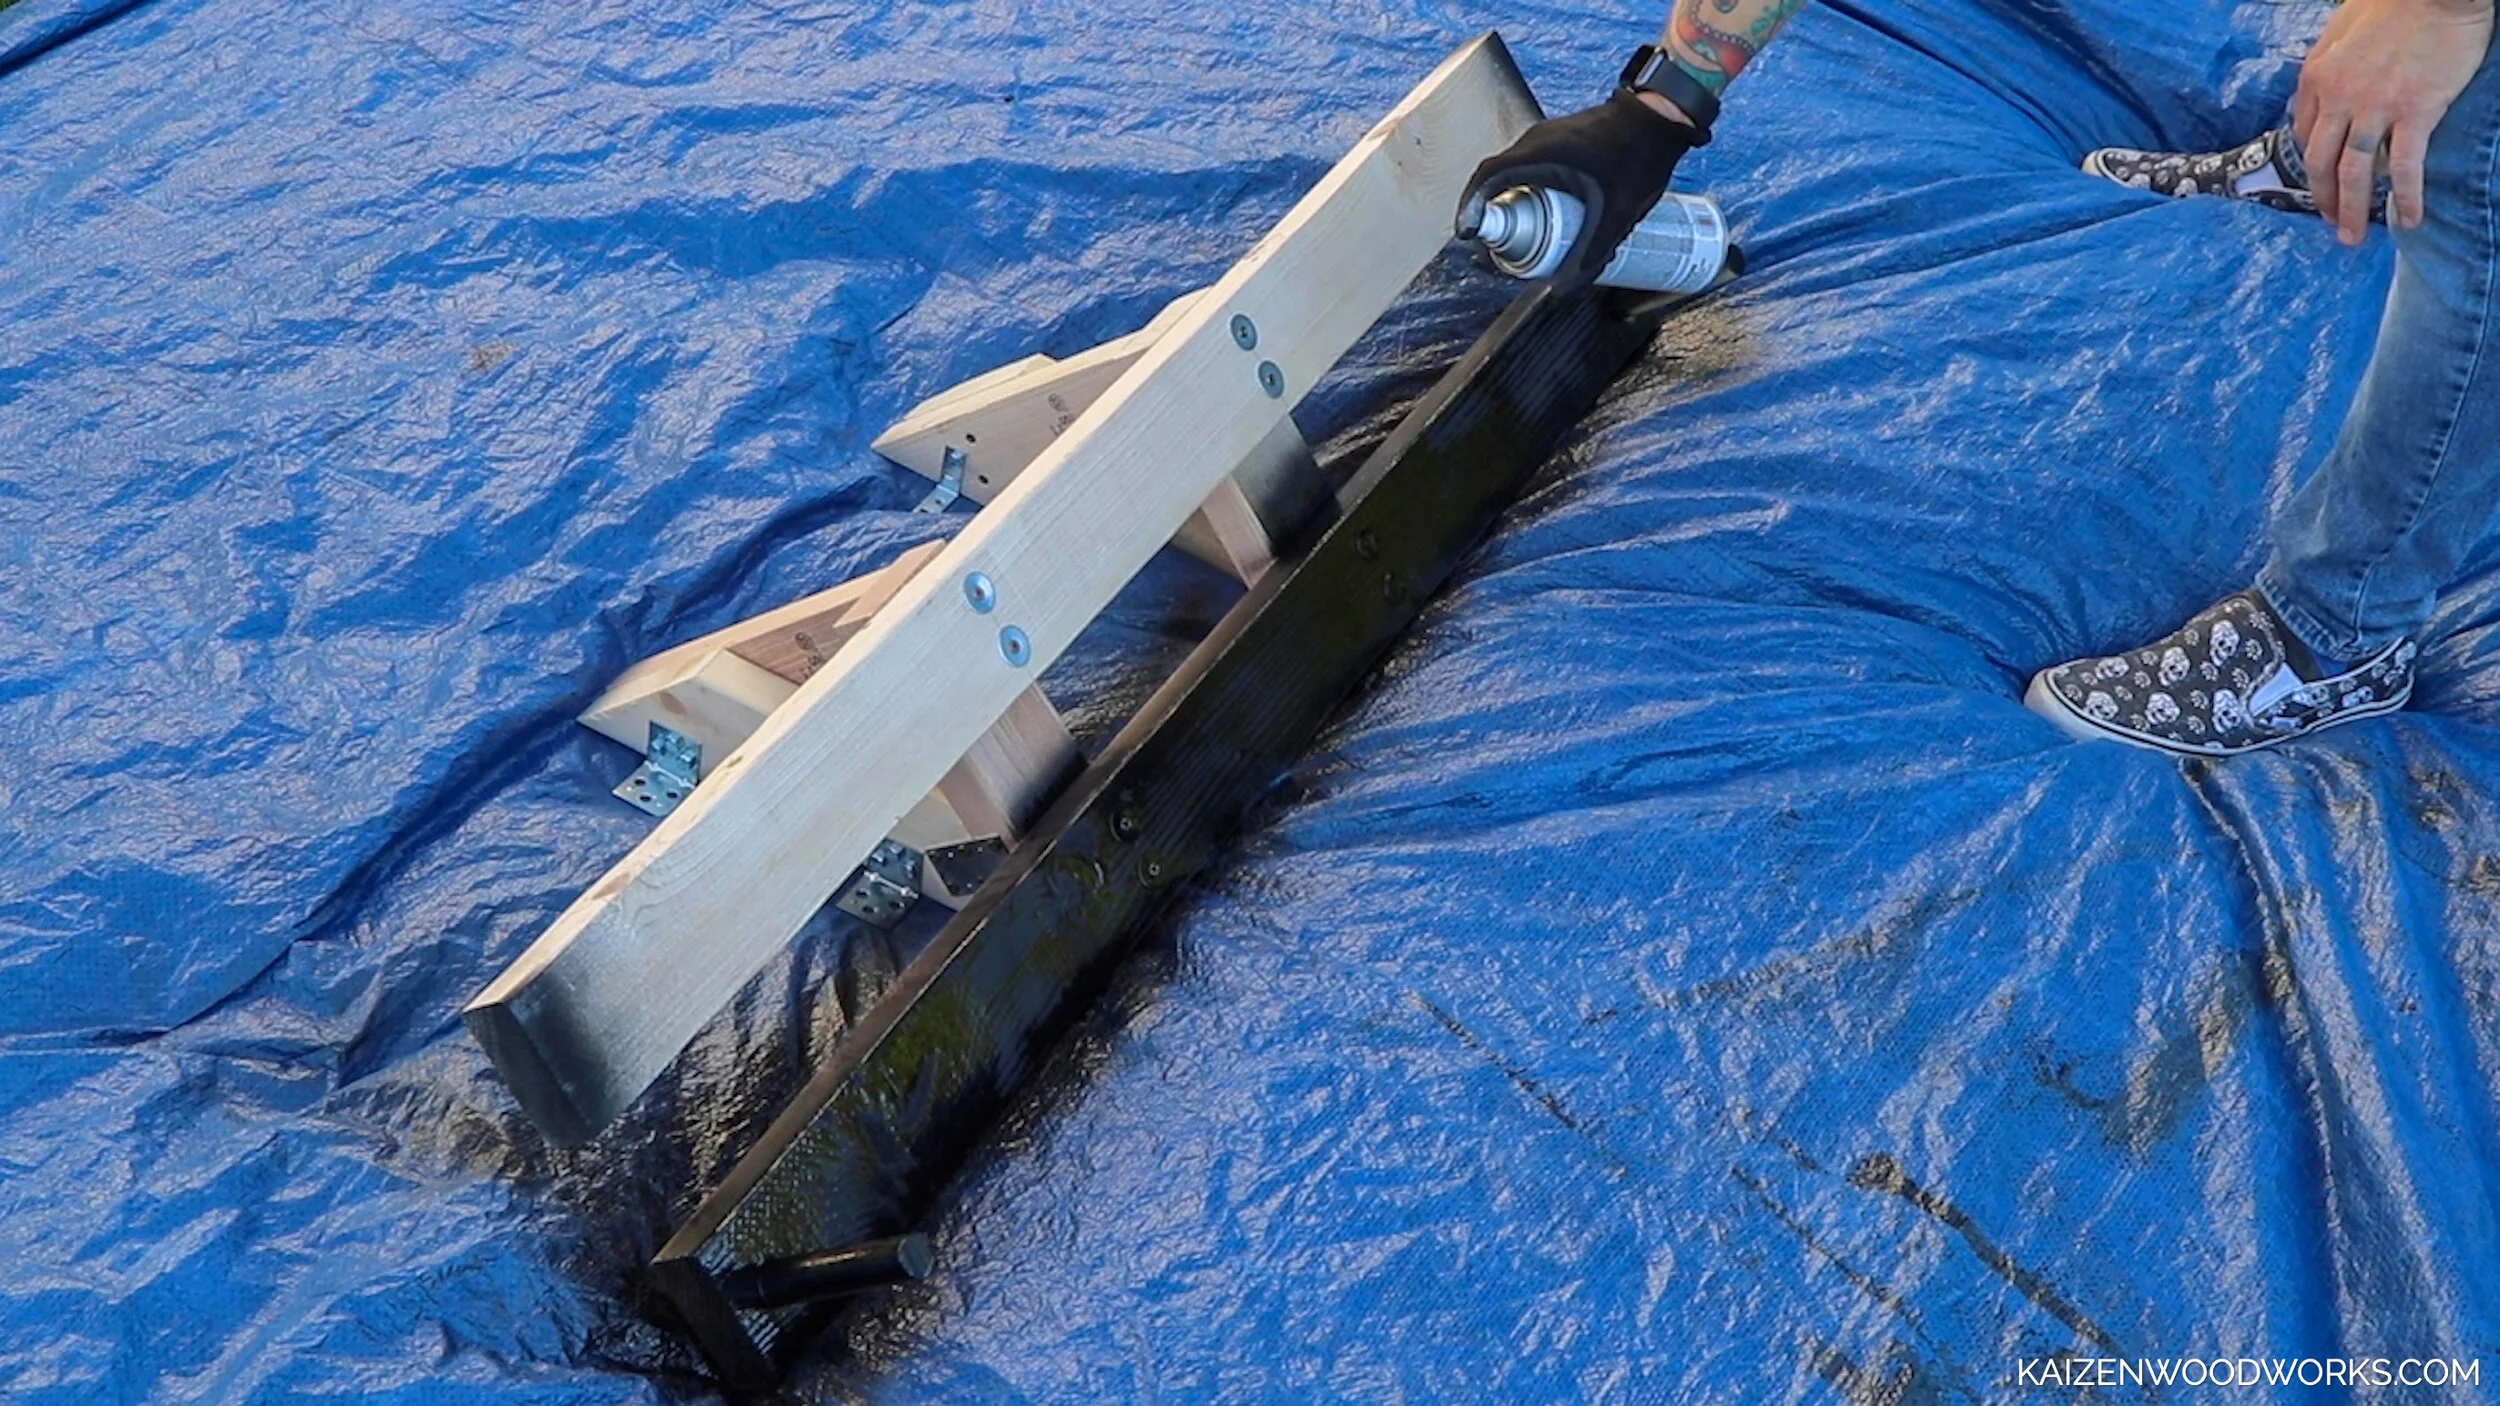
I detach the pad and spray the frame black.
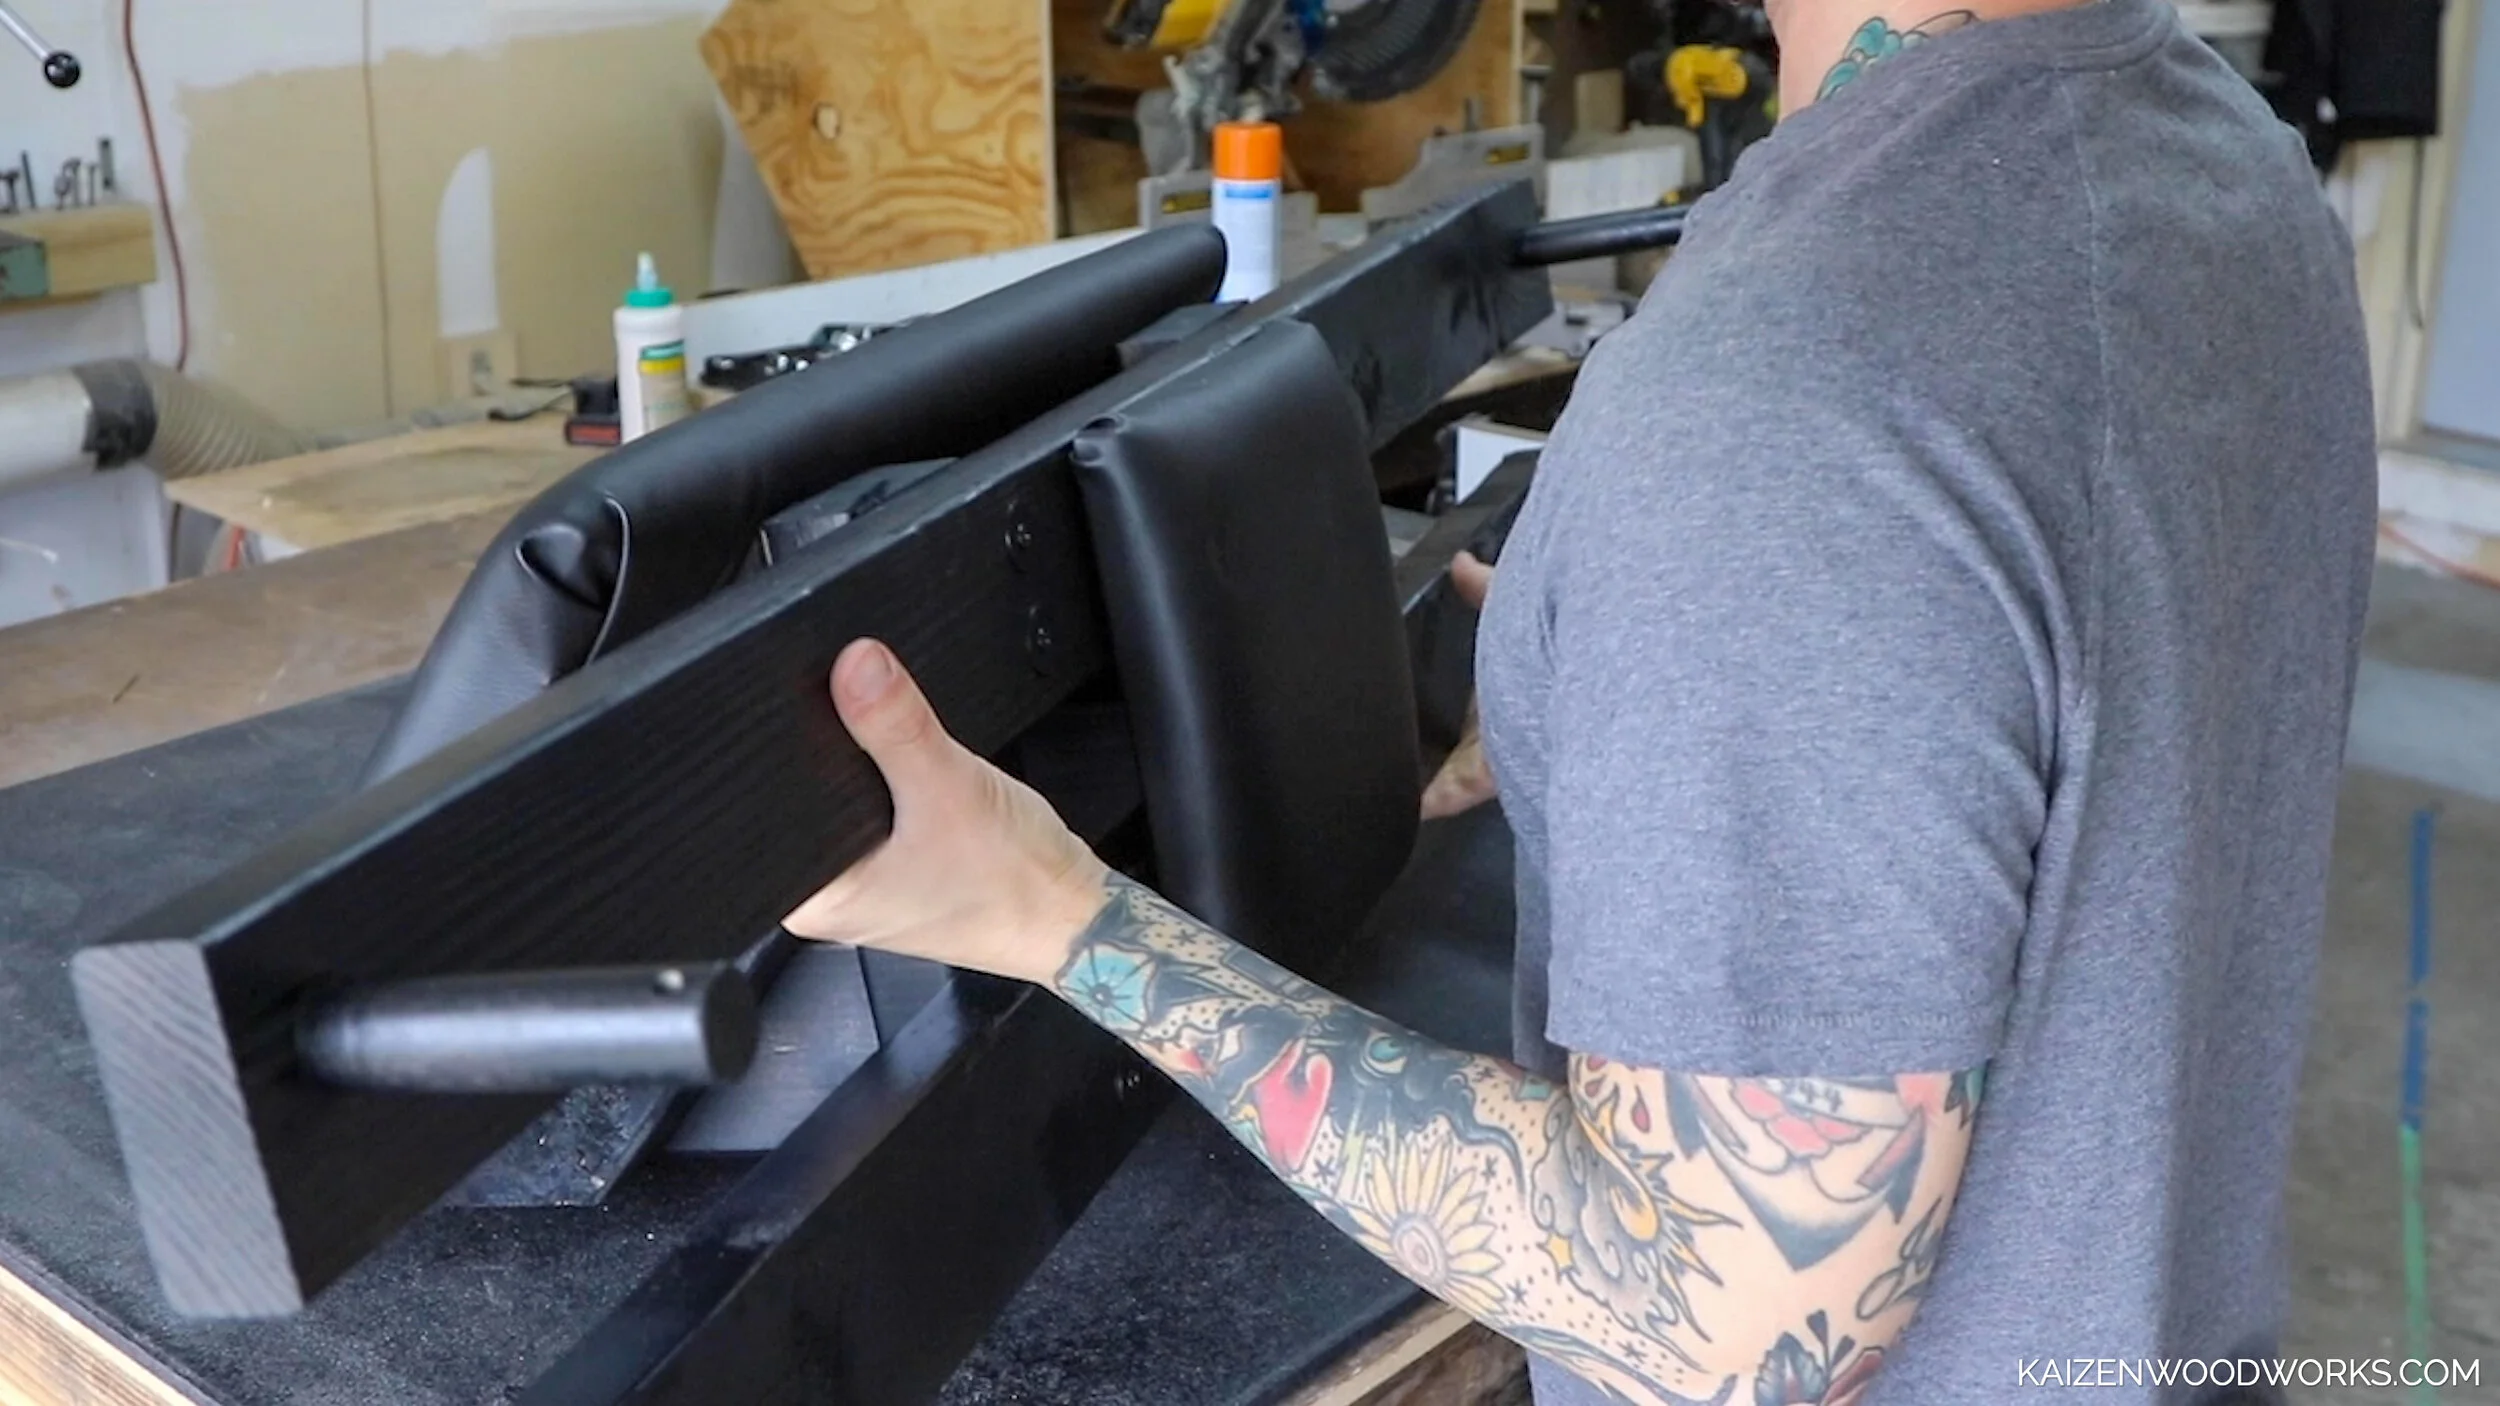
After that paint dries, I attach the small pad with lag screws and re-attach the large pad. Now it is ready to use.
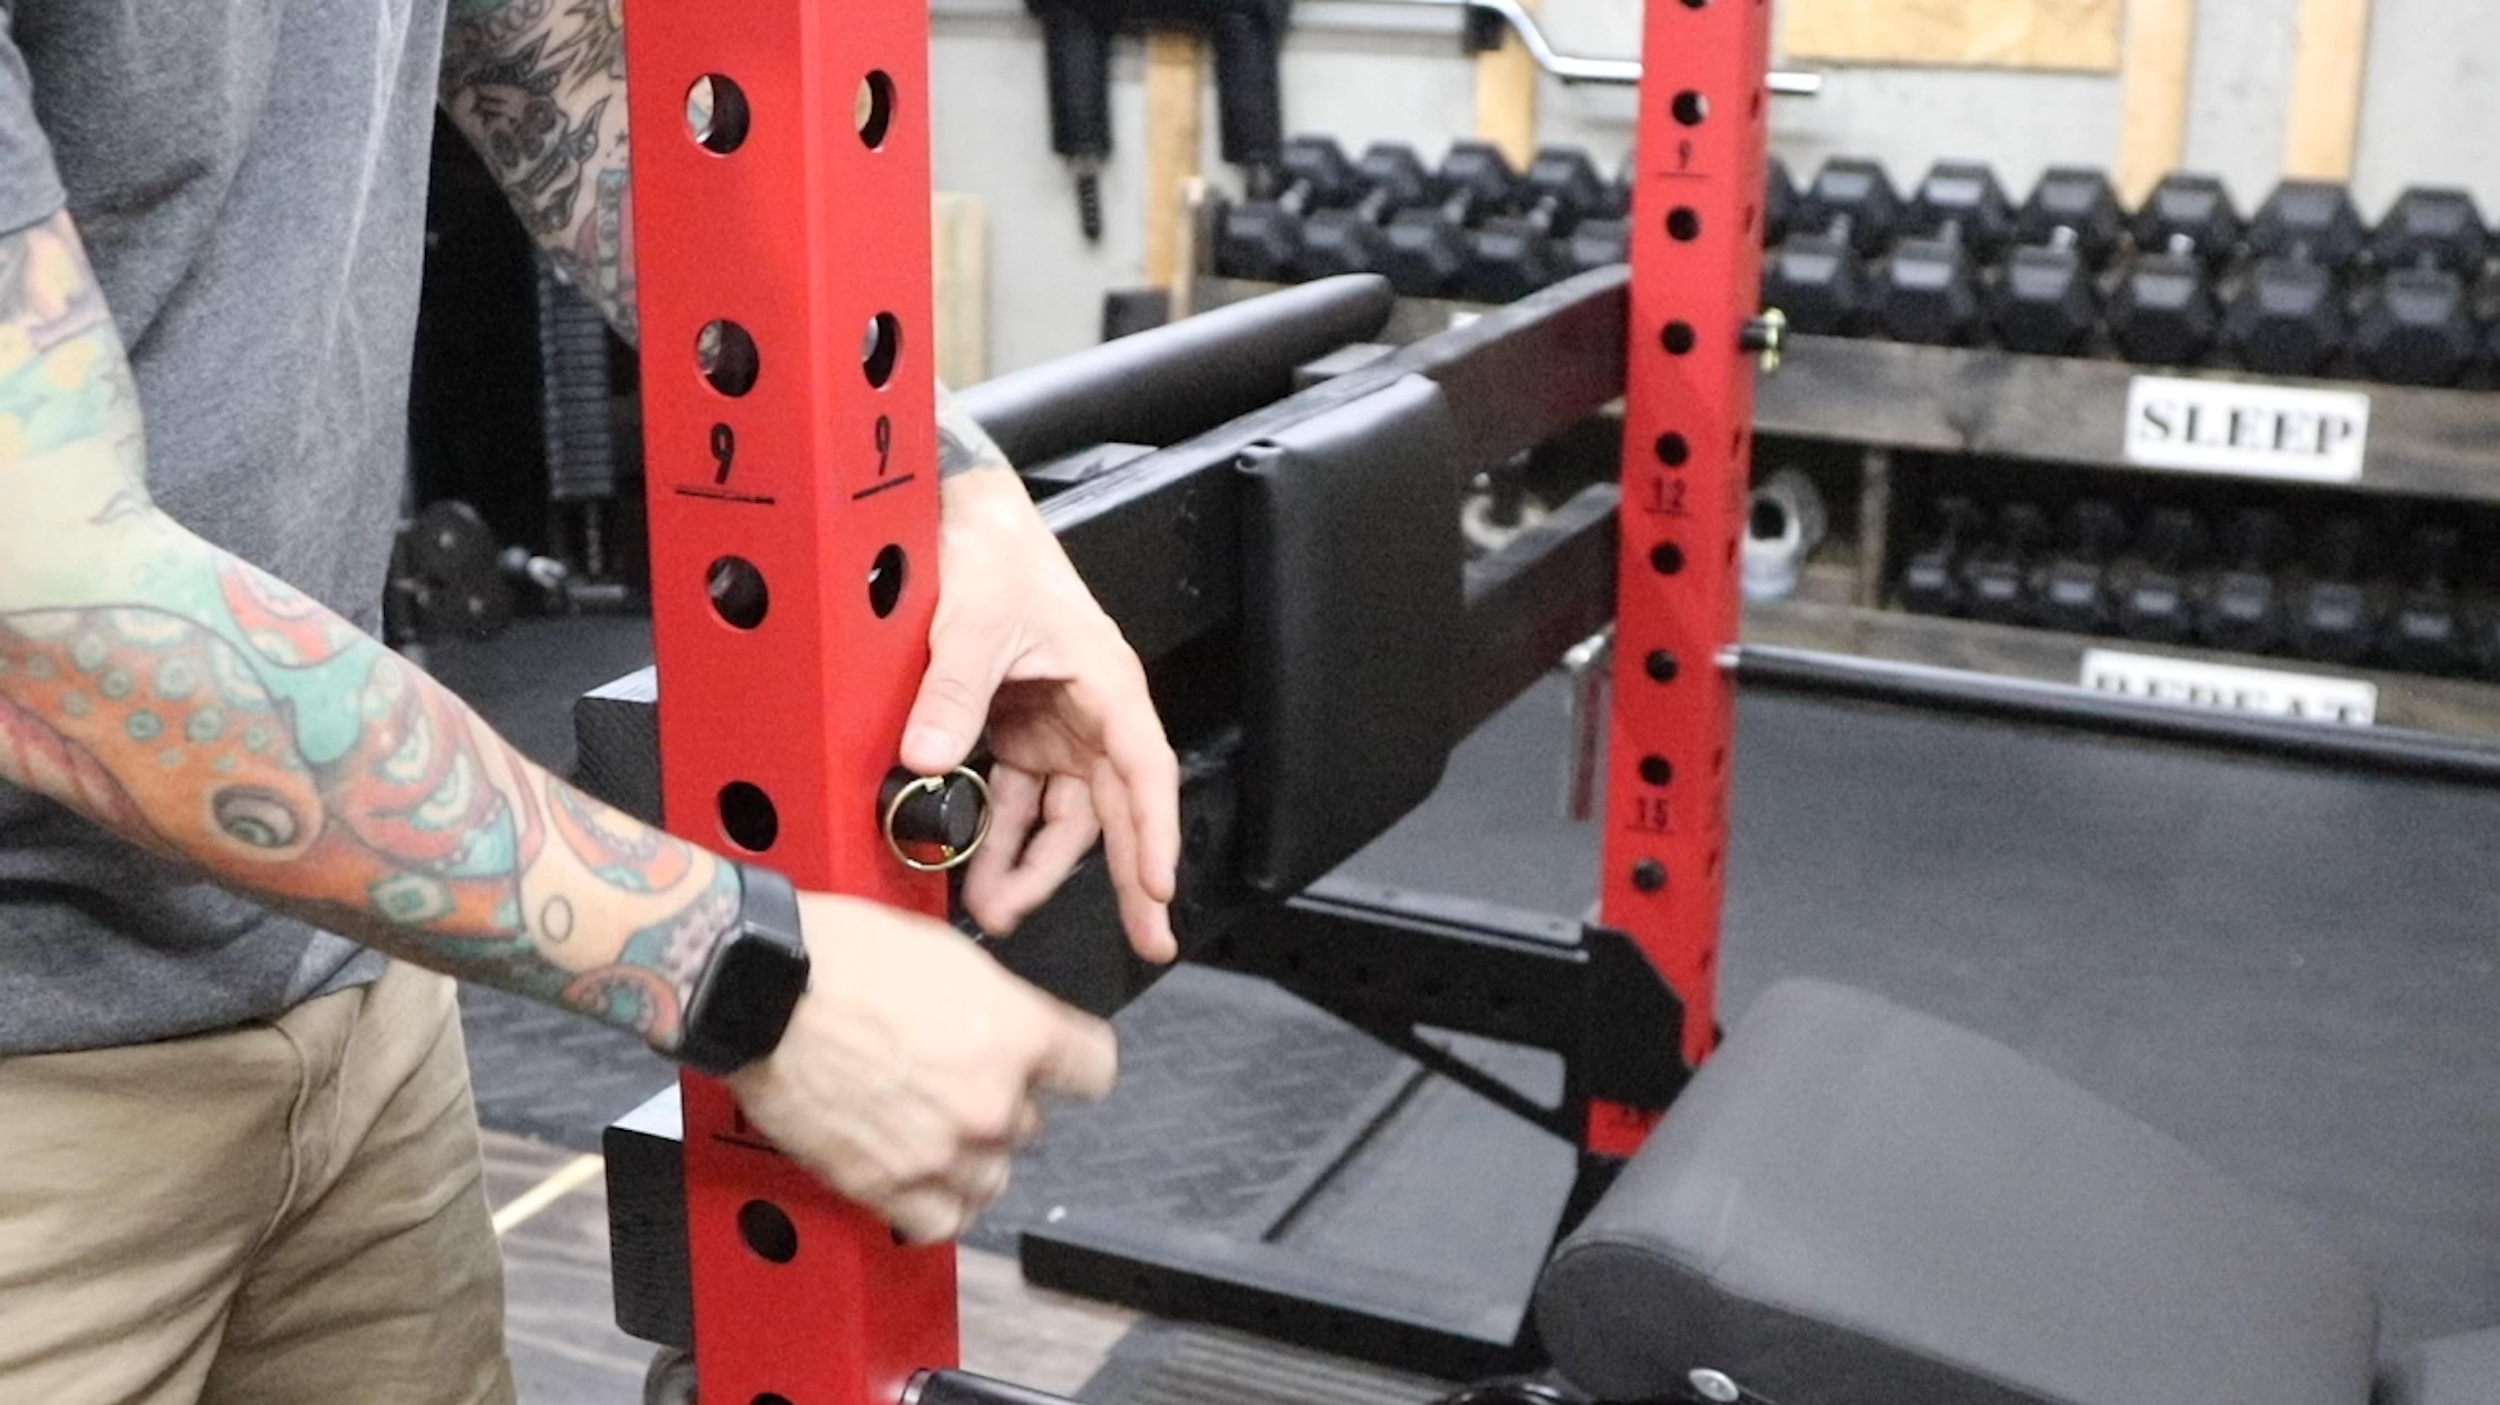
Once it is set, I put lynch pins in the dowels to keep it in place.
But wait, there’s more! I have another option if you don’t feel up to the task of upholstery. You could use a foam gym flooring tile!
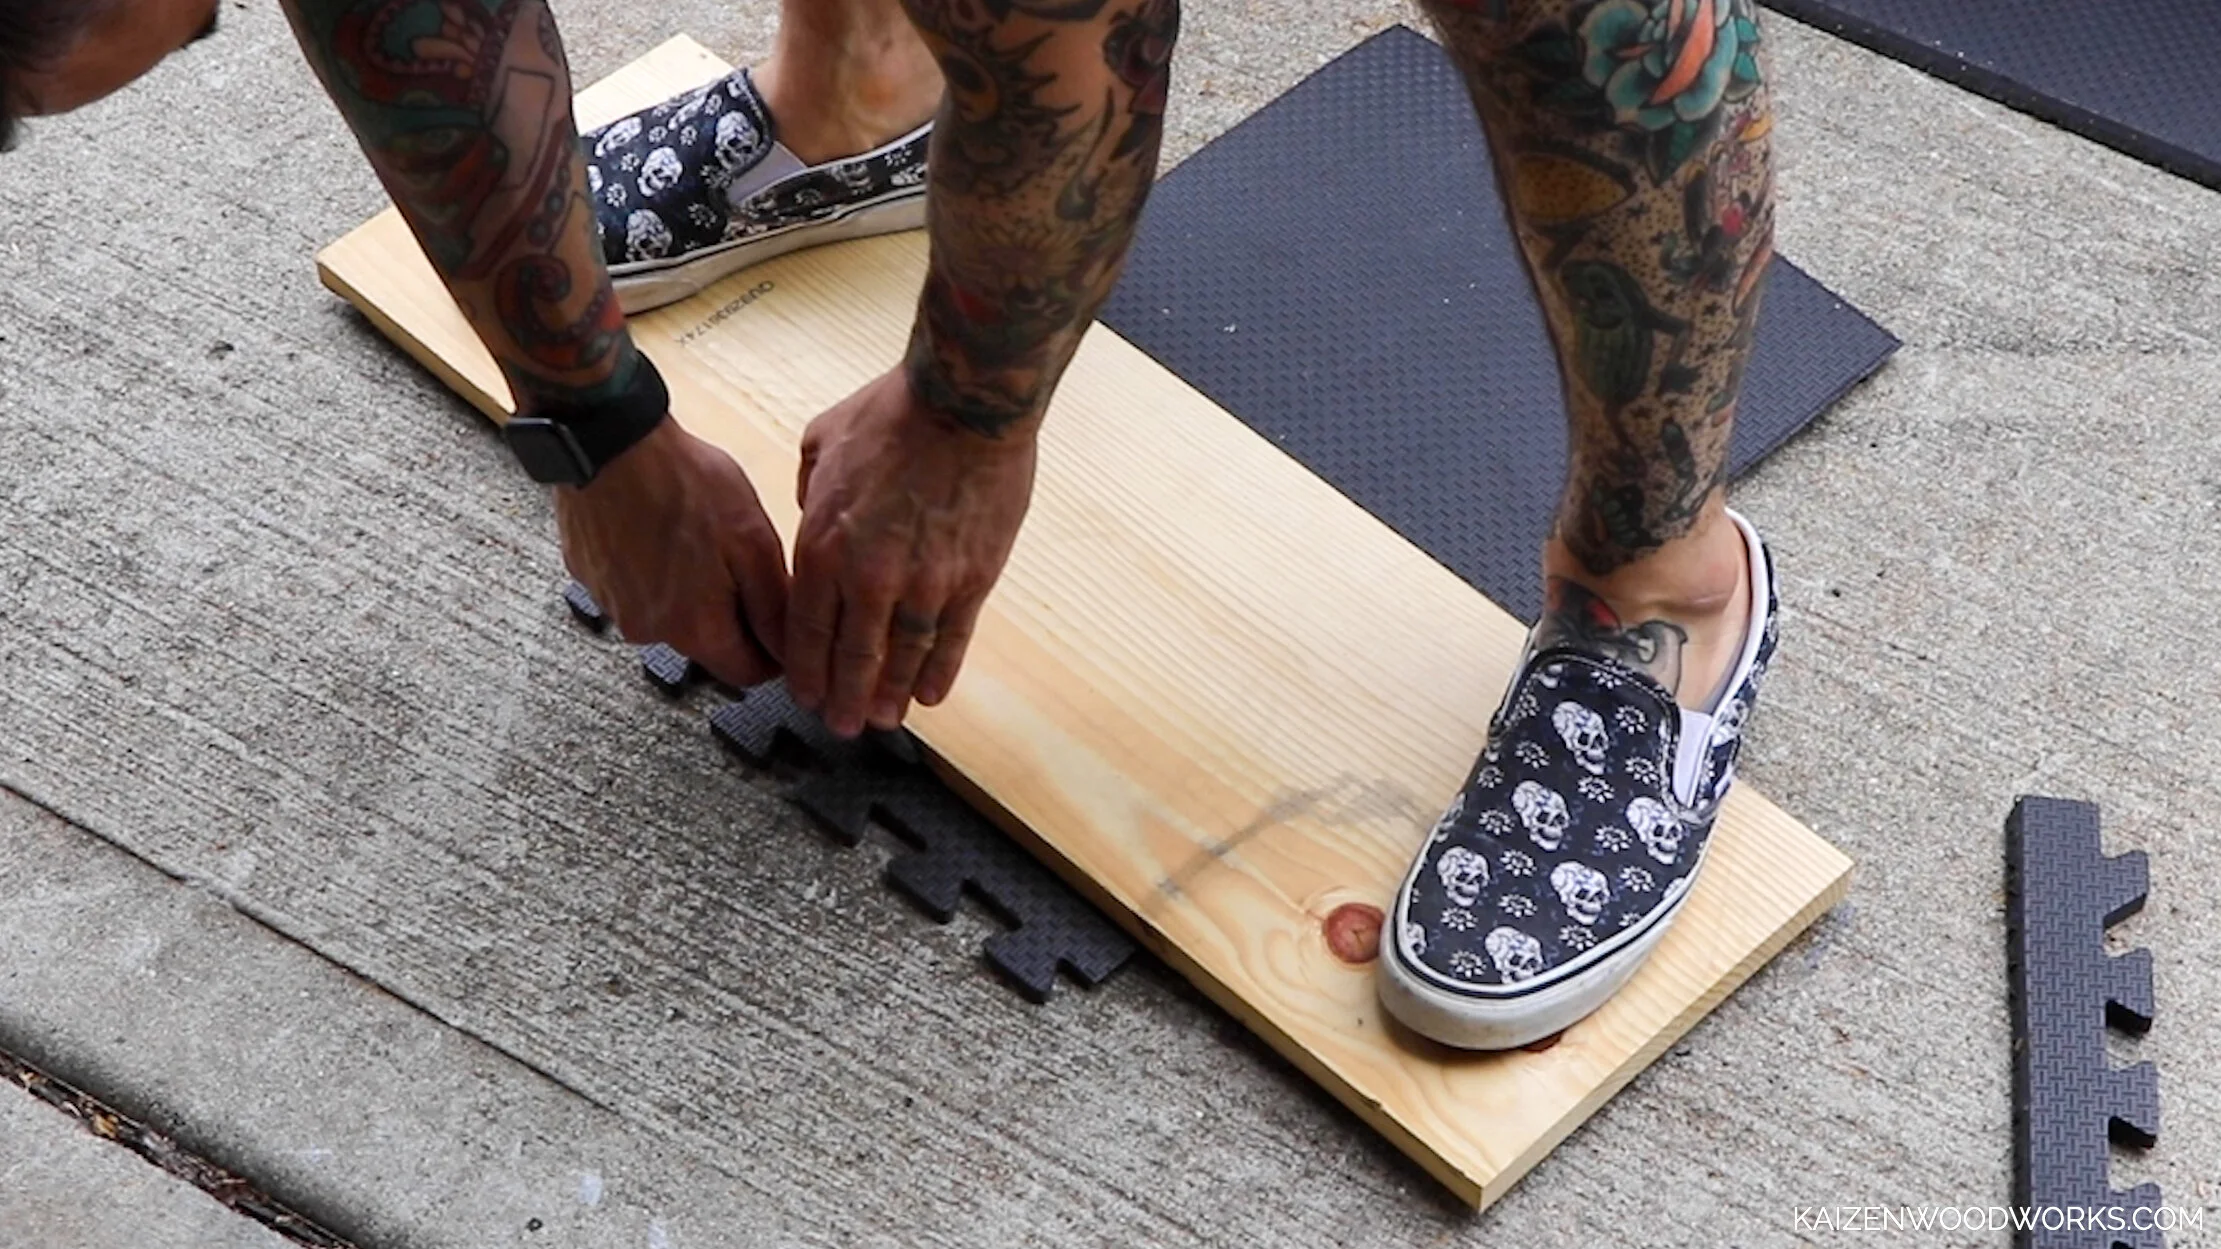
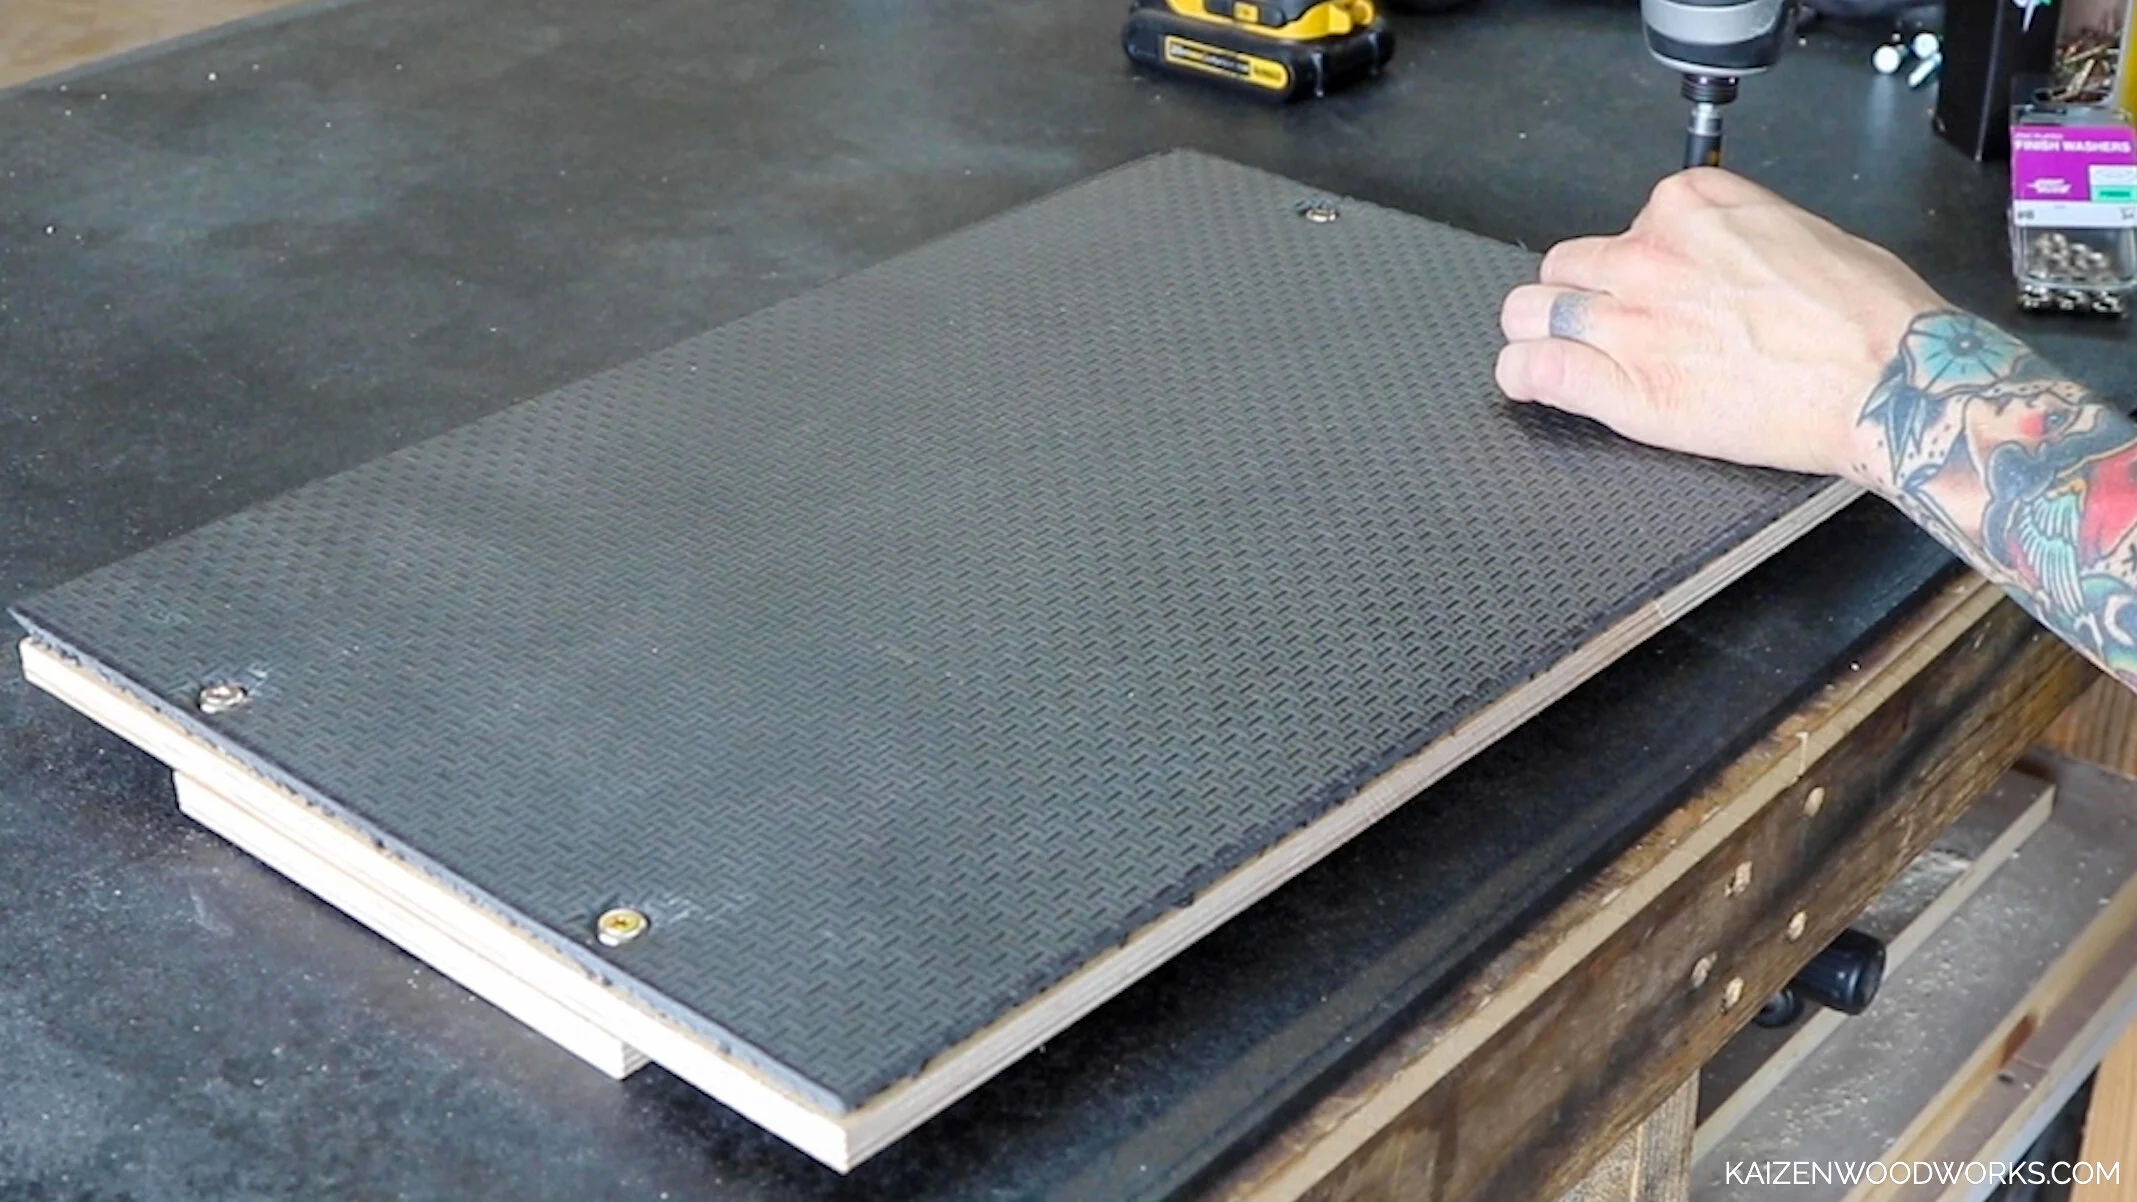

I cut one down to size and attached it with screws and finishing washers. It doesn’t look as fancy as the upholstered pad, but it is just as functional.
Need to stock up on weights or grab a new curl bar? Titan has lots of inventory in stock!
This post is not sponsored. Some of the links are affiliates which means if you purchase through the link, I’ll receive a small commission.
If you like this, check out my other home gym diy projects.
Do you have an idea for my next build? Leave a comment below!
If you build this, I’d love to see it! Tag #kaizendiygym on Instagram and I’ll feature it on my page!
https://www.instagram.com/kaizendiygym
@kaizendiygym